

If you're preparing to work with waffle fabric, you'll need a strategic approach to handle its distinctive texture and stretch properties. While this unique material can present initial challenges with its honeycomb weave and tendency to shift during sewing, you can achieve professional results by implementing specific techniques and tools. The key lies in proper preparation and understanding how waffle fabric behaves under different sewing conditions.
Key Takeaways
- Pre-wash waffle fabric in warm water and measure shrinkage before cutting to ensure proper fit after garment completion.
- Use a walking foot, ballpoint needles (70/10 or 80/12), and polyester thread for optimal handling of waffle fabric.
- Set machine to longer stitch length (2.5-3.0mm) and reduce presser foot pressure to preserve fabric's raised texture.
- Cut pattern pieces while fabric is completely flat, aligning textured squares with table edge for precise results.
- Choose appropriate seam types based on fabric weight: French seams for lightweight, flat-felled for heavy, and overlocked for medium.
Preparing to Sew Waffle Fabric
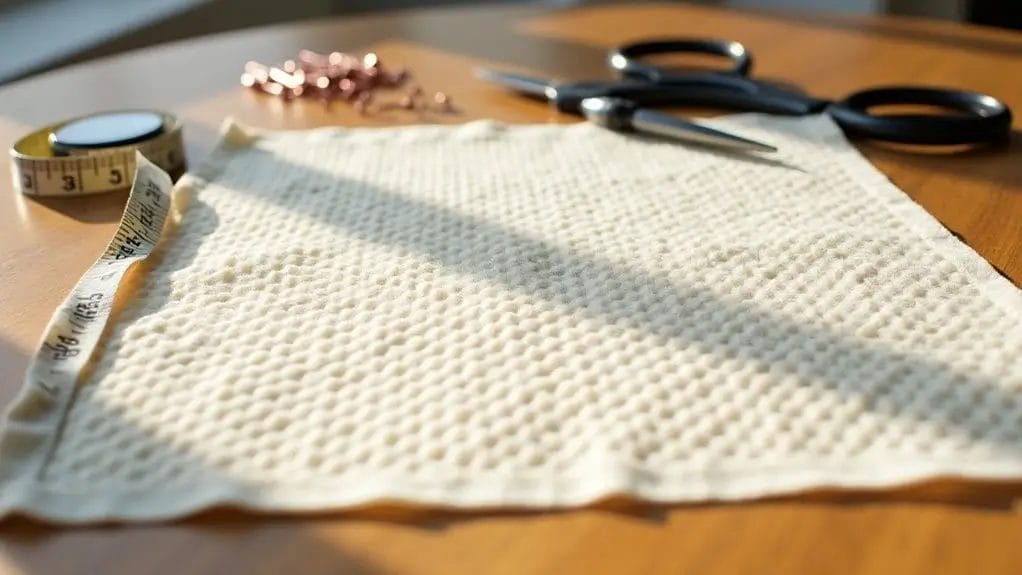
Before you begin sewing with waffle fabric, you'll need to gather essential tools including a walking foot, ballpoint or stretch needles (size 70/10 or 80/12), and polyester thread that matches your fabric.
You'll want to pre-wash your waffle fabric in warm water to account for the significant shrinkage characteristic of this textile, then cut your pattern pieces with sharp scissors or a rotary cutter while the fabric is completely flat and the textured squares are aligned with your grain lines.
Set your sewing machine to a slightly longer stitch length (2.5-3.0mm) with reduced presser foot pressure to prevent the fabric's raised texture from getting flattened during stitching.
Choosing the Right Tools and Supplies
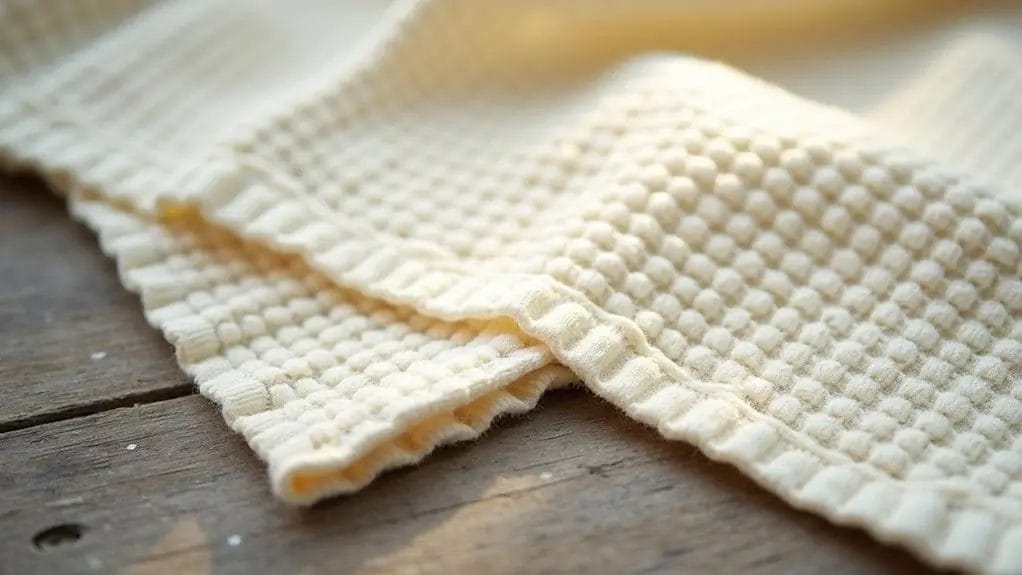
Successful waffle fabric sewing requires specific tools and materials designed for working with this distinctive honeycomb-textured material.
- You'll need a machine with adjustable tension and stitch length settings to accommodate the fabric's unique stretch properties.
- Select ballpoint or stretch needles in size 70/10 or 80/12 to prevent snags and skipped stitches.
- Use polyester thread with slight stretch capability, as cotton thread may break under tension.
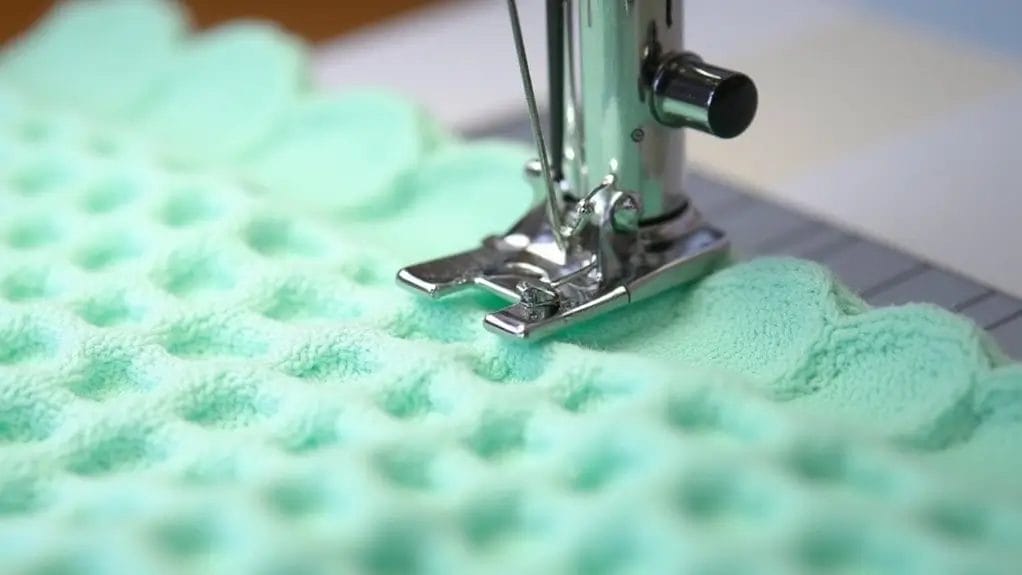
- Choose a walking foot attachment to prevent fabric layers from shifting during stitching.
- Install a stretch stitch plate on your machine to prevent the fabric from being pulled into the feed dogs.
Pre-washing and Shrinkage Tips
Since waffle fabric can shrink considerably during its first wash, pre-washing your material is essential for preventing garment distortion after construction.
Wash your fabric in water at the temperature you'll use for the finished garment, then dry it according to your care instructions. This process allows the fabric to complete its initial shrinkage before cutting your pattern pieces.
Measure your fabric both before and after washing to calculate the shrinkage percentage.
You'll need this information to determine if you should purchase additional yardage to compensate for shrinkage. For ideal results, press the fabric while slightly damp using medium heat.
Cutting Techniques
With your pre-washed and pressed waffle fabric ready, proper cutting techniques will determine the quality of your final garment. Begin by identifying the fabric's bias and grain direction, as waffle fabric can stretch differently along various angles. Place your pattern pieces strategically to maintain stability in the finished project.
- Lay your waffle fabric completely flat on a cutting surface, ensuring the textured squares align parallel to your table's edge.
- Use sharp scissors or a rotary cutter specifically dedicated to fabric first, as waffle weave can dull blades quickly.
- Cut along pattern lines with smooth, continuous motions to prevent distortion of the fabric's edge and honeycomb texture.
Adjusting Your Sewing Machine Settings
Proper sewing machine settings are essential for working with waffle fabric's unique honeycomb texture. Set your stitch length between 2.5-3.0mm to accommodate the fabric's dimensional structure.
Adjust your differential feed to 1.2-1.3 to prevent the fabric from stretching while sewing. Lower your feed dogs slightly to reduce drag on the textured surface.
Select a stretch stitch setting to maintain the fabric's natural elasticity without breaking threads. If your machine has pressure adjustment capabilities, reduce presser foot pressure by 25% to prevent the waffle pattern from being crushed during stitching.
Seam Types that Work Well with Waffle Fabric
When sewing waffle fabric, you'll need to choose appropriate seam types that provide stability and prevent fraying.
You can use plain seams with reinforced allowances for general construction, French seams for lightweight varieties, or flat-felled seams for heavier weights.
For medium-weight waffle fabrics, consider using overlocked seams, while stay-stitched or taped seams work best in areas where the fabric might stretch during wear.
Plain Seam with Reinforced Allowances
The plain seam with reinforced allowances stands out as a reliable choice for waffle fabric construction. This technique provides extra stability by utilizing two parallel stitch lines along the seam allowance.
You'll want to press the allowances open and flat before reinforcing.
- Stitch your initial seam line at 5/8", then press the allowances open with a pressing cloth.
- Add a second row of stitching 1/4" from the first within the seam allowance.
- Trim between the two stitch lines to reduce bulk while maintaining reinforcement.
This method prevents the typical stretching and distortion common with waffle weave fabrics while ensuring durability.
French Seam for Lightweight Waffle Fabrics
For delicate waffle weave textiles, French seams provide an elegant and fully enclosed finish that prevents fraying while maintaining the fabric's signature texture.
Begin by placing wrong sides together and sew a 1/4" seam. Trim the allowance to 1/8", then press the seam flat.
Fold the fabric right sides together along the stitched line and press again. Sew a 3/8" seam to encase the raw edges completely.
When working with lightweight waffle fabric, use a size 70/10 needle and reduce your stitch length to 1.8mm for best results.
Flat-felled Seam for Heavyweight Waffle Fabrics
Heavy-duty waffle fabrics require stronger seam construction than their lightweight counterparts, making flat-felled seams an ideal choice.
When working with thicker weave patterns, you'll need to carefully manage bulk while creating durable seams that won't unravel.
- Start by trimming one seam allowance to 1/4 inch and the other to 1/2 inch, then fold and press the wider edge over the narrow one.
- Fold the wider hem edge under again by 1/4 inch, encasing the raw edges completely.
- Stitch close to the folded edge through all layers to secure the seam.
- Press the completed flat-felled seam to one side for a professional, sturdy finish.
Overlocked Seam for Medium-weight Waffle Fabrics
When working with medium-weight waffle fabrics, overlocked seams provide an ideal balance of durability and flexibility while preventing fraying along cut edges.
Set your serger tension between 3-4 and adjust the differential feed to 1.2 to accommodate the waffle weave fabric's texture.
Position the fabric pieces right sides together, aligning the raw edges. Guide them through your serger at a steady pace, ensuring the blade trims minimally while creating a secure 4-thread overlock stitch.
This technique works especially well for garments that require stretch, like robes or loungewear, while maintaining the fabric's characteristic honeycomb texture.
Stay-stitched or Taped Seam For Areas Prone to Stretching
Areas prone to stretching in waffle fabric, such as necklines and shoulder seams, benefit considerably from stay-stitching or seam tape reinforcement.
When working with stretch fabrics like waffle weave, it’s crucial to prevent distortion and tear along stress points. Always test your stay-stitching on a scrap piece first to verify proper tension and stitch length.
- Apply stay-stitching 1/8 inch inside the seam allowance, stitching from the center outward in both directions.
- Use lightweight fusible stay tape on curved edges to maintain shape without adding bulk.
- Select a smaller stitch length (1.5-2.0mm) for stay-stitching to provide maximum stability.
Simple Hem Techniques for Waffle Fabric

When working with waffle fabric, you'll find several effective hemming options including the classic double-fold hem, narrow rolled hem, and cover-stitched or twin-needle finish.
You can create a clean edge using bias binding, which provides stability while maintaining the fabric's natural texture and stretch properties.
For a quick professional finish, consider using your serger to create a serged and turned hem that reduces bulk while securing raw edges.
Double-fold Hem
To create a professional double-fold hem on waffle fabric, start by pressing the raw edge under by 1/4 inch. Then fold it again by another 1/4 to 1/2 inch to encase the raw edge completely.
Getting the hem allowance right can be tricky, but here's a trick for success: pin the folds in place perpendicular to the edge before sewing.
- Use a longer stitch length (3.0-3.5mm) to prevent the waffle texture from getting compressed.
- Keep even tension while sewing to maintain the fabric's natural stretch.
- Press the final hem from the wrong side using steam to set the stitches without flattening the texture.
Narrow Rolled Hem
Creating a narrow rolled hem on waffle fabric requires careful handling to maintain the distinctive texture while achieving a clean, professional finish.
Begin by trimming any raw edges to guarantee evenness. Set your machine to a shorter stitch length and adjust the feed dogs for smooth fabric movement.
Fold the edge under by 1/8 inch, then fold again to encase the raw edge completely. As you sew, gently guide the fabric without stretching, keeping the tip of your presser foot aligned with the fold.
For extra stability, consider using a straight stitch foot to maintain consistent hem width throughout.
Cover-stitched or Twin-needle Hem
A cover-stitched or twin-needle hem offers another professional option for finishing waffle fabric edges. Using a stretch needle and double rows of stitching, you'll create a perfect hem that maintains flexibility.
- Select the right size twin needle - 4.0mm spacing works well for waffle fabric's texture.
- Set your machine's tension between 3-4 and reduce pressure foot pressure slightly for ideal stitch formation.
- Test stitch length on a scrap piece first - aim for 2.5-3.0mm for best results.
- Press the hem flat before stitching and guide fabric evenly, keeping the fold aligned with your presser foot.
Bias Binding Hem
When working with waffle fabric's textured surface, bias binding provides an elegant and durable hem finish that accommodates the material's natural stretch.
Cut your bias strip 1.5 inches wide, then press it in half lengthwise. Pin the raw edge of the binding to the right side of your fabric, aligning the edges. Stitch with a 1/4-inch seam allowance.
Fold the binding over to the wrong side, encasing the raw edge completely. The folded edge should just cover your first stitching line.
Topstitch from the right side, catching the binding underneath. This technique's easier than a traditional hem and prevents rippling.
Serged and Turned Hem
Serging offers one of the quickest and most reliable ways to hem waffle fabric while preventing fraying.
After serging the raw edge with your serger, you'll create a clean finish using your regular sewing machine. Press the serged edge up by your desired hem depth and stitch close to the folded edge for a nice, professional result.
- Set your serger for a balanced 4-thread overlock stitch.
- Turn and press the serged edge up 1/2 to 1 inch, depending on your pattern.
- Step slowly while topstitching to maintain even control over the wavy texture.
Faced Hem
Faced hemming provides an elegant solution for finishing waffle fabric while maintaining its signature texture and stretch.
Cut a strip of lightweight cotton fabric that's twice your desired hem width plus seam allowances. Press it in half lengthwise, then pin the raw edges to your waffle fabric's right side.
Stitch together, turn the facing to the wrong side, and press carefully. Catch-stitch the folded edge to secure it without restricting the fabric's natural movement.
You'll notice the texture remains intact while the hem lies flat with confidence. Your garment's now ready with a professional finish.
Troubleshooting Common Problems
If you're experiencing stretching or distortion while sewing waffle fabric, reduce your presser foot pressure and consider using a walking foot to keep layers feeding evenly.
When puckered seams or skipped stitches occur, adjust your machine's tension settings and switch to a jersey or ballpoint needle specifically designed for textured fabrics.
For uneven hems, stabilize the fabric edge with washable hem tape and use a slightly longer stitch length of 3.0-3.5mm to prevent the waffle texture from becoming compressed.
Preventing Stretching and Distortion while Sewing
While waffle fabric adds beautiful texture to your projects, its honeycomb weave can stretch and distort during sewing if not handled properly. understanding waffle fabric properties is essential for achieving the desired outcome in your sewing projects. With the right techniques, you can enhance the fabric's durability while preventing any unwanted stretching. Additionally, knowing how to properly care for and maintain waffle fabric can result in long-lasting and visually appealing creations.
When working with this slightly elastic material, whether it's for towels with fringe or garments with rib details, you'll need specific techniques to maintain the fabric's shape.
- Use a walking foot attachment to feed both layers evenly and prevent the top layer from stretching.
- Apply tear-away stabilizer along seams to support the fabric's structure while stitching.
- Reduce presser foot pressure to minimize tension and avoid stretching the honeycomb pattern.
Fixing Puckered Seams, Skipped Stitches, and Uneven Hems
Even with proper preventive measures, you'll occasionally encounter issues when sewing waffle fabric. To fix puckered seams, add a stabilizer strip along the seam line and decrease your presser foot pressure.
When skipped stitches result from the texture catching your needle, switch to a ballpoint or stretch needle and adjust your tension.
For uneven hems, use a walking foot to maintain consistent fabric feed. The difference in grain and stretch between waffle weave and other fabrics can affect hemline evenness.
Press seams thoroughly with steam, working carefully over the raised texture to achieve professional results.
When to Adjust Tension, Needle, or Presser Foot Pressure
Since waffle fabric's unique texture can create sewing challenges, knowing when to adjust your machine settings is essential for professional results. Your project will be much easier when you recognize key indicators: thread bunching indicates tension needs adjustment, while skipped stitches signal it's time to switch to a ballpoint needle.
- For super thick sections, reduce presser foot pressure to prevent the fabric from binding.
- Increase upper tension if loops appear on the fabric's underside.
- Switch to a size 80/12 needle when the current one can't handle the load.
- Decrease presser foot pressure by 25% when sewing over multiple layers.
Frequently Asked Questions
How Long Does Waffle Fabric Typically Last Before Showing Signs of Wear?
You'll typically see your waffle fabric showing initial wear after 2-3 years of regular use, though high-quality cotton waffle weaves can maintain their texture and durability for 5+ years with proper care.
Can Waffle Fabric Be Dyed After Purchasing?
You can dye waffle fabric post-purchase using fiber-reactive or all-purpose dyes, but you'll need to identify your fabric's fiber content first—cotton takes dye differently than polyester or rayon blends.
What's the Best Way to Store Waffle Fabric?
Store your waffle fabric flat in a climate-controlled environment, away from direct sunlight. You'll want to avoid folding to prevent permanent creases in the honeycomb texture. Use acid-free tissue between layers.
Is Waffle Fabric Suitable for Making Children's Clothing?
You'll find waffle fabric excellent for children's clothing, as it's durable, breathable, and stretchy. Its textured weave accommodates movement while providing comfort, though you'll need to pre-wash to prevent post-sewing shrinkage.
How Does Waffle Fabric Compare to Terry Cloth in Absorbency?
You'll find waffle fabric's honeycomb weave structure provides similar absorbency to terry cloth, but waffle's raised geometric patterns create more surface area for moisture absorption while maintaining a slimmer profile.
Conclusion
You'll find that mastering waffle fabric construction requires attention to specific techniques. By utilizing a walking foot, implementing the correct stitch length (3.0-3.5mm), and selecting appropriate seam finishes like French or flat-felled seams, you'll achieve professional results. Remember to pre-wash your fabric, maintain consistent seam allowances, and employ strategic pressing techniques. These technical considerations guarantee your waffle fabric projects maintain structural integrity and professional finish.
0 comments