

A zipper always seems to fail at the worst moment. You zip up your favorite jacket, jeans, or backpack, hear the familiar sound, and then notice the teeth have popped open or the slider is stuck halfway. Learning how to replace a broken zipper changes that story. With a few simple tools and clear steps, you can fix a zipper, sew in a new one when needed, and bring a loved garment or bag back to life.
Key Takeaways
- Learn how to decide when you can fix a zipper without replacing it and when you need to replace the zipper or slider.
- You will be able to tell the difference between coil, molded tooth, and metal zippers, and you will know how to find the size number on a slider so replacement parts fit correctly.
- Know the basic tools that make zipper repair easier, such as needle‑nose pliers, a seam ripper, pins, and a sewing needle with strong thread.
- You will follow step‑by‑step methods for tightening a worn slider, replacing a zipper slider on a jacket, and installing new sliders on bags, backpacks, and tents, so you can handle the most common zipper failures.
- You will get a guide to full zipper replacement when teeth are broken or the tape is torn. You will see how to remove the old zipper, pin a new zipper in place, and sew along the original seams on jeans, jackets, and bags.
Understanding Your Zipper: Types, Parts, And Common Problems
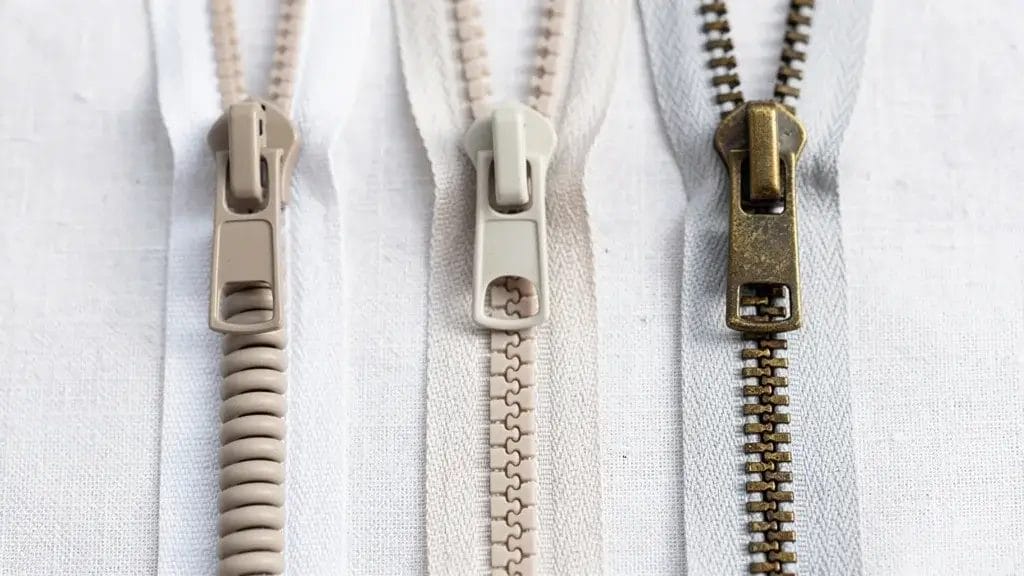
Before you learn how to replace a broken zipper, it helps to know what you are looking at. A zipper is a small system of parts that work together so the teeth close, stay closed, and then open again when you pull the tab. When one piece fails, the whole zipper seems useless, even though only a single part may need attention.
The Three Main Zipper Types
Most garments and bags use one of three zipper types:
- Coil zippers use a spiral of nylon or polyester stitched to the zipper tape. The teeth look like a smooth, curving line. You often see coil zippers on bags, tents, dresses, light jackets, and pockets because they are flexible and light.
- Molded tooth zippers (often called Vislon zippers) have chunky individual plastic teeth molded onto the tape. They show up on outerwear, rain jackets, backpacks, and outdoor gear where water resistance and strength matter.
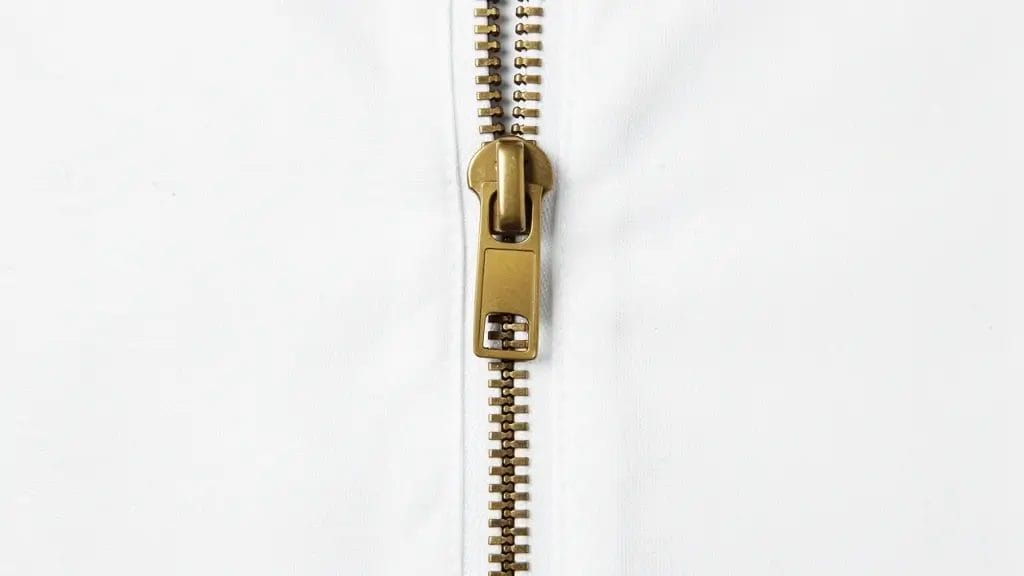
- Metal zippers use individual metal teeth pressed onto the tape. They are common on jeans, denim skirts, workwear, leather jackets, and many vintage garments. They feel heavier and make a sharper sound when you zip them.
Essential Zipper Components You Need To Know
Every zipper shares a few basic parts:
- The slider body travels up and down the teeth and brings them together or apart. The zipper pull tab is the part you grab. If the pull tab breaks but the slider still works, you can often clip on a new pull instead of changing the whole slider.
- The teeth or chain interlock on each side of the zipper. They sit on zipper tape, the woven fabric strip sewn into the garment, bag seam, or jeans waistband.
- At the top, small top stops keep the slider from sliding off. At the bottom, you will either find a solid bottom stop (on non‑separating zippers) or a box and pin (on jackets and hoodies) that lets the two sides come apart.
Once you know these parts by name, repair instructions are much easier to follow.
Diagnosing Common Zipper Problems
Most zipper failures fall into a few patterns:
- Teeth separate behind the slider. The slider is usually worn and no longer pressing the teeth together. Tightening or replacing the slider often fixes this, as long as the teeth and tape are in good shape.
- Slider is stuck or hard to move. Debris in the teeth or a bent slider is likely. Cleaning plus a bit of zipper wax can help; a cracked or crushed slider usually needs replacement.
- Broken or missing teeth. The slider cannot grip properly in that area, so you will usually need to replace the entire zipper, especially if the tape is also damaged.
- Slider came off the end. A top stop, box, or pin has failed. Sometimes you can slide the slider back on and add a new stop; badly damaged hardware calls for a new zipper.
- Pull tab broke off. The zipper may still work fine. A clip‑on pull, key ring, or fabric tab gives you something to grab so you can keep the original slider.
- Loose box and pin on a jacket. When the pin will not insert fully or the teeth misalign every time you start to zip, full zipper replacement is usually the best fix.
Gathering Your Tools And Materials
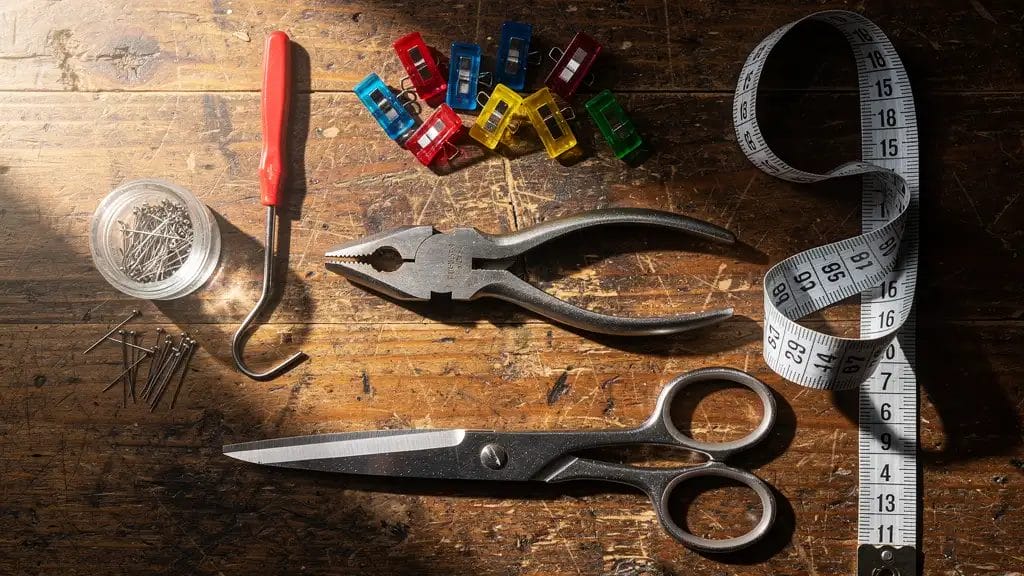
Once you know what is wrong with your zipper, you can gather the tools you need. Having everything ready before you start keeps the project calm and avoids stopping halfway to hunt for pliers or a seam ripper.
Essential Tools For Zipper Repair
These tools are helpful for most zipper repairs:
- Needle‑nose pliers to pinch metal sliders, remove old stops, and crimp new ones without damaging fabric.
- Regular pliers if you do not have needle‑nose pliers; use slow, steady pressure.
- Seam ripper to open seams cleanly around a zipper without tearing the fabric.
- Zipper stop pliers (optional) with shaped jaws that make neat, factory‑looking stops.
- Sharp scissors or wire cutters for trimming thread and cutting molded plastic stops.
- Pins or fabric clips to hold layers in place while you sew so the zipper stays straight.
- Measuring tape or ruler to check zipper length and alignment before you stitch.
Materials You'll Need
Keep these supplies on hand for zipper work:
- Replacement zipper sliders that match the original size and type.
- Replacement top stops (metal or sewn thread bars) to keep sliders from sliding off.
- Heavy‑duty thread such as button, upholstery, or denim thread anywhere a zipper is secured.
- Hand‑sewing needles in several sizes for light fabrics and heavy denim or canvas.
- Complete replacement zippers in common lengths for jeans, jackets, and bags.
- Zipper lubricant or wax (or beeswax) to keep sliders moving smoothly.
- Extra fabric for small patches if the area around the zipper is torn.
How To Identify And Source The Correct Replacement Slider
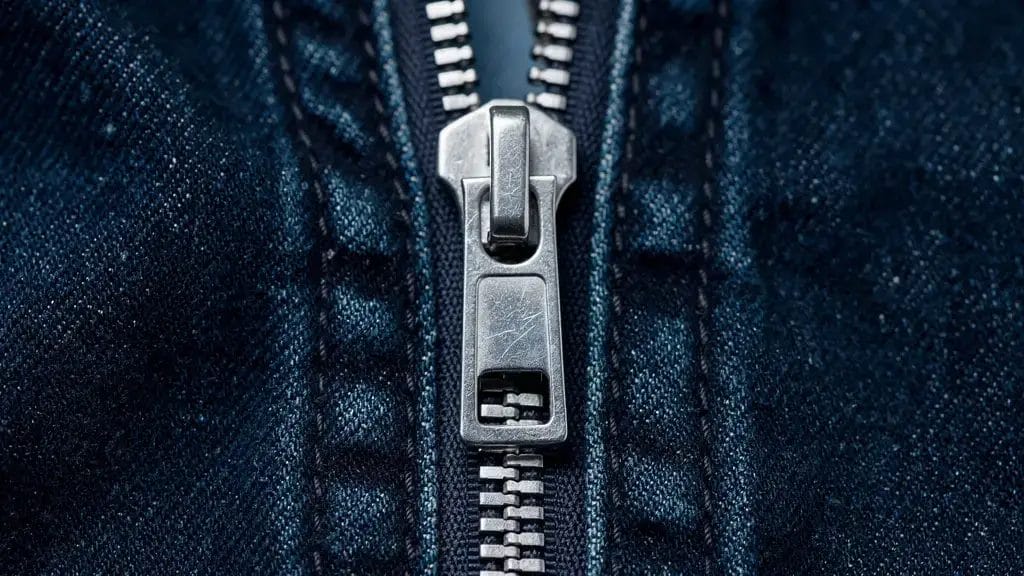
A mismatched slider is one of the main reasons a zipper repair fails. Even if it looks similar, a slider that does not match the size or type of your zipper will not grip the teeth correctly.
Taking a few minutes to identify the exact size, type, and function of your current slider saves a lot of frustration. The old slider is your best guide, even if it is worn.
Finding The Slider Size Number
Most modern sliders have a size number stamped or raised on the back, such as 3, 5, 8, or 10. That number shows the width of the zipper teeth in millimeters and must match your replacement slider.
If the number is hard to read:
- Hold the slider under bright light and tilt it.
- Or measure the closed teeth across their width with a ruler, not counting the fabric tape.
Keeping worn sliders in a small labeled bag makes future repairs faster.
Matching Slider Type To Zipper Type
Even two sliders with the same number are not always interchangeable. You need to match the type:
- Coil sliders are shaped for the soft spiral chain of coil zippers.
- Molded tooth sliders are wider to fit the chunky plastic teeth.
- Metal sliders are designed for the spacing and hardness of metal teeth.
Understanding Slider Functions
Sliders also differ in how they behave:
- Locking sliders have a tiny pin inside that holds the slider in place when the pull tab lies flat. They are common on pants, jeans, and many jackets.
- Non‑locking sliders move any time you pull on them and are often used on bags, tents, and sweatshirts.
- Double‑pull sliders have tabs on both sides, such as on sleeping bags or reversible jackets.
Match the original function for the most natural feel in daily use unless you have a clear reason to change.
Quick Fix: Tightening A Worn Zipper Slider
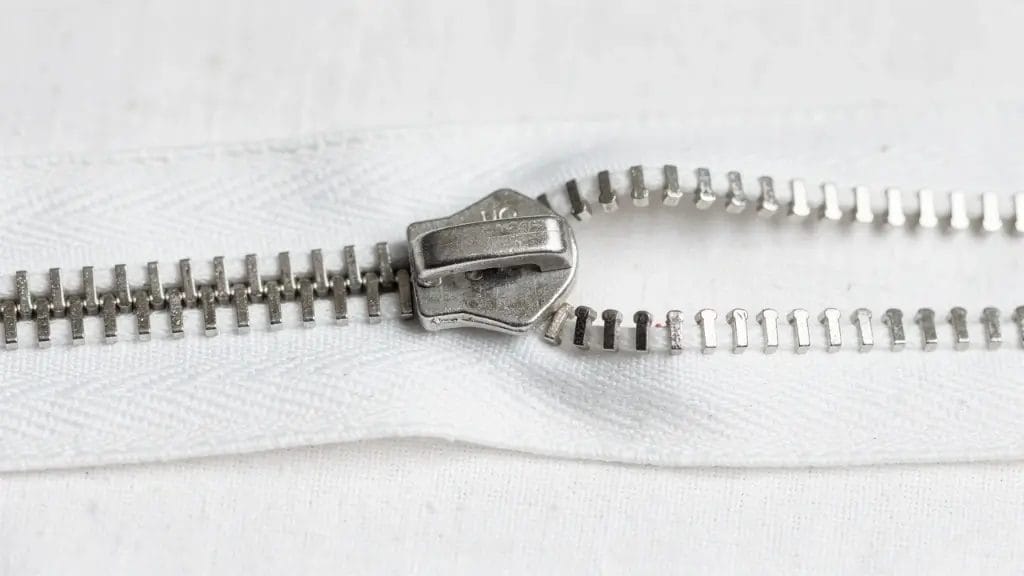
Many zippers start to misbehave because the slider has loosened over time, especially on metal zippers. The plates of the slider slowly spread apart, so they no longer press the teeth together firmly. Before you buy parts, it is worth trying a quick tightening repair.
The In-Place Tightening Technique
Use this when the slider is still on the zipper:
- Move the slider to the bottom of the zipper so you can reach its sides clearly.
- Check the gaps on each side of the slider where the teeth pass through.
- Place needle‑nose pliers over one side of the slider (top and bottom plates) and squeeze very gently.
- Repeat on the other side, keeping the pressure even.
- Zip the zipper up and down and see whether the teeth stay closed behind the slider.
- If they still separate, repeat with slightly more pressure on each side.
Aim for a “just right” grip: tight enough to hold the teeth together but still able to glide.
The Removal And Reshaping Method
If tightening in place does not help, reshape the slider off the zipper:
- Use pliers to remove the top stop on the side where the slider sits when closed.
- Slide the slider off the teeth.
- Inspect it from the side; you will usually see the top and bottom plates flared apart.
- Use pliers to pinch the plates closer together a little at a time, checking the shape often.
- Slide the reshaped slider back onto the teeth and test the motion.
- Reinstall the top stop (or add a new one) and crimp it firmly onto the tape.
If the slider will not move smoothly even after reshaping, it is time to install a new slider.
How To Replace A Zipper Slider On A Jacket Or Coat
Separating zippers on jackets and coats take a lot of stress at the bottom box and pin. When the slider wears out, the teeth separate behind it or the pull breaks, and the whole jacket feels useless. Paying for a full zipper replacement can be expensive, but in many cases you only need to change the slider.
Step 1: Remove The Top Stop
- Unzip the jacket and find the top end on the side where the slider rests when closed.
- Locate the small metal stop or plastic nub just above the top teeth.
- For metal stops, grip gently with needle‑nose pliers, open the prongs slightly, and slide the stop off.
- For plastic stops, snip through the plastic with sharp scissors or wire cutters without cutting the tape.
Set any reusable piece aside in a small dish.
Step 2: Remove The Old Slider
- Hold the zipper tape straight.
- Slide the old slider off the top of the teeth.
- Check the slider for size number, material (metal or plastic), and number of pull tabs.
- Inspect the teeth and tape for bigger damage that might require a full zipper change instead of just a slider.
Step 3: Install The New Slider
- Make sure the new slider matches the old one in size, type, and function.
- Hold it with the pull tab facing the same direction as before.
- Feed the top of one side of the teeth into one channel of the slider.
- Feed the other side into the second channel at the same height.
- Wiggle gently until both sides catch; slide the new slider down a few inches and confirm that the teeth interlock cleanly.
If one side sits higher or the teeth misalign, slide the slider off and try again.
Step 4: Secure With A New Top Stop
Finish by blocking the slider from sliding off again:
- Metal stop: Place a U‑shaped stop over the tape just above the last tooth and crimp it firmly with pliers.
- Thread stop: With heavy‑duty thread, sew several tight stitches across the tape just above the last tooth to form a thick bar.
Test the zipper several times to confirm smooth motion and secure stops.
How To Replace A Zipper Slider On Bags, Backpacks, And Tents
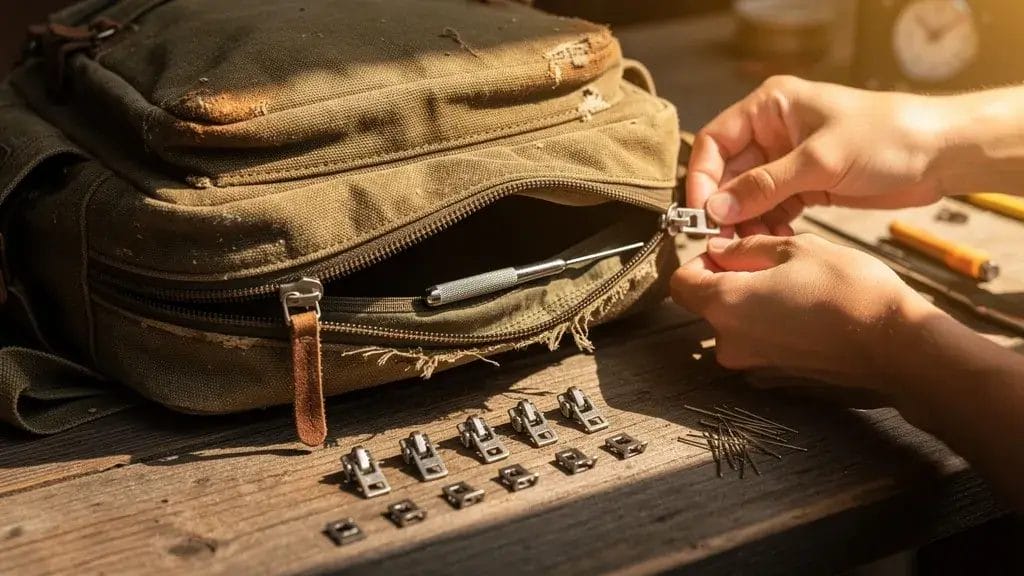
Non‑separating zippers on bags, backpacks, cushions, and tents are often sewn into seams or folded under layers of fabric. To replace a slider on these items, you usually open a small part of the seam, change the slider, and then sew the seam closed again.
Step 1: Access The Zipper End
- Decide which end of the zipper is easier to reach; often one end is tucked into a shorter or simpler seam.
- Use a seam ripper to cut the stitches that hold the zipper tape inside that seam, taking care not to cut the fabric itself.
- Free about 1–2 inches of zipper tape from the seam so you can slide the old slider off.
A quick photo of the opened seam can help you remember how the layers were stacked for sewing it back later.
Step 2: Remove The Old Slider(s)
- Check for any metal stops or sewn bars at the freed end of the zipper and remove them if needed.
- Slide the old slider off the end of the teeth.
- If there are two sliders, remove both and note which way each pull tab faced.
- Keep the old sliders as references for size, type, and locking or non‑locking style.
Step 3: Install New Slider(s)
- For a single slider, push the free end of the teeth into the back of the new slider, facing the same way as the original, and slide it on.
- For double sliders, install the first with its pull tab pointing toward the end, then add the second pointing the opposite way so the fronts face each other.
Test each slider along the full length of the zipper to confirm that the teeth interlock smoothly.
Step 4: Secure The Zipper End
- Install new metal stops or sew a bar tack across the zipper at the freed end so the sliders cannot slide off.
- Tuck the zipper tape back into the seam.
- Pin the layers together in their original order and hand sew or machine sew along the previous stitching line.
When the seam is closed, trim loose threads and test the zipper several times.
When And How To Replace An Entire Zipper
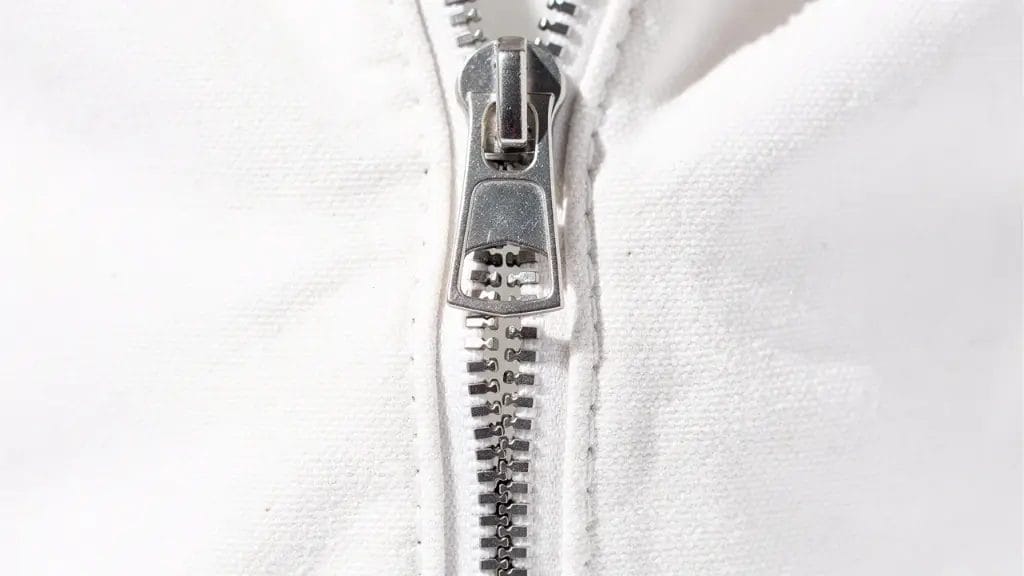
Sometimes a zipper problem is larger than a worn slider. Teeth may be broken, tape may be torn, or the box and pin on a jacket may be badly damaged. In those cases, tightening or swapping the slider will not give a dependable fix, and you need to replace the entire zipper.
Determining If Full Replacement Is Necessary
Consider full replacement when:
- Several teeth are broken, crushed, or missing.
- The zipper tape is frayed, burned, or torn along more than a tiny section.
- The bottom box and pin on a separating zipper are loose, bent, or cracked.
- The zipper has already had multiple slider repairs and still fails.
Selecting The Right Replacement Zipper
When choosing a new zipper:
- Measure the old zipper from stop to stop, counting only the teeth, not the extra tape.
- Match the type (coil, molded tooth, or metal) and style (separating or non‑separating).
- Decide whether you want a hidden zipper (like on many dresses) or a visible zipper (common on sports jackets and bags).
- Pick a color that either blends in or adds a fun contrast.
If you cannot find the exact length, buy a slightly longer zipper and shorten it by adding a new top stop and trimming extra tape.
Step 1: Remove The Old Zipper
- Open the garment or bag so you can reach the entire zipper.
- With a seam ripper, remove the stitches that hold the zipper tape to the fabric, including any reinforcement at the ends.
- On jackets, you may need to open a facing or lining to free the zipper completely.
- As you go, notice how the tape is folded and where the stitching lines run; quick photos can help you put things back the same way.
Once the zipper is free, check the fabric edges for small tears and mend them if needed. Press the edges flat with an iron.
Step 2: Pin The New Zipper In Place
Lay the new zipper in the opening with the right side of the zipper facing the right side of the fabric (unless the design calls for an exposed zipper).
- For separating zippers, line up the box and pin at the bottom where the old zipper sat.
- Pin from the bottom of one side to the top, keeping the teeth centered along the opening.
- Repeat on the other side and then close the zipper to see whether waistbands, collars, or hems meet evenly.
Adjust the pins until everything lines up neatly.
Step 3: Sew The Zipper In Place
- On a machine, attach a zipper foot so you can sew close to the teeth.
- Sew a straight line up one side, keeping a steady distance from the teeth that matches the original seam, then repeat on the other side. Backstitch at the beginning and end.
- Move the slider out of the way when you reach it: lower the needle, lift the foot, slide the pull past, then lower the foot again.
- For hand sewing, use a backstitch along each side of the tape with small, even stitches.
Close the zipper and check that the teeth align, the fabric lies flat, and the slider moves easily from end to end.
Essential Tips For Long-Lasting Zipper Repairs
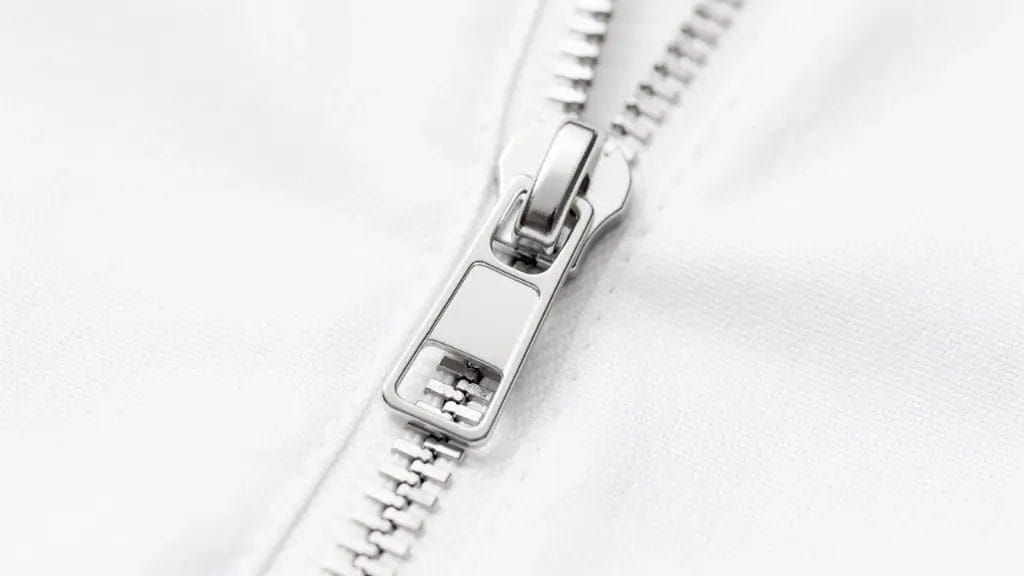
After you repair or replace a zipper, a few simple habits will help your work last. Good care protects both original zippers and the new ones you sew in.
Regular Maintenance And Cleaning
Zippers collect lint, dust, sand, and loose threads over time, especially on outdoor gear and bags. That debris can wedge between the teeth and strain the slider.
- Use a soft brush or old toothbrush to clean along the open teeth from bottom to top.
- For metal zippers, wipe with mild soap and water if needed, then dry fully to avoid rust.
- Rub a little zipper wax, beeswax, or the tip of a graphite pencil along both sides of the teeth, then move the slider up and down to spread it.
Check regularly for loose threads near the zipper and trim them before they snag.
Proper Zipper Use Techniques
How you zip has a big effect on how long the zipper lasts:
- Before you pull, make sure no fabric or lining is caught near the teeth.
- Hold the fabric with one hand and pull the slider with the other in a straight, steady motion instead of yanking.
- On separating zippers, insert the pin fully into the box before pulling up.
- Avoid overstuffing bags or forcing zippers closed over thick piles of clothes or gear.
Close zippers before washing garments to protect both the zipper and other items in the washer.
Troubleshooting Stubborn Zippers
If a zipper sticks:
- Stop pulling and look for caught fabric or misaligned teeth.
- Apply a small amount of zipper wax, beeswax, or graphite to the teeth near the slider.
- Work the slider back and forth in short motions rather than trying to zip it all the way in one go.
- If fabric is trapped, gently move the slider backward while easing the fabric out with your fingers or a blunt tool.
If these tricks do not help and the teeth or slider look damaged, use the repair methods from earlier sections.
Conclusion
You now know how to replace a broken zipper, repair a worn slider, and sew in a new zipper that can last for years. Instead of throwing away a garment or bag when a zipper fails, you can fix it with a small set of tools and some patience.
FAQs
Can I Fix A Zipper Without Replacing It?
Yes. If the teeth and zipper tape are in good shape and the problem is a worn slider, you can often tighten the slider with needle‑nose pliers or swap in a new slider. These repairs are fast and usually do not require any sewing. When teeth are broken or the tape is damaged, though, tightening alone will not solve the problem and a full replacement is better.
How Do I Know What Size Zipper Slider I Need?
Look at the back of your current slider for a small stamped or raised number such as 3, 5, 8, or 10. That number shows the width of the zipper teeth in millimeters and needs to match your replacement slider. If the number is worn away, measure the closed teeth with a ruler or bring the old slider to a sewing store.
What's The Difference Between A Separating And Non-Separating Zipper?
A separating zipper comes completely apart at the bottom, like the zipper on a jacket or hoodie. It has a box and pin at the base so the two sides can separate when unzipped. A non‑separating zipper has a permanent stop at the bottom, like the zipper on jeans, pockets, cushions, and many bags. Repair steps and replacement choices differ slightly, so always match your new zipper to the original style.
Can I Replace A Zipper By Hand, Or Do I Need A Sewing Machine?
You do not always need a sewing machine. Slider replacements require no sewing at all. For a full zipper replacement, you can sew the new zipper in by hand using a backstitch, which is strong enough for many garments and bags. A machine makes the job faster and gives very even stitches, which is helpful on lined jackets or long seams.
Why Does My Zipper Keep Separating After I Zip It Up?
If a zipper closes but then separates behind the slider, the slider is usually worn and no longer gripping the teeth tightly. Over time, the metal plates spread apart and create small gaps that let the teeth slip back out. Gently squeezing the slider with pliers or installing a new slider of the same type and size often fixes this. Also check for broken teeth and make sure you are starting separating zippers with the pin fully inserted into the box.
0 comments