

You finish a project feeling proud, then notice the edges fraying after the first wash. Why do some handmade items stay sharp for years while others fall apart? The difference often comes down to one skill: knowing how to prevent fabric from fraying.
Fraying is more than annoying. When fabric edges come apart, seams weaken, hems lose shape, and projects look messy. The good news is that fraying is preventable. Once we understand why fabric frays and how different methods hold threads in place, we can finish each raw edge correctly. In this guide, we walk through 9 easy methods, from quick no-sew tricks to professional machine finishes.
Key Takeaways
- We first learn why woven fabrics fray in the first place, so we can predict which fabric edges need more protection and which ones behave better with simple finishes.
- We go through both no-sew and sewing methods to prevent fabric edges. That means there is always at least one method that fits the tools we already own.
- We look at how to stop fraying with basic sewing machine stitches, like zigzag and straight stitching close to the edge.
- We cover more advanced finishes, such as using a serger (overlock stitch) and bias binding. They are especially helpful when fabrics see repeated washing.
- We learn how to match each method to fabric type, project style, and our own skill level.
What Causes Fabric to Fray? Understanding the Basics
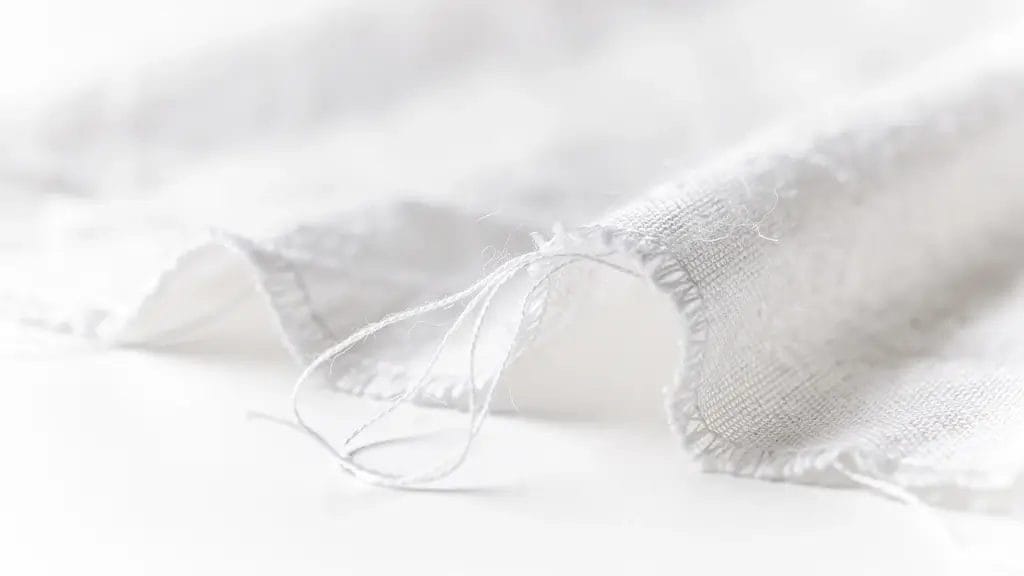
Before we decide how to prevent fabric from fraying, it helps to know what is actually happening at the edge. Most fraying shows up on woven fabrics. These are made from two sets of threads crossing over each other: one set running along the length of the fabric and one set running across the width. When we cut through that grid, we leave many tiny thread ends along the raw edge.
If the weave is loose or the threads are slippery, those ends slide out more easily. That is why fabrics like chiffon , gauze , loose linen, raw silk, and some tweeds seem to shed threads the moment we touch them. Tightly woven fabrics such as denim , canvas, or good quilting cotton still fray, but more slowly, because the threads are held together more firmly.
How we handle the fabric also matters:
- Dull scissors or a worn rotary blade chew the fabric instead of making a clean cut, which already damages some threads.
- Rough handling, pulling on seam allowances, or tossing unprotected raw edges into the washer and dryer all speed up the process.
- The motion inside the machine rubs the fibers so loose threads work their way out of the edge.
Fiber type plays a part as well. Natural fibers like cotton and linen tend to fray more than some synthetics, though many synthetic woven fabrics still shed threads. Some fabrics have special factory finishes that reduce fraying a bit, but those finishes can wash out over time.
How to Prevent Fabric From Fraying
Now that we know why fabric frays, we can pick a method to keep those loose threads in place. There is no single best way that fits every project. Instead, we choose the approach that matches our fabric type, the tools we have, and how much wear the item will get. The 9 methods below range from quick fixes with no sewing at all to strong finishes that look just like ready-to-wear clothing.
Using Pinking Shears to Create a Zigzag Edge
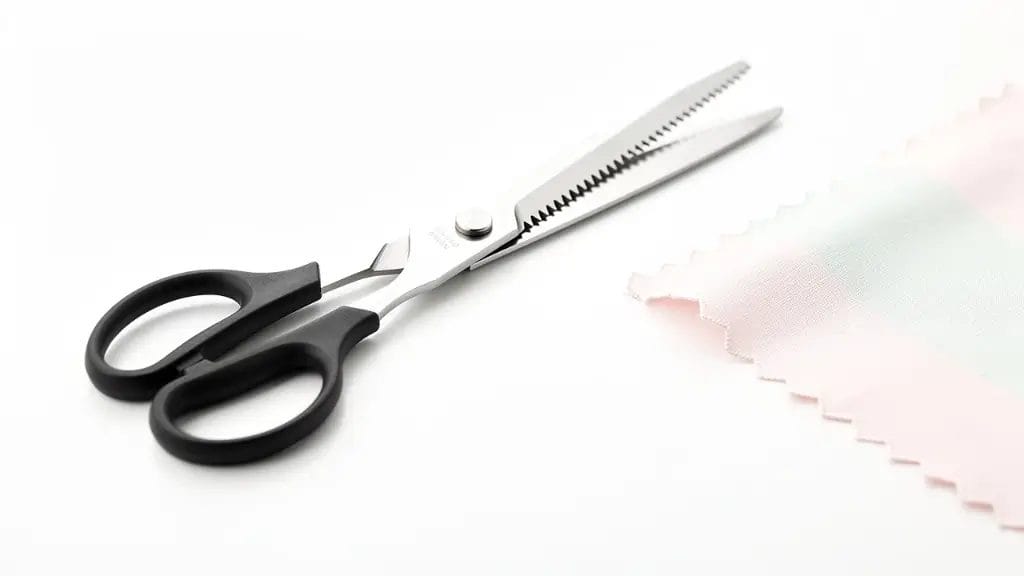
Pinking shears are one of the easiest tools to reach for when we want to reduce fraying with very little effort. These special scissors have sawtooth blades that cut a zigzag line instead of a straight one. When we cut along the edge of the fabric with pinking shears, the result is a row of tiny triangles instead of long straight threads.
This zigzag shape helps because it shortens each exposed thread along the cut edge. Instead of one long thread that can slide out, we get several short bits that are less likely to pull free. It does not stop fraying completely on very loose or heavily washed fabrics, but it does reduce fraying by a large amount on many stable woven fabrics.
Pinking shears shine when we work with medium-weight woven fabrics such as quilting cotton, wool blends, chambray, or twill. We can:
- Pink seam allowances inside skirts and tops
- Trim the edges of quilt blocks before piecing
- Tidy up the edge of a craft project that will not see a lot of washing
For beginners who are just learning how to prevent fabric from fraying, this method feels friendly and low stress.
There are a few limits to keep in mind:
- Pinking shears are not very effective on knits, thick denim, or heavy canvas, because the teeth have trouble cutting through those layers and the structure of the fabric behaves differently.
- We need to keep the blades sharp and use them only on fabric, not on paper.
Still, for the price of a single tool and no sewing at all, pinking shears give us a quick way to keep edges neater and make our projects look more finished.
Applying Liquid Fabric Sealants
Liquid fabric sealants are a strong no-sew way to keep threads in place. These liquids are thin, clear glues made specifically for fabric. When we apply a thin line along the raw edge, the liquid soaks into the threads and dries into a flexible film that holds them together.
The product runs between the fibers along the cut edge and then dries into a nearly invisible bond. Once dry, it does not wash away easily and it bends with the fabric instead of cracking.
To apply a fabric sealant:
- Test on a scrap of the same fabric first.
- Apply a thin line along the raw edge, using the bottle tip or a cotton swab for more control.
- Let it dry completely before bending, washing, or sewing that edge.
This small test shows whether the edge feels stiff, changes color, or stays soft and clear enough for our project.
Sealants are very handy for delicate and detailed work. We can:
- Keep ribbon ends from fraying
- Secure the fraying edge of fabric around buttonholes
- Strengthen corners of appliqué pieces
- Protect sheer fabrics like silk, chiffon, and organza without adding visible stitches
If we apply too much, the edge can feel stiff or scratchy, so thin, even lines work best. For projects where the edge will touch bare skin, we might combine a light coat of sealant with a soft sewing finish for extra comfort.
Heat-Sealing Synthetic Fabric Edges
Heat sealing is a fast, permanent way to stop fraying on many synthetic fabrics. Fibers like polyester, nylon, acetate, and acrylic soften and melt when heated. If we carefully pass the cut edge near a flame or hot tool, those fibers melt together and form a hard, sealed line that does not shed threads.
This method only works on synthetic fibers. Natural fibers such as cotton, linen, silk, or wool will burn or scorch instead of melting, which can cause holes and fabric damage. When we are unsure, we should always test on a small scrap fabric first. A quick burn test away from our project shows whether the fabric melts into a bead or turns to ash.
To heat seal safely:
- Use a lighter, the side of a candle flame, or a special hot-knife cutting tool.
- Hold the fabric edge close to the heat, but not directly in the blue part of the flame.
- Move the edge smoothly along the heat source so the very tips of the threads melt together.
- Stop often to check progress, and let the edge cool completely before touching it.
The sealed edge will not fray, but it can feel stiff or even sharp, so this method works best for items that will not rest against skin. Good examples include nylon webbing straps, backpack parts, outdoor gear, and polyester ribbon used in craft projects.
Sewing a Zigzag Stitch Along the Edge
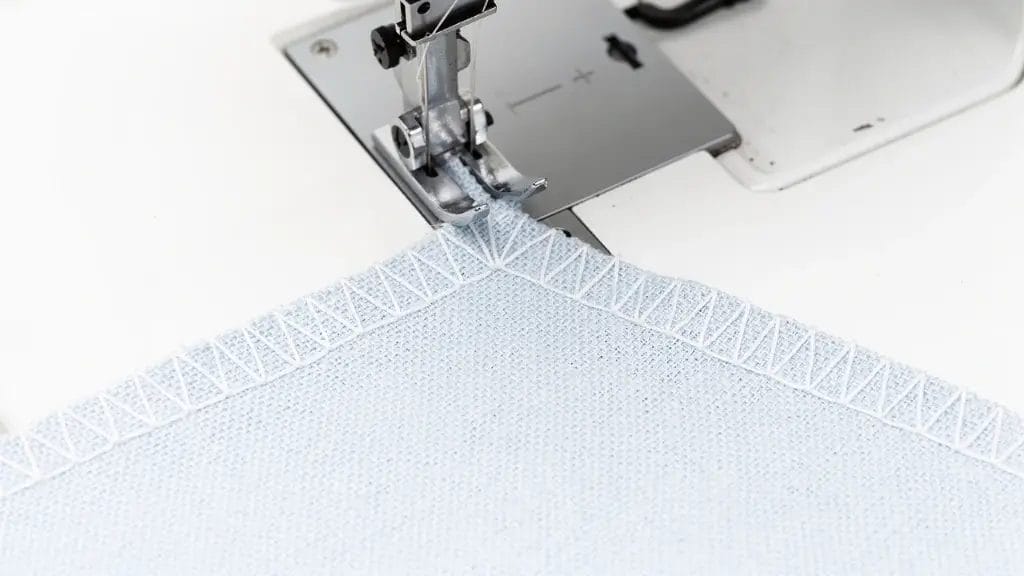
The zigzag stitch on a regular sewing machine is one of the most reliable ways to finish a raw edge. Nearly every home machine has this stitch, which moves the needle from side to side as the fabric feeds forward. When we place the zigzag stitch close to the edge of the fabric, the thread wraps around the edge and locks loose threads in place.
To use this method:
- Set the machine to zigzag mode with a medium width and length as a starting point.
- For lightweight woven fabrics, choose a narrower, shorter zigzag to avoid bulk.
- For heavier fabrics that fray a lot, use a slightly wider and longer zigzag for more coverage.
The zigzag finish works well on straight and curved seams, on both light and medium-weight woven fabrics. It is slower than using an overlock machine but far more accessible, since it only needs a regular sewing machine and basic thread. If we see puckering, we can reduce the stitch width, lengthen the stitch slightly, or loosen the thread tension. If the machine tries to pull the fabric into the needle plate, placing a small scrap behind the starting edge or using a straight stitch plate can help the feed dogs catch the fabric more smoothly.
Using an Overlock Stitch or Serger Machine
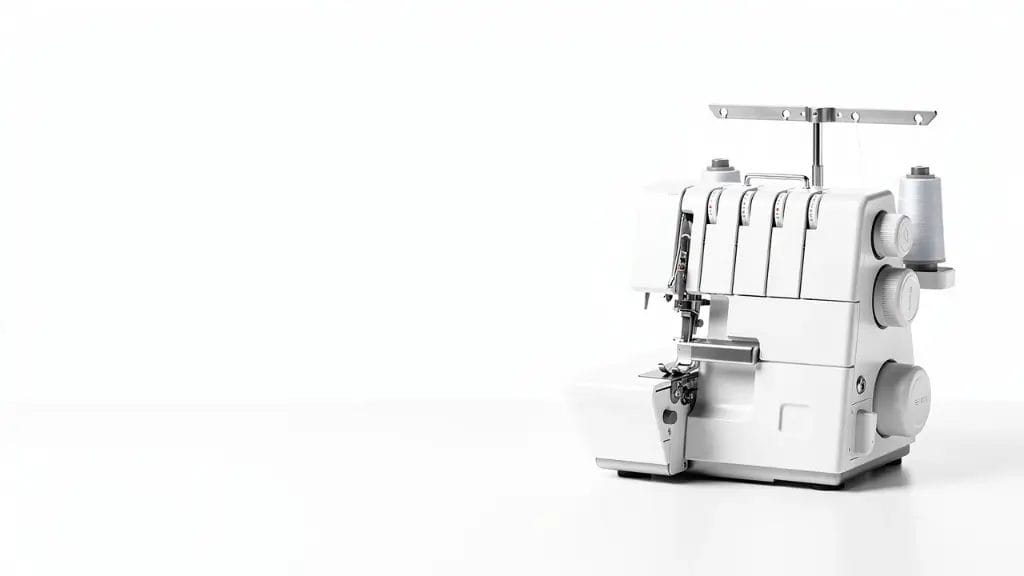
An overlock stitch made by a serger machine is the standard finish seen inside most ready-made clothes. A serger is a special overlock machine that uses three or four threads and a small blade. As we sew, it trims the cut edge and wraps it in overlapping loops of thread all in one pass. This gives a clean, strong edge that resists fraying very well.
Unlike a regular sewing machine, the serger forms loops that sit right on the edge of the fabric. The threads cross over each other multiple times and grip both the front and back of the edge. At the same time, the blade trims away any uneven bits of excess fabric so the line stays smooth. This makes the edge of the fabric look neat and helps seams press flat inside garments and quilts.
The benefits of an overlock are many:
- One of the strongest finishes we can choose for woven fabrics that will be washed often
- On knit fabrics, the stretch in the overlock stitch lets seams move with the fabric
- A serger saves time by sewing the seam, trimming the edge, and finishing it all at once
Using a serger has a learning curve, especially with threading and tension.
Finishing Edges With Bias Tape or Bias Binding
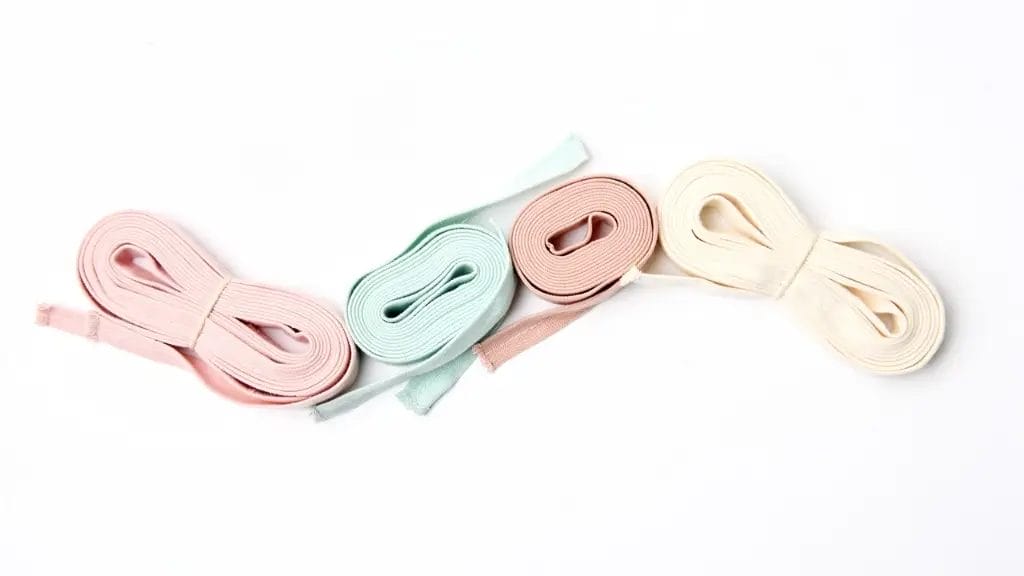
Bias tape, also called bias binding, is a strip of fabric cut on the bias, which means at a forty-five-degree angle to the lengthwise grain. Cutting on the bias gives the strip a bit of stretch and flexibility. That stretch lets the tape curve smoothly around shapes like necklines, armholes, and quilt edges without puckering.
Bias tape comes in several forms:
- Single-fold: raw edges pressed toward the center
- Double-fold: single-fold tape folded again so one side is slightly narrower than the other
We can buy packaged bias tape in solid colors or prints, or we can make our own from extra fabric so the binding matches or contrasts with our project.
To finish a raw edge with bias binding:
- Unfold the tape and place it right sides together with the edge of the fabric.
- Sew along the fold line.
- Fold the tape up and over the cut edge, wrapping the seam allowance inside the tape.
- Pin or clip the tape in place on the other side and stitch through all layers, catching both sides of the bias tape so the raw edge of the main fabric is completely hidden.
This method is perfect when we want both strength and a decorative finish. Common uses include quilt edges, table runners, placemats, baby blankets, necklines, armholes, and the edges of unlined jackets. Because the raw edge sits inside another layer of fabric, it cannot fray even with repeated washing. Bias binding does take more time than a simple zigzag or serged edge, but the result looks polished and adds extra body, especially on lighter fabrics.
Sewing a Straight Stitch Close to the Edge
Sometimes we just need a little extra control before we add a final finish. A line of straight stitching close to the raw edge, often called stay stitching, helps keep the fabric from stretching and coming apart while we work. This is especially helpful on curved or bias-cut pieces that like to shift out of shape.
To use stay stitching:
- Set the sewing machine to a regular straight stitch, with a stitch length around 2.5 mm.
- Sew a line of stitching about ⅛"–¼" from the raw edge, keeping the line inside the seam allowance so it will not show later.
- On necklines, armholes, and loosely woven fabrics, sew in the direction of the grain to reduce stretching.
Stay stitching on its own does not fully protect the edge from fraying through repeated washing, but it does reduce fraying during cutting, handling, and fitting. We usually combine it with another method, like an overlock stitch, pinking, or hemming, to get a long-lasting finish.
Using Interfacing or Stabilizer on Delicate Fabrics
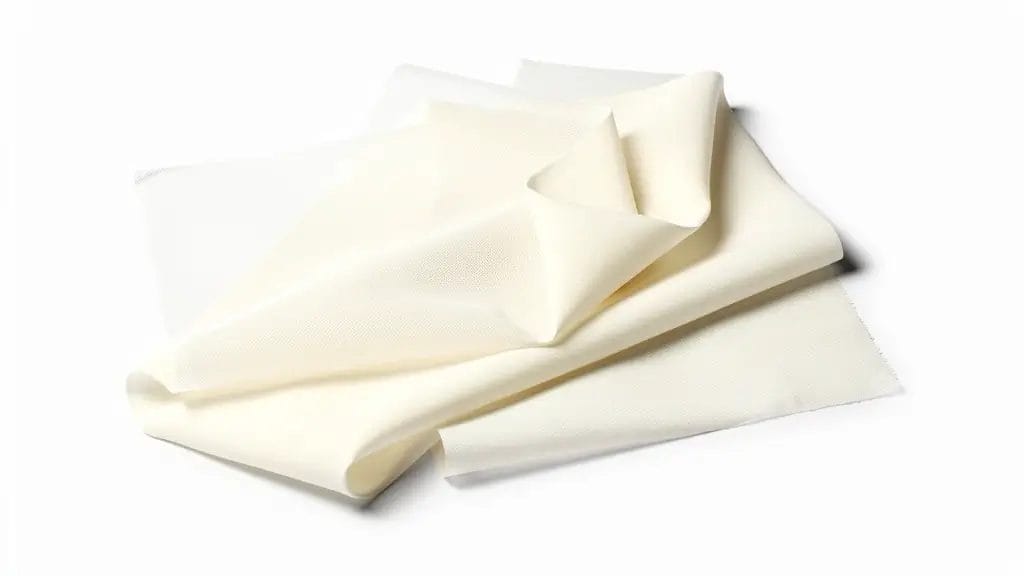
Delicate fabrics such as silk, chiffon, organza, lace, and some gauzes can be beautiful but hard to handle. They shift under the presser foot, stretch out of shape, and the threads at the edge can start to pull free with very little handling. Adding interfacing or stabilizer gives these fabrics more body so we can sew them without causing extra fraying.
Interfacing is a support fabric that we add to the wrong side of our main fabric. It comes as:
- Fusible interfacing: has a glue side that sticks when pressed with an iron
- Sew-in interfacing: basted or pinned in place without heat
Both types come in different weights, from very lightweight sheers to firm options for collars and waistbands. For delicate fabrics, we usually pick lightweight fusible or very soft sew-in interfacing that moves well with the fabric.
Temporary stabilizers include tear-away and wash-away types. We place these under the fabric while we sew, especially when doing machine embroidery or when finishing very delicate edges. After stitching, we remove the stabilizer by tearing it off carefully or rinsing it out. This helps the machine stitches form properly without chewing up the thin fabric underneath.
To apply fusible interfacing, we cut it to match the pattern piece, place the adhesive side against the wrong side of the main fabric, and press with an iron following the maker’s directions. For sew-in interfacing, we pin or baste it to the wrong side and then treat the two layers as one during cutting and sewing. By reinforcing areas like buttonholes, pocket openings, necklines, and hems, we reduce stress on the threads and keep the cut edge from coming apart.
Hemming or Folding and Stitching the Edge
A classic hem does more than just set the length of a garment or curtain. It also hides and protects the raw edge of the fabric. By folding the edge to the wrong side and stitching it down, we fully enclose the cut threads so they cannot fray in the wash.
There are several common types of hems:
- Single-fold hem – turns the edge to the wrong side once and stitches it down, leaving the raw edge visible on the inside.
- Double-fold hem – rolls the edge under twice, so the raw edge sits inside the fold; very secure for clothing and household items.
- Narrow rolled hem – a very small double fold, often sewn with a special machine foot, and a favorite for lightweight fabrics like chiffon, voile, and silk scarves.
To sew a basic double-fold hem:
- Press the raw edge to the wrong side by about ¼".
- Fold it up again by another ¼"–½", depending on the desired hem width, and press firmly.
- Pin or clip the fold in place, then stitch close to the inner folded edge all the way around.
- Press again to set the stitches.
Hemming is the standard finish for the bottom edge of garments, sleeves, curtains, and table linens. It works well whenever the edge marks the final boundary of the item.
Choosing the Right Method for Your Fabric and Project
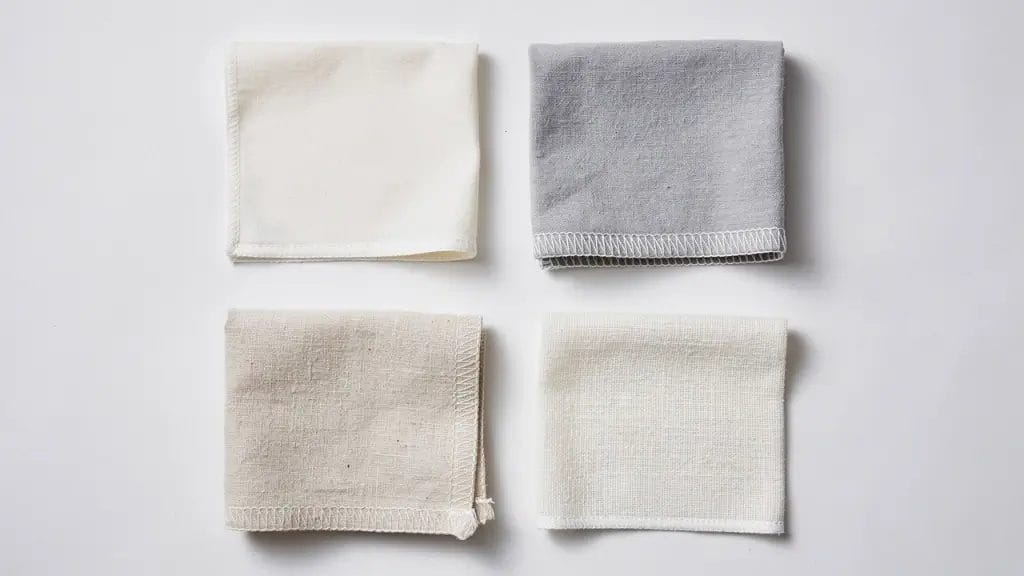
With so many ways to prevent fraying, it helps to have a simple way to decide what to use when. We look at three things: the fabric type, the kind of project, and the tools and skills we have on hand. When these pieces line up, our edge finishes become much easier to plan.
By Fabric Type
Different fabrics behave in different ways, so we choose methods that match. A simple way to think about it:
| Fabric Type | How Much It Frays | Recommended Edge Finishes | Notes |
|---|---|---|---|
| Delicate sheers (chiffon, silk, organza) | High | Liquid sealant, narrow rolled hem, French seams, soft interfacing | Use fine needles and light thread |
| Lightweight wovens (lawn, voile, quilting cotton) | Medium | Pinking shears, zigzag stitch, narrow hem, bias binding | Great for beginners |
| Medium to heavy wovens (denim, canvas, twill) | Medium–Low | Overlock/serger, wide zigzag, double-fold hem | Trim bulk before finishing |
| Loose weaves (gauze, burlap, tweed) | Very high | Serger, bias binding, liquid sealant, layered finishes | Secure edges as soon as pieces are cut |
| Synthetic wovens (polyester, nylon) | Medium | Heat sealing, zigzag, serger | Test heat on scraps to avoid melting too far |
By Project Type
The project itself also guides our choice.
- Garments – Internal seams are usually finished with a serger or zigzag stitch. Sleeves, skirts, and pants often use double-fold hems. Stay stitching on curved edges like necklines and armholes keeps those pieces from stretching and beginning to fray while we sew.
- Quilts – Many people use pinking shears when cutting pieces to reduce fraying while they handle and piece the blocks. For the quilt edge, bias binding is the classic choice because it fully covers the edge of the quilt sandwich and adds a nice frame.
- Home décor – Placemats, pillow covers, and curtains benefit from bias binding and neat hems, which keep fabric edges tidy and give a finished look on both front and back.
- Crafts and embellishments – Liquid fabric sealants and anti-fray glue work well on ribbon ends, appliqué pieces, and decorative trims. Heat sealing is helpful on synthetic ribbons and straps. When we know how the project will be used and washed, we can choose methods that balance speed and long-term strength.
By Skill Level and Tools Available
Our tools and comfort level matter too.
- Beginners with a basic sewing machine – Pinking shears, zigzag stitches, and simple hems are a great starting point. These methods use common tools and teach good habits about securing the edge of the fabric early in the process.
- Intermediate sewists – Can add bias binding, stay stitching on tricky curves, and more precise use of fray check for small areas. Hand sewing can also stand in for machine sewing in many of these methods, especially hems and bias binding.
- Advanced makers with access to a serger – Can rely on overlock stitches for many seams and raw edges, gaining both speed and a very strong finish.
We can even combine methods, such as stay stitching plus zigzag, or pinking plus hemming, when we need extra security on problem fabrics.
Tips for Working With Especially Fray-Prone Fabrics
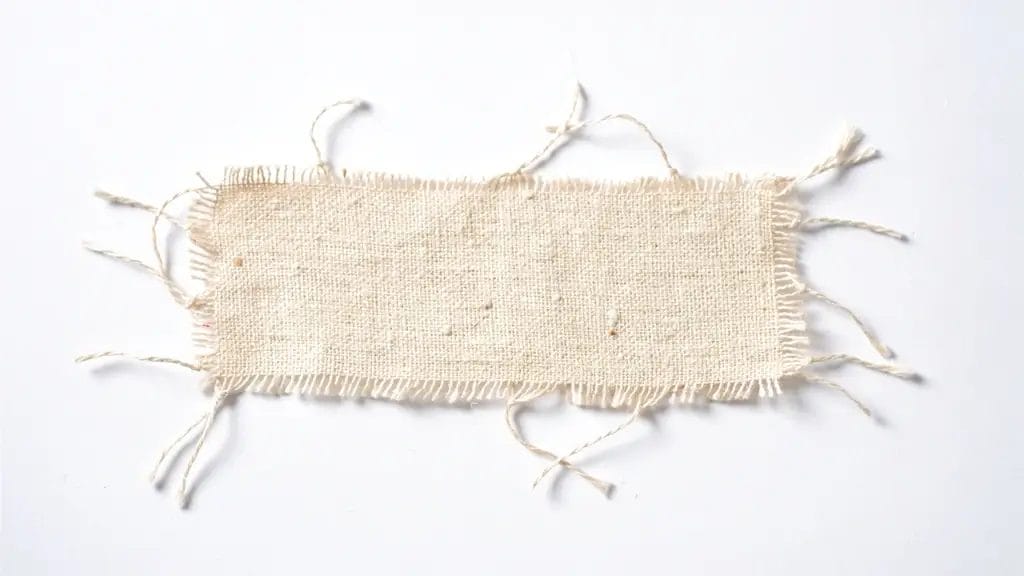
Some fabrics seem to fray if we look at them the wrong way. Loose linen, gauze, boucle, tweed, and some raw silk weaves can all fall into this group. When we know we are dealing with a troublemaker, a few extra steps before and during sewing can save us a lot of stress later.
Essential Preparation Techniques
Preparation starts with sharp tools. New machine needles, especially fine sizes like 60/8 or 70/10 for delicate fabrics, make clean holes instead of dragging threads. Good quality scissors or a fresh rotary blade make a smooth cut along the edge of the fabric, which reduces early damage and fraying.
How we cut also matters. Steady, confident cuts along pattern lines keep the number of loose threads to a minimum. Slow or choppy cuts can pull at threads and start small runs near the edge. Once pieces are cut, we handle them gently and try not to tug on seam allowances before the edges are secured. This small change in habits keeps raw edges from getting worse while we sew.
Specialized Techniques
Before cutting very loose or sheer fabrics, we can stabilize them. Light spray starch, gelatin wash, or temporary stabilizer sheets add a bit of body so the fabric behaves more like a crisp cotton while we cut and sew. After finishing the edges, these supports wash out, leaving the fabric soft again.
Securing raw edges as soon as possible is another helpful rule. On very fray-prone fabrics, we can serge edges right after cutting, or run a zigzag stitch along the edge of each piece before we start assembly. French seams, where the raw edge sits inside the seam itself, are also great for lightweight and sheer fabrics.
We can even layer methods for extra security. For example, we might stay stitch a neckline, then add a line of fray check right on the edge, and finish with bias binding. For loose weaves like gauze, this kind of double or triple finish can be the key that keeps the fabric from coming apart in wear.
Washing and Care Considerations
Fray-prone fabrics often need gentler washing. Pre-washing yardage can be helpful, since it removes factory sizing, pre-shrinks the fabric, and shows how much the fabric tends to fray. To keep that early fraying small, we can run a line of zigzag or serger stitching along the raw edges of the yardage before washing.
After the project is sewn:
- Use mesh laundry bags to protect seams from rubbing against other clothes.
- Choose gentle cycles with lower spin speeds.
- Air dry or use low heat to reduce stress on the edges.
Common Mistakes to Avoid When Preventing Fraying
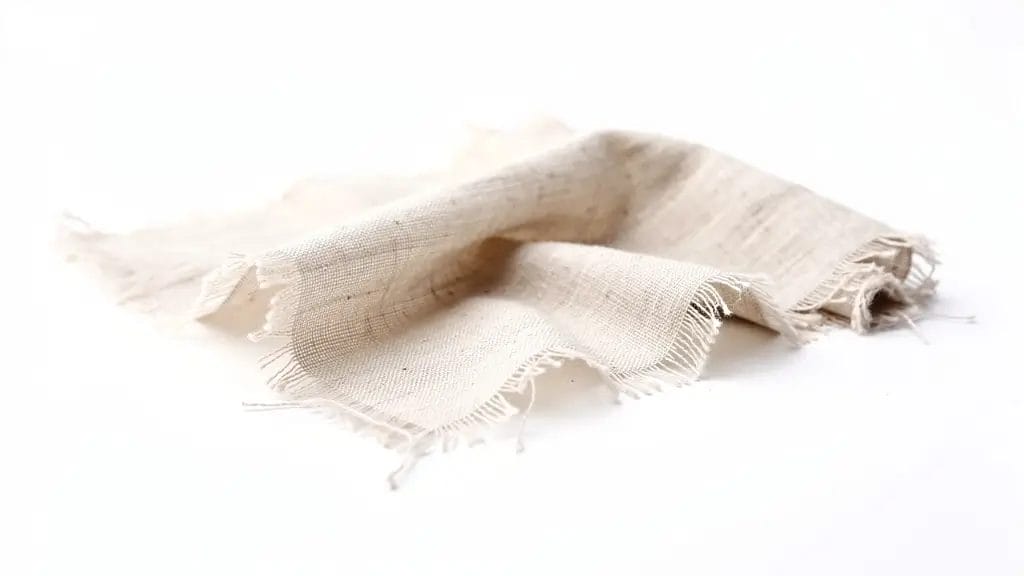
Even when we know how to prevent fabric from fraying, a few common habits can work against us. Watching for these mistakes helps our efforts pay off.
- Using dull or damaged tools – Blunt scissors, worn rotary blades, and old machine needles create rough cuts and skipped stitches. Those rough spots become starting points for fraying, so replacing blades and needles regularly is worth the small cost.
- Overusing liquid sealants – When we squeeze too much fray check or fabric glue along the edge, it can soak far into the fabric, leaving a wide, stiff band that feels scratchy or shows through to the right side. Thin, narrow lines work best, and testing the product on scrap fabric first lets us see how it dries.
- Choosing a method that does not suit the fabric – Using heat sealing on a cotton blend, putting heavy overlock stitches on very delicate silk, or trusting only pinking shears on loose burlap can all lead to worn edges. Instead, we match the method to the fabric, and for tricky cases we combine methods for extra strength.
- Waiting too long to secure the edge – If we wait to finish edges until after heavy fitting, repeated handling, or even the first wash, fraying may already be advanced. It is better to secure raw edges early in the process, right after cutting or after the first seams are sewn.
- Incorrect stitch settings or poor thread – Very wide zigzag stitches on thin fabric and low-quality thread can cause puckering or breaking. Taking a minute to test settings on scraps prevents problems later.
Rushing is the last big trap. Working too fast can lead to uneven zigzag lines that miss the edge, skipped spots with liquid sealant, or hems that do not fully catch the raw edge. Taking a few extra minutes to set the machine correctly, press folds well, and check that edges are fully covered pays off every time.
Conclusion
Fraying edges do not have to ruin our sewing projects. Once we understand why woven fabrics come apart along the cut edge, it becomes much easier to pick a method that keeps those threads in place. From pinking shears and fray check to zigzag stitches, serger seams, bias binding, interfacing, and neat hems, we always have more than one way to protect the edge of the fabric.
By matching our approach to the fabric, the project, and the tools we have, we can keep our projects looking sharp and ready for regular wear and washing.
FAQs
What Is the Easiest Way to Prevent Fabric From Fraying?
For most beginners, pinking shears are the easiest way to reduce fraying. They need no sewing, are affordable, and instantly shorten exposed threads with a zigzag cut. For an even simpler no-sew option on small areas, fray check or another liquid sealant works very well.
Can I Use Regular Glue to Stop Fabric From Fraying?
Regular household glues, such as school glue or super glue, are not a good fit for fabric edges. They often dry stiff, can yellow over time, and may crack instead of bending with the fabric.
Does Washing Fabric Before Sewing Help Prevent Fraying?
Pre-washing does not stop fraying, but it still matters. Washing removes factory sizing, shrinks the fabric to its real size, and shows how much the fabric tends to shed threads. The wash and dry cycle can cause fraying on raw edges, so it helps to finish the cut edges of yardage with a zigzag stitch or serger before washing.
Which Fabrics Fray the Most?
Fabrics with loose weaves and fine threads tend to fray the most. That group includes loosely woven linen, silk, chiffon, gauze, raw silk, tweed, and some lightweight wool fabrics.
Can I Prevent Fraying Without a Sewing Machine?
Yes, we can prevent fraying without a machine. No-sew methods like pinking shears, fray check, anti-fray glue, and heat sealing for suitable synthetics all help keep edges neat.
How Do I Stop Fraying on a Cut Edge That Is Already Starting to Come Apart?
When an edge has already started to fray, we begin by trimming away the worst of the loose threads with sharp scissors to get back to a clean, fresh edge. Right after trimming, we apply a thin line of fray check or similar fabric sealant along that fresh cut so the threads stay in place. For high-stress areas, we can add a line of stay stitching or a zigzag stitch along the edge once the sealant is dry.
0 comments