

You've got that perfect Halloween costume concept, but the fabric looks far too new to be convincing. Whether you're creating a zombie's tattered clothing or a ghost's aged dress, knowing how to properly distress fabric can transform your costume from obviously store-bought to hauntingly authentic. By mastering a few key techniques, you'll be able to add years of artificial wear and tear to any garment - and the process isn't nearly as complex as you might think. Let's uncover these easy aging methods.
Key Takeaways
- Sandpaper fabric in circular motions on high-contact areas like knees and elbows to create authentic-looking worn spots.
- Instant coffee and tea staining create natural aging effects - brew strong solutions and apply in layers for depth.
- Remove fabric sizing through washing and drying before applying any aging techniques to ensure better absorption.
- Apply darker paint shades to simulate ground-in dirt, focusing on creases and edges where dirt naturally accumulates.
- Use soft brushes to work pigments into the fabric, then seal with matte spray for long-lasting distressed effects.
Preparing Your Fabric
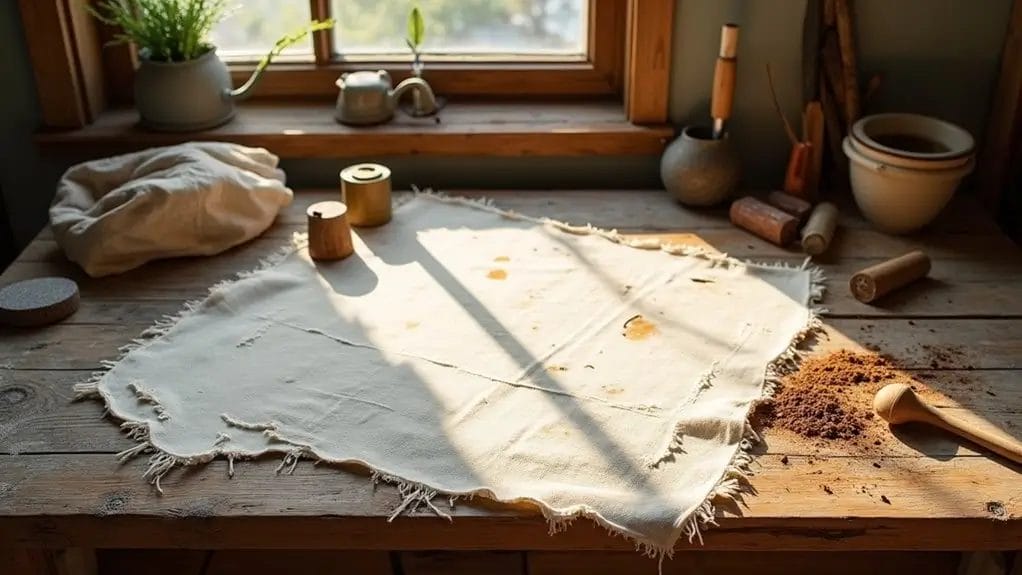
Before you start aging your fabric, you'll want to select materials that can withstand distressing techniques without falling apart - natural fibers like cotton and linen work particularly well for Halloween costumes.
Make sure to thoroughly wash and dry your chosen fabric to remove any sizing or residues that could interfere with the aging process.
You'll achieve the best results by starting with clean, dry fabric at room temperature, ensuring your distressing techniques will adhere properly and create permanent effects.
Choosing the Right Fabric for Aging
When selecting fabric for aging effects, natural fibers like cotton, linen, and wool respond best to distressing techniques and take dye more effectively than synthetic materials. For example, leather is another option that can also age beautifully and develop a unique patina over time.
You'll want to avoid fabrics with high polyester content, as they resist weathering and can look artificial when distressed.
Choose medium-weight material that can withstand your planned aging technique without falling apart.
Natural fabrics also allow for better texture development when you're creating wear patterns.
Consider the fabric's end use - if you'll need to wash the costume later, select materials that won't deteriorate with cleaning.
Test your aging methods on scraps first to verify the fabric reacts as desired.
Cleaning the Fabric Before Distressing
Proper fabric preparation lays the groundwork for successful aging effects. You'll need to remove any existing dirt, oils, or sizing from your fabric before applying distressing techniques.
Start by washing your fabric thoroughly with a mild detergent, making sure it's completely clean and free of residue.
Once your fabric is dry, inspect it carefully for any remaining stains or spots that might interfere with your aging process.
If you're working with delicate materials, consider hand-washing instead of machine washing. Keep in mind that even after thorough cleaning, some fabrics may still have inherent characteristics that could affect the final outcome, so always test your methods on a small piece first.
How to Age Fabric for Halloween Costumes: Essential Tips
To create an authentically aged Halloween costume, you'll want to focus on three key techniques: controlled distressing with dirt effects, strategic tearing of edges, and simulated wear patterns.
You can achieve a believable aged look by applying sealed dirt effects and pigments that won't transfer, while carefully fraying selected edges to suggest natural deterioration over time.
For realistic wear patterns, concentrate on areas that would naturally show stress like knees, elbows, and hems, using sandpaper and paint techniques that maintain the fabric's integrity while creating the illusion of age. Remember, the goal is to make the costume look dirty and worn, so don’t shy away from techniques that destroy the pristine appearance of the fabric. This will add to the overall effect and help convey the desired aesthetic for your costume.
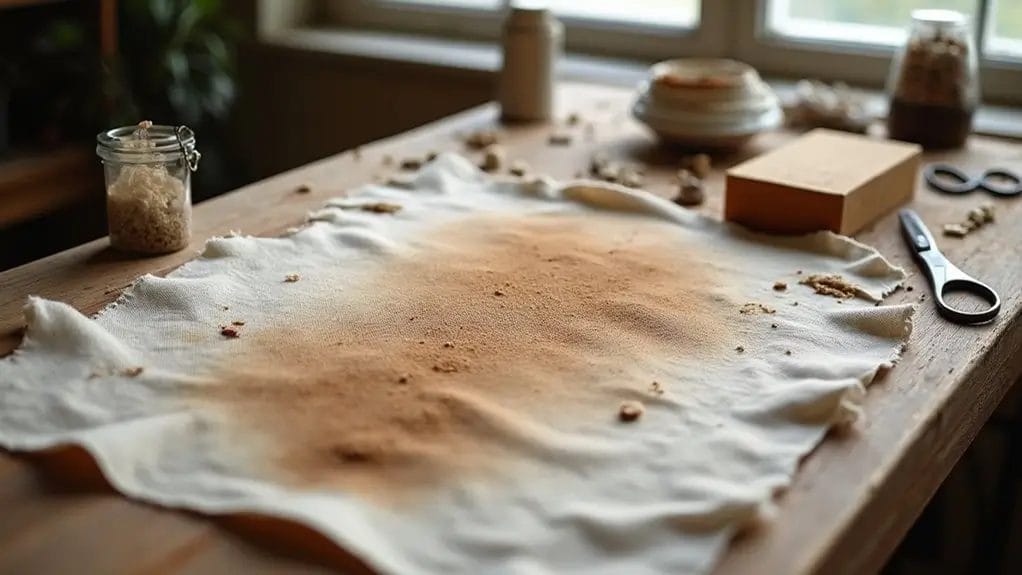
Distressing with Dirt and Grime
Creating realistic dirt and grime effects forms the backbone of any convincingly aged costume. You'll want to simulate wear patterns that match natural aging, focusing on areas that would typically collect dirt during use.
For lasting results that won't compromise your Halloween fabric's integrity, try these tested techniques:
- Mix fabric paint with fine sand or flour to create textured mud that won't wash away. You can also use a spray bottle to apply this mixture for a more controlled effect.
- Distress high-contact areas first, like knees, elbows, and hems, using darker shades to simulate ground-in dirt. For added realism, consider using a splatting technique to mimic dirt that has been kicked up.
- Layer different colors of brown and gray paint, then seal with matte spray to prevent flaking and maintain washability.
Remember, the goal is to create a real and convincing look, so don’t hesitate to use a lot of paint and texture to achieve the desired effect. You can even experiment with items from your kitchen to create unique dirt effects!
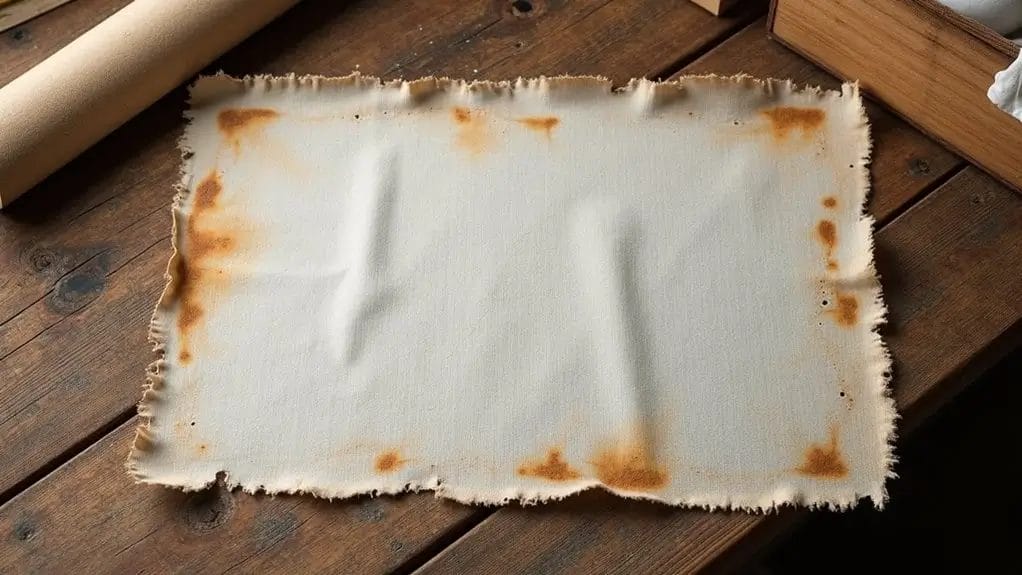
Tearing and Fraying Edges
Authentic tearing and fraying along fabric edges can transform an ordinary costume into a believably weathered garment.
When creating tears, focus on high-stress areas where clothes naturally wear, like knees, elbows, and hems. You’ll need to put holes in these areas to simulate realistic damage. Start with small snips using scissors, then gently pull the fabric apart to create natural-looking frays.
For a vintage effect, don't tear completely through - instead, weaken the fabric's threads by rubbing them between your fingers. You may also want to drag the fabric along rough surfaces to enhance the worn appearance.
Remember to seal any raw edges with clear nail polish to prevent excessive unraveling.
Keep structural seams intact while working, ensuring your costume remains wearable despite its distressed appearance. The overall effect will depend on your attention to detail and the areas you choose to work on, so be strategic about where you create those frays and tears.
Creating a Worn Look with Wear and Tear
Beyond frayed edges and tears, a truly aged costume needs strategic wear patterns that tell a story of extended use. When distressing your costume, focus on areas that would naturally show wear over time, like knees, elbows, and hem edges.
- Apply sandpaper in circular motions to create authentic-looking worn spots, especially on high-contact areas.
- Paint subtle metallic lines near seams and edges to simulate exposed threads and fabric wear.
- Dust pigments into fabric creases and buff with a cloth for a naturally weathered appearance.
Remember to seal your distressing work with matte spray to guarantee your costume's wear patterns remain intact through use.
Additional Aging Techniques
You'll find tea and coffee staining highly effective for creating an aged appearance, as these natural dyes penetrate fabric fibers to produce authentic-looking discoloration patterns.
For painted aging effects, you can dab various earth-tone acrylic paints onto the fabric using a dry brush technique, focusing on areas that would naturally show wear like hems, elbows, and knees.
After applying either stains or paint, let the fabric dry completely before adding additional layers of weathering to build depth and dimension to your aged costume pieces.
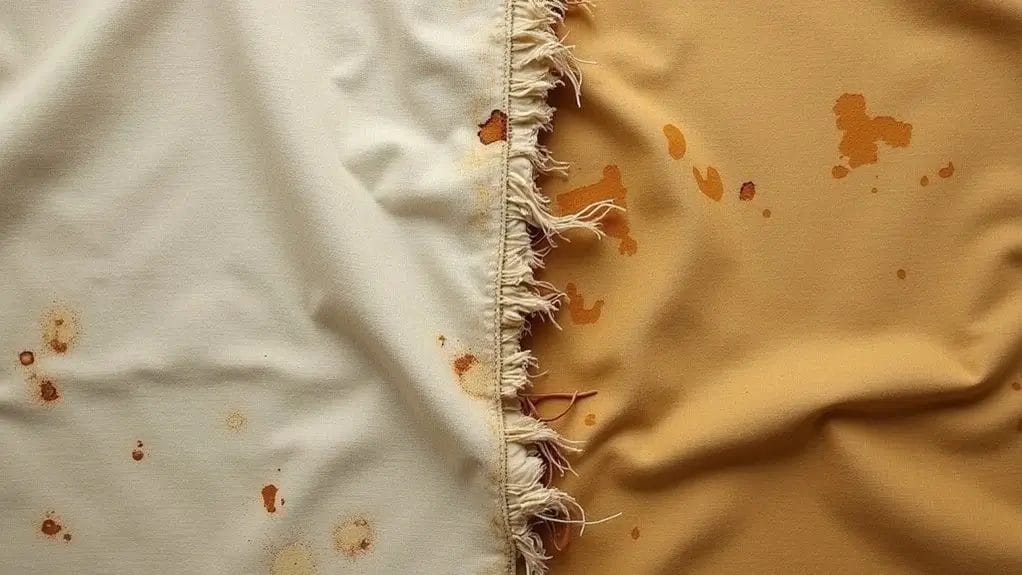
Using Tea or Coffee to Stain Fabric
Tea and coffee staining ranks among the most effective natural methods for aging fabric, creating an authentically weathered appearance perfect for Halloween costumes.
You'll want to brew a strong batch of either beverage and let it cool completely before starting the staining process.
- Dip your fabric directly into the stain solution, focusing on areas that would naturally show more wear and aging, such as around the collar or cuffs where sweat might accumulate. You can also use a splatter technique to apply the stain in a random pattern, mimicking the way fabric would accumulate dirt and grime over time.
- Layer multiple applications of tea stain to achieve darker, more varied coloring that mimics years of use. For added depth, consider mixing in a bit of water to dilute the stain for lighter areas, and use shoe polish for darkening specific spots that would typically see more wear.
- Let each layer dry completely before adding more stain, and seal the fabric with a clear fixative to prevent bleeding.
Remember to test your staining technique on a small fabric sample first to guarantee the desired effect.
Applying Paint for a Weathered Effect
Paint transforms ordinary fabric into convincingly aged material when applied with strategic weathering techniques.
You'll want to start by applying a base coat of paint, then create distressing effects by gently sanding or scraping specific areas.
For realistic texture, sprinkle fine dirt or pigments into wet paint, focusing on creases and high-wear spots. This will really enhance the aged look and make it appear as though the fabric has seen years of use.
Add metallic silver paint with a fine brush to simulate scratches and worn edges, leaving behind subtle highlights that mimic wear.
Don't forget to buff any raised designs with a cloth to enhance their aged appearance.
Finish with a clear matte spray to seal your work and guarantee the distressing effects remain intact through use.
Final Touches
After completing your aging techniques, you'll need to let the fabric dry completely in a well-ventilated area for at least 24 hours before handling.
You can enhance the aged appearance by gently buffing raised areas with a soft cloth, which will create natural-looking wear patterns that match actual vintage pieces.
If you're not satisfied with the initial results, don't hesitate to layer additional aging effects, remembering that authentic wear typically shows varying degrees of distress rather than uniform damage.
Letting the Fabric Dry and Set
The final stage of aging your costume requires proper drying time and careful attention to detail. Let your distressed fabric dry completely in a well-ventilated area, allowing all weathering effects to set properly.
You'll need to give special consideration to layered treatments and sealed textures.
- Lay your costume flat to prevent paint or pigments from running, and allow at least 24 hours for thorough drying
- Test the surface by gently touching treated areas to ascertain all effects have set completely
- Buff any metallic details with a soft cloth once dry to enhance the weathered appearance
Remember to document your techniques for future reference, and store your costume properly once it's fully set.
Tips for Getting the Desired Aged Look
Once your aged fabric has fully dried, adding final touches will transform your costume from simply distressed to authentically weathered.
Apply fine dust or pigments to edges and seams where natural wear occurs. You'll want to focus on high-contact areas like knees, elbows, and hems.
Test each method on a scrap of your material first to guarantee it won't compromise the fabric's integrity.
Use a soft brush to work pigments into creases, and don't forget to seal your work with matte spray.
For extra realism, buff raised areas with a cloth to create subtle variations in texture and sheen.
Frequently Asked Questions
Can Distressing Techniques Be Reversed if I Make a Mistake?
You can't easily reverse most distressing techniques like sanding or tearing, but you can paint over scratches, add patches to cover holes, or layer new fabric on damaged areas to salvage your project.
How Do I Prevent Aged Fabric From Shedding During Wear?
You'll need to seal your aged fabric with clear matte spray paint, use impermeable dyes, and avoid over-distressing. Don't forget to reinforce edges and seams with stitching to prevent fraying during wear.
Which Fabrics Respond Best to Coffee or Tea Staining?
You'll get the best tea and coffee staining results on natural fibers like cotton, linen, and muslin. They'll absorb the dye readily. Avoid synthetic fabrics like polyester or nylon, as they won't take the stain effectively.
Will Weathered Costumes Trigger Smoke Detectors at Halloween Events?
You won't trigger smoke detectors with properly weathered costumes. Just make certain you're using sealed paints, dried stains, and cured finishes. Avoid loose powder effects that could become airborne during movement or dancing.
Can I Safely Store Distressed Costumes With My Regular Clothing?
You'll want to store distressed costumes separately from regular clothing. Keep them in a sealed container or garment bag to prevent any dust, paint, or artificial aging materials from transferring to your everyday wardrobe.
Conclusion
With these aging techniques, you'll transform any pristine fabric into a convincingly weathered costume piece. Don't forget to seal your work with a protective spray to prevent further unintended wear. Remember to step back occasionally and assess your progress - it's easier to add more distressing than to undo too much. Keep experimenting with different combinations of techniques until you've achieved the perfect spooky, time-worn look you're after.
0 comments