Have you ever looked at your old clothes and wished you could give them new life? Transform your favorite fabric pieces into a trendy phone case that's uniquely yours. It's a simple DIY project that'll help you protect your device while showcasing your personal style. With just a few basic materials and some creative flair, you can craft a custom case that'll turn heads and start conversations - all while giving your cherished fabrics a second chance to shine.
Key Takeaways
- Select a clear phone case and clean fabric twice the size of your phone, ensuring both fit your device perfectly.
- Measure and cut the fabric with an extra 1/2 inch allowance on all sides for proper wrapping around edges.
- Apply strong fabric adhesive evenly around the phone case edges.
- Center fabric over case, press firmly while smoothing outward to prevent air bubbles, then fold excess inward.
- Allow the glued fabric phone case to dry completely for 24 hours before use to ensure durability.
Gather Materials

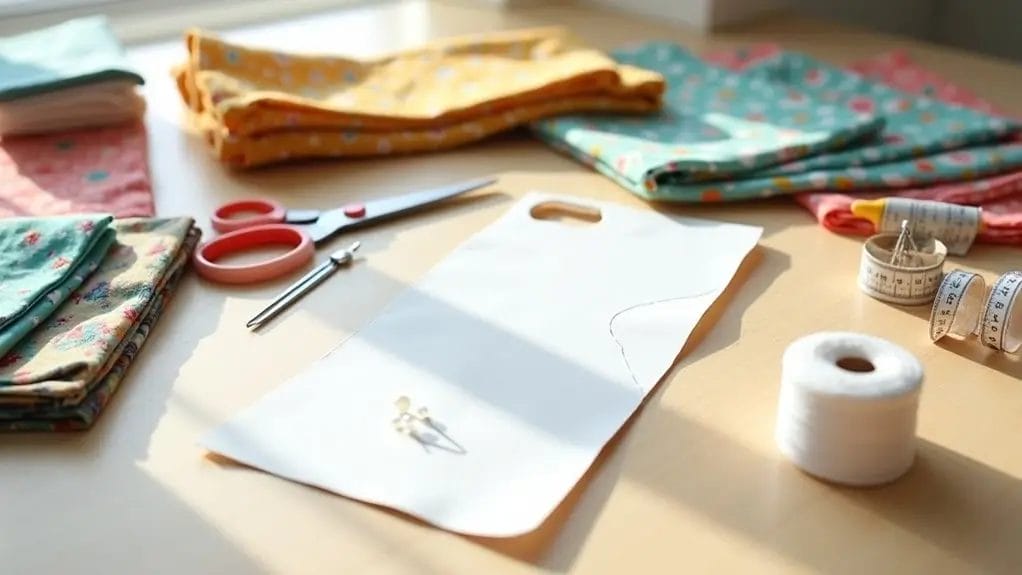
You'll need to gather a few key items to create your personalized fabric phone case: an old piece of fabric with a pattern you love, a clear phone case that fits your device perfectly, and some strong adhesive glue.
Don't forget to include a trusty pair of scissors for precise cutting, and an eraser pen to mark your measurements on the fabric.
Having these materials ready before you start will make the creative process smoother and more enjoyable, ensuring your DIY project turns out exactly as you envision it.
Old Fabric
To create your custom fabric phone case, begin by selecting an old piece of fabric that speaks to your style - whether it's a beloved t-shirt, a vintage scarf, or that spare quilting material tucked away in your craft drawer.
Choose a fabric that's sturdy enough to protect your phone but not too thick to sew through. Cotton, linen, or denim work great!
Transparent Phone Case
Now that you've picked your fabric, the next step starts with a clear phone case as your foundation.
You'll want to choose a transparent case that's specifically designed to fit your phone model perfectly. Make sure it's completely clear, not frosted or tinted, so your fabric design will show through beautifully.
Look for a case that's easy to insert and remove your phone from, with precise cutouts for buttons and ports. The inside of the case should be smooth and clean to prevent any damage to your fabric once it's installed.
Glue
Selecting the right adhesive is essential for creating a long-lasting fabric phone case. You'll want to use a strong fabric glue that dries clear and creates a stiff, durable bond.
Scissors
Sharp, precise scissors are essential for this DIY phone case project!
You'll want to use fabric scissors that are dedicated solely to cutting fabric - this guarantees clean edges and prevents fraying. Regular household scissors won't give you the precision you need and can damage your material.
Eraser Pen
A trusty eraser pen is your secret weapon for marking fabric without leaving permanent stains! When you're ready to create your DIY phone case, you'll find this tool invaluable for making precise markings that easily disappear with a gentle press.
How to Make a DIY Fabric Phone Case with Old Fabric

Let's transform your old phone case into a stylish accessory using fabric you already have at home.
You'll start by tracing your phone case onto the fabric and cutting out the shape.
Then apply glue around the case's edges before carefully attaching your fabric piece.
The final touch involves folding and securing the fabric edges inward with glue, creating a professional-looking finish that's uniquely yours.
Step 1: Use Your Phone Case to Draw a Shape on the Fabric
Before you begin transforming your old fabric into a custom phone case, place your existing case face-down on the wrong side of your chosen fabric.
Using a piece of paper as a template to cut, trace around your phone case, leaving about 1/2 inch extra space on all sides for seam allowance. Make certain your fabric lies completely flat during this process.
- Keep your hand steady while tracing to create clean, precise lines
- Double-check your measurements before cutting the shape
- Use a fabric marker or chalk that won't bleed through
- Consider marking dots at the corners to guarantee accurate cutting later
Step 2: Cut the Fabric Along the Drawn Shape
Now that you've created your perfect template outline, grab your fabric scissors to begin the cutting process. Cut slowly and steadily along the line you've drawn, making sure to stay about 1/8 inch outside the edge for a bit of wiggle room.
You'll want the fabric piece to be slightly larger than your template size to allow for proper folding and wrapping.
For clean edges, hold your scissors at a consistent angle and use long, smooth strokes rather than small snips. If your fabric is delicate or prone to fraying, consider cutting with pinking shears to prevent unraveling during the next steps.
Step 3: Apply Glue Around the Edge of the Phone Case
Grab your fabric glue and carefully apply a thin, continuous line around the entire edge of your phone case, staying approximately 1/4 inch from the outer rim.
As you work your way around, make certain to cover every corner with enough adhesive to secure the fabric properly.
- Start at one edge and work your way around systematically to guarantee even coverage
- Pay extra attention to the corners where you'll need to fold the fabric neatly
- Don't oversaturate with glue - a thin line is all you need
- Let the glue become slightly tacky (about 30 seconds) before pressing the fabric down
Step 4: Attach the Fabric to the Phone Case
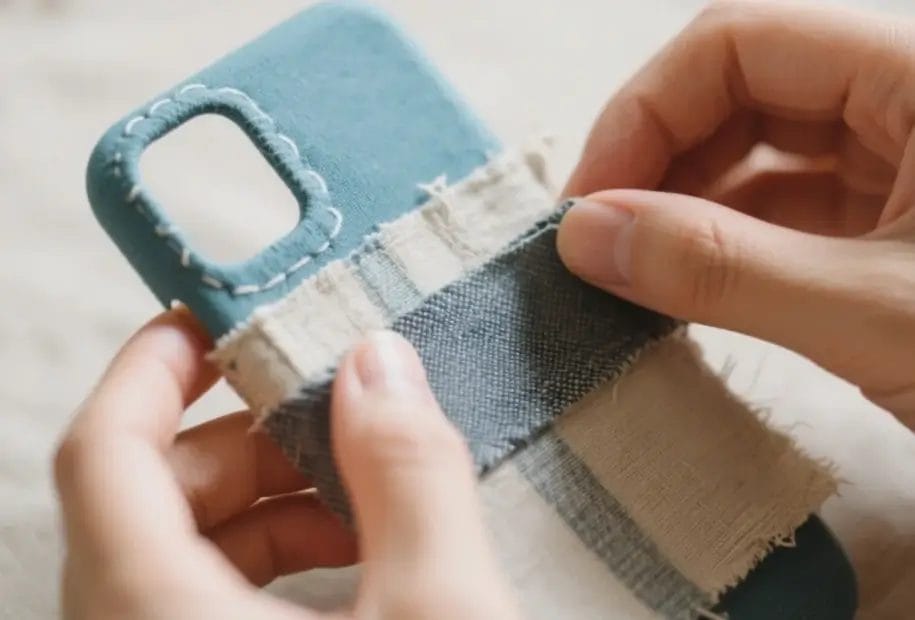
Carefully position your fabric piece over the phone case, centering it with equal overhang on all sides.
Press down firmly in the middle first, then work your way outward to verify the fabric makes good contact with the glue layer.
Add pressure along the edges and corners to prevent bubbles from forming.
Put extra attention into pushing the fabric into any grooves or button openings.
Use a pencil tip to help the material stay neatly tucked into these smaller spaces.
Check that the fabric is smooth and taut across the entire surface before moving on to the next step.
Step 5: Fold the Edges of the Fabric Inward and Secure with Glue
Working from one edge at a time, fold the excess fabric inward and press it firmly against the phone case's interior. Apply a thin line of glue along each edge and hold it in place for 30 seconds. Make sure you create clean, crisp folds for a professional finish.
- Start with the short edges first, then fold and glue the longer sides.
- Use clothespins or binder clips to hold the fabric edges while the glue dries.
- Trim any excess bulk at the corners to reduce bulging.
- Double-check all edges are securely glued to prevent the fabric from peeling.
Step 6: Decorate the Case with Beads or Stickers
Once your fabric is securely attached, you can transform your phone case into a personalized masterpiece with decorative elements.
Let your creativity flow as you craft unique patterns using your favorite embellishments. Add sparkly rhinestones, colorful beads, or cute stickers to create eye-catching designs.
You'll want to space decorations evenly and make sure they're firmly secured with strong craft glue.
DIY tip: Before you decorate, sketch your design on paper first. This helps you plan the perfect layout.
Remember to leave some spaces phone-free to maintain functionality. Don't overload the case - sometimes simple designs make the biggest impact.
Tips For Transforming Old Fabric into a Fabric Phone Case
You'll want to select old fabrics that have thicker textures and distinct patterns to create a durable and visually appealing phone case.
Cut your chosen fabric slightly larger than needed to guarantee you've got enough material to wrap completely around the case edges.
When you're attaching the fabric to your phone case, smooth it down carefully from the center outward to prevent any air bubbles from forming underneath.
When choosing fabrics, try to pick old fabrics with a thicker texture and clear patterns.
To create a stunning DIY phone case, selecting the right fabric is essential.
When you choose your material, look for thicker fabrics that'll hold their shape and protect your device. Try to find pieces with bold, clear prints that'll make your case stand out.
- Choose fabrics with tight weaves like denim, canvas, or heavy cotton
- Look for geometric patterns or large-scale prints that'll be visible on the small surface
- Try repurposing old clothing items with unique textures like corduroy or tweed
- Select fabric with contrasting colors that'll make your print pop and hide dirt
Make sure the fabric is slightly larger so it can fit around the case.
Before cutting your fabric, measure the dimensions of your phone case and add an extra 1/2 inch on all sides for proper wrapping.
You'll want to guarantee there's enough fabric to fold over the outside edges of the case without stretching the material too thin. This extra space prevents frustrating gaps or exposed areas while crafting.
For the best fit, lay your phone case on the fabric and mark slightly larger than needed - it's always better to have a bit more material than not enough.
You can trim excess fabric later, but you can't add more if you've cut too small.
When attaching the fabric, try to avoid creating bubbles.
Smooth, bubble-free fabric application starts with proper positioning and careful adhesive spreading. As you work with your fabric, take time to protect against unwanted air pockets that can ruin your phone case's appearance.
- Start from the center and gently press outward, using your fingers to check for trapped air.
- Remove any bubbles immediately by lifting the fabric slightly and smoothing again.
- Work in small sections, applying even pressure as you go.
- Double-check corners and edges where bubbles commonly form, using a credit card or ruler to smooth them out completely.
Frequently Asked Questions
Can I Wash the Fabric Phone Case After It's Made?
You'll need to spot clean your fabric phone case with a damp cloth since machine washing could damage the structure and adhesives. A gentle hand cleaning's your best option!
How Long Does a DIY Fabric Phone Case Typically Last?
Your DIY fabric phone case can last 6-12 months with proper care! You'll notice the best longevity if you've reinforced the seams well and don't expose it to excessive moisture or rough handling.
Will the Fabric Phone Case Protect My Device if Dropped?
While your DIY fabric case can cushion minor bumps, it won't provide significant drop protection. You'll want to add padding or choose a hard-shell case if you're looking for serious impact protection.
Can I Add Padding or Extra Protection Inside the Case?
Yes, you can add batting, foam padding, or felt layers between your fabric pieces! Just cut them to size and sandwich them during construction for extra cushioning and protection.
Which Types of Old Fabric Should I Avoid Using for Phone Cases?
You'll want to avoid stretchy, loose-weave, or delicate fabrics like jersey, lace, or silk. Stick to sturdy cotton, denim, or canvas that won't tear or wear out quickly.
Conclusion
You've now created a unique phone case that reflects your personal style while giving new life to old fabric! Don't stop here - try experimenting with different patterns, textures, and even layering fabrics for more creative designs. Remember to let your case dry completely before using it, and you'll be showing off your handmade accessory in no time. It's amazing how a simple DIY project can transform both your phone and fabric scraps!


0 comments