

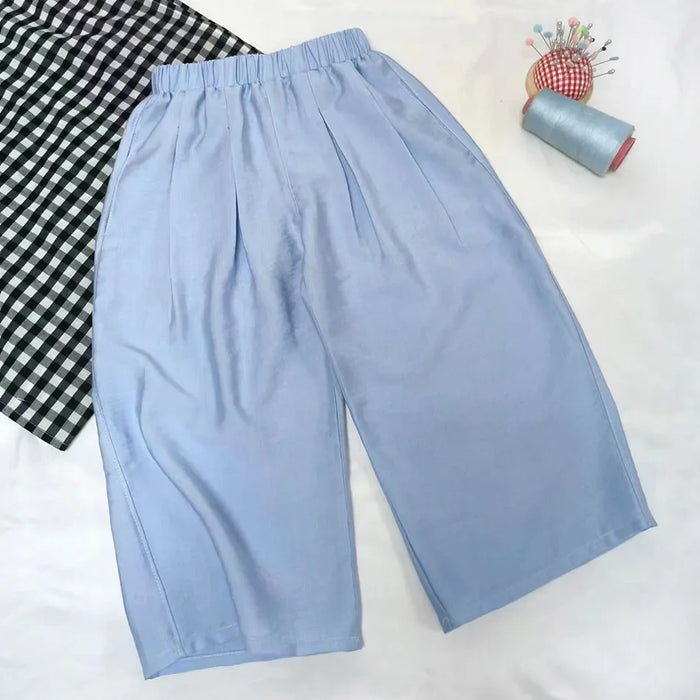
Structured pants are a classic wardrobe staple that combines style and comfort. Sewing your own pair allows you to customize the fit, fabric, and details to your liking. This tutorial will help you sew structured pants with our free pattern. Whether you’re new to sewing or want to refine your skills, follow these detailed steps to create a polished, professional-looking pair of pants.
Key Takeaways
- Always use right sides together when sewing seams to ensure clean finishes.
- Press seams open or flat after sewing for professional results.
- Reinforce pocket openings with topstitching and proper facings for durability.
- Finish raw edges using overlock or zigzag stitches to prevent fraying.
- Test fit before hemming or final adjustments for perfect fit.
- Using elastic in waistbands can add comfort while maintaining structured appearance.
Materials and Tools Needed
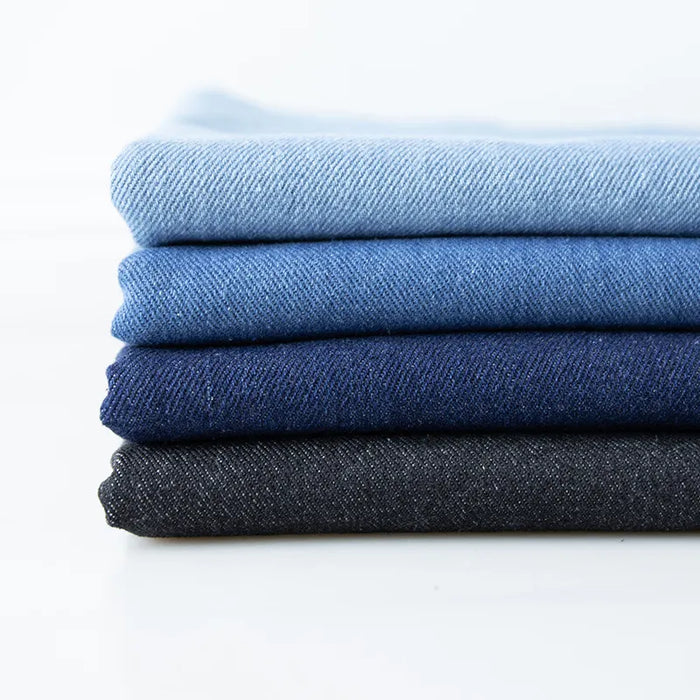
- Fabric for front, back, side panels, waistband, and pocket lining
- Sewing machine and matching thread
- Scissors, pins, and fabric chalk or marking pen
- Iron and ironing board
- Sewing Pattern
- Elastic band for waistband
- Measuring tape
- Seam ripper (optional)
How to Sew Structured Pants
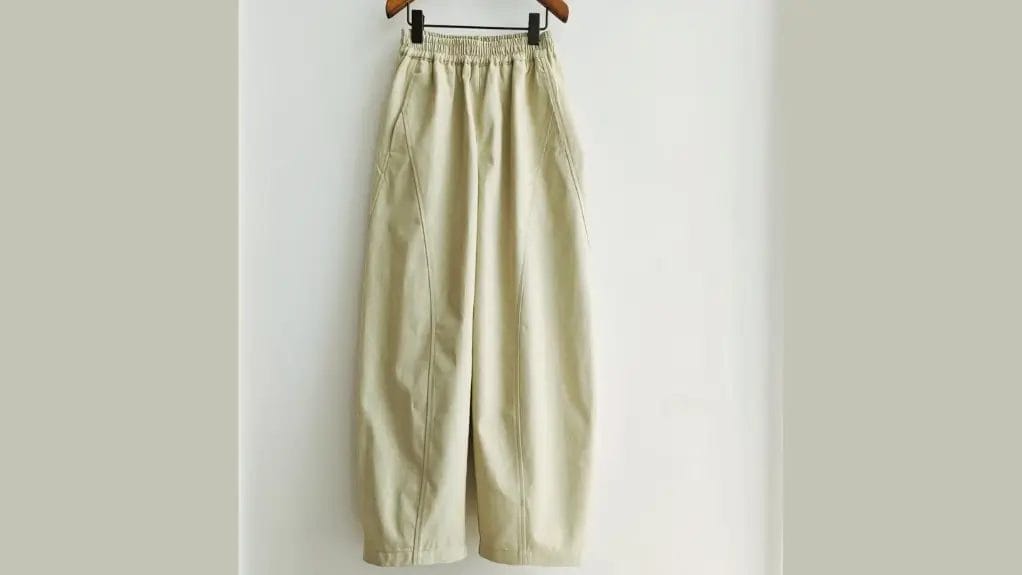
Sewing structured pants may require patience and attention to detail but mastering these steps will help you create stylish pants tailored perfectly for you.
Step 1: Prepare and Join the Front Panels
Begin by preparing the front panels of the pants. Place the front pieces of fabric right sides together, aligning the raw edges (knife edges). Stitch along the seam allowance (usually 1 cm), ensuring the edges are matched precisely.
After sewing, finish the seam with an overlock stitch or zigzag to prevent fraying. Press the seam open with an iron, then topstitch a straight line close to the seam on the right side of the fabric. This adds structure and keeps the seam flat.
Step 2: Mark and Sew the Front Pocket Opening
Structured pants often feature neat front pockets. Using your pattern as a guide, draw a rectangular pocket opening on the front panel. The lines should form a rectangle where the pocket will be inserted.
Take the pocket fabric (pocket bag) and place it right sides together with the front panel at the marked pocket opening. Sew around the pocket opening with a 1 cm seam allowance. When you reach the corners, pivot at 90 degrees to sew precisely along all edges.
Clip small notches at the top and bottom corners of the stitching line to reduce bulk when turning. Turn the pocket bag to the inside through the opening, pushing out corners carefully for a sharp edge.
Press the pocket opening flat, then topstitch around the edges at approximately 0.6–0.7 cm from the edge for a clean finish.
Step 3: Attach Pocket Facing and Secure
Open both the pocket bag and front panel so their right sides face up. Take the pocket facing piece, which should have its curved edge finished with an overlock or zigzag stitch beforehand.
Align the pocket facing over the pocket bag, matching seam lines carefully, then sew around its perimeter to secure it.
Fold the front panel back over so that its raw edge aligns with the pocket bag’s raw edge on the inside; sew a straight line to secure.
Sew along the curved edge of the pocket bag and finish with an overlock stitch to prevent fraying. Finally, sew the waistband area to fix the pocket bag securely in place.
Step 4: Sew Side Panels to Front Panels
Next, join the side panels to create more structure on the sides.
- Take the side piece and mark its knife edges according to your pattern.
- Place it right sides together with the front panel, matching edges carefully.
- Sew along the seam line with a 1 cm allowance, then finish with an overlock stitch.
- Press the seam flat and add a topstitch on the right side for durability and neatness.
Step 5: Attach Back Panels and Construct Back Pocket
The back panels complete the main pant body. With right sides facing, align and sew side seams between back and front panels, locking edges together. Finish seams with overlock stitching and press flat. Topstitch on right side if desired.
Prepare back pocket pieces by finishing edges with an overlock stitch first. Draw a sewing line on the back pocket piece following your pattern and fold it over along this line; stitch in place to create a clean edge.
Take a long strip of fabric (binding strip) and sew it along the curved edge of the back pocket at about 0.8 cm from raw edge; trim excess strip fabric after sewing. Open this strip and press it flat on right side for a neat binding finish.
Fold in 1 cm along pocket edge towards inside and sew onto corresponding position on back panel securely.
Step 6: Sew Inseam
Now focus on assembling the pant legs. Fold each pant leg so that right sides face each other and align inseam edges inside out. Sew along inseam with 1 cm allowance and finish seams with overlock or zigzag stitch to prevent fraying.
Step 7: Join Pant Legs at Crotch Seam
With both pant legs constructed:
- Turn one leg inside out and insert it into the other leg which is right side out so that crotch seams align perfectly with right sides facing each other.
- Pin carefully along crotch seam line, then sew all around crotch seam joining both legs into one continuous garment.
Step 8: Attach Waistband with Elastic
The waistband provides fit and comfort. Prepare waistband fabric by folding it in half lengthwise with right sides together; sew short ends together to form a loop; finish edges as needed.
Place waistband around pant waistline with right sides together; sew all around attaching waistband to pants.
Insert an elastic band into waistband casing by leaving a small gap; overlap elastic ends by about 2 cm and sew securely; close gap in waistband casing by stitching carefully.
Topstitch along waistband edge on right side to keep elastic in place and add polish.
Step 9: Finish Pant Hems
Finally, finish off pant legs for clean edges.
- Finish raw edges of pant legs with an overlock or zigzag stitch.
- Fold hem inwards about 2 cm twice (double fold) to enclose raw edge neatly; pin folds in place.
- Sew around hemline close to inner fold to secure hem firmly.
Frequently Asked Questions (FAQ)
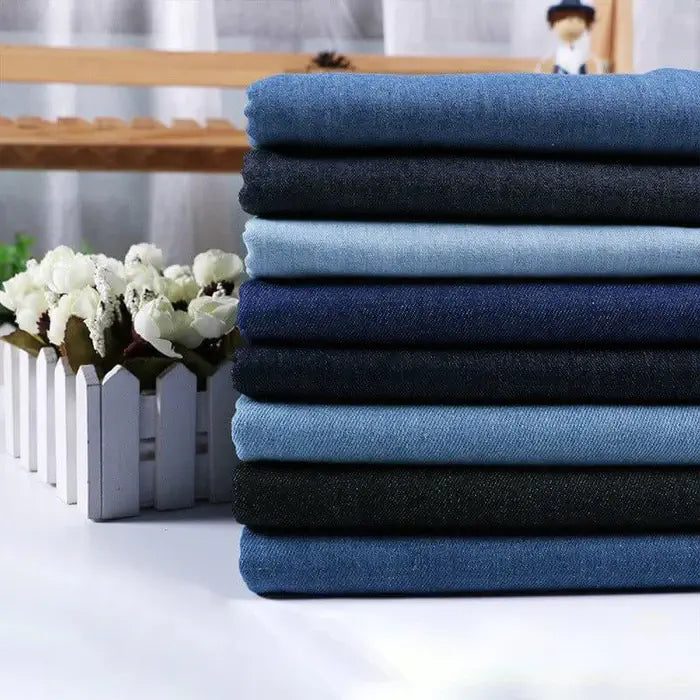
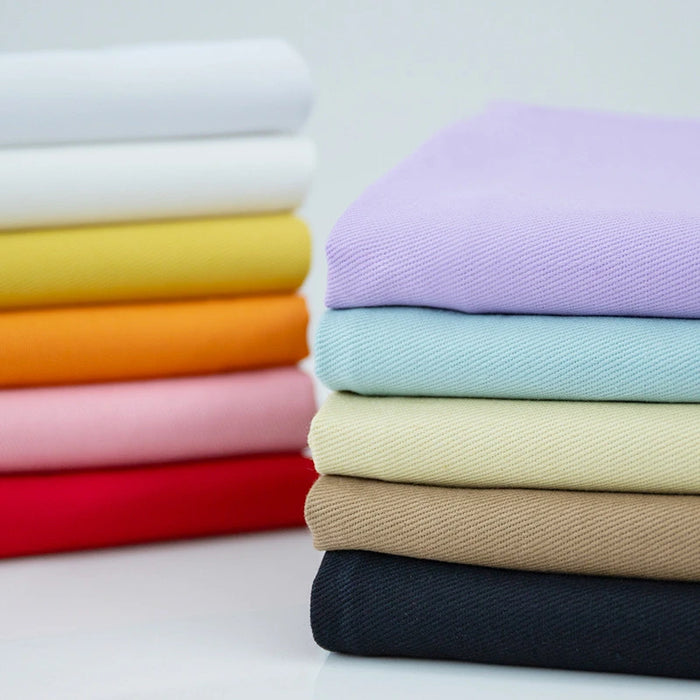
What type of fabric works best for structured pants?
Medium-weight woven fabrics like cotton twill, gabardine, or linen blends work well because they hold their shape while providing comfort.
Can I skip finishing seams with an overlock stitch?
While not mandatory, finishing seams prevents fraying and prolongs garment life, especially for woven fabrics prone to unraveling.
Can I add belt loops or zippers?
Yes! For more detailed pants, you can add belt loops during waistband attachment or install zippers depending on your design preference.
How do I adjust sizing if pants feel tight?
You can add extra seam allowance when cutting fabric or choose stretchy fabrics. Alternatively, modify pattern sizes before cutting fabric.
Conclusion
By following these detailed steps carefully, you will create a pair of beautifully structured pants tailored exactly to your measurements and style preferences. Sewing your own structured pants can be very rewarding and allows you to develop excellent garment construction skills you can apply to many other clothing projects!


0 comments