

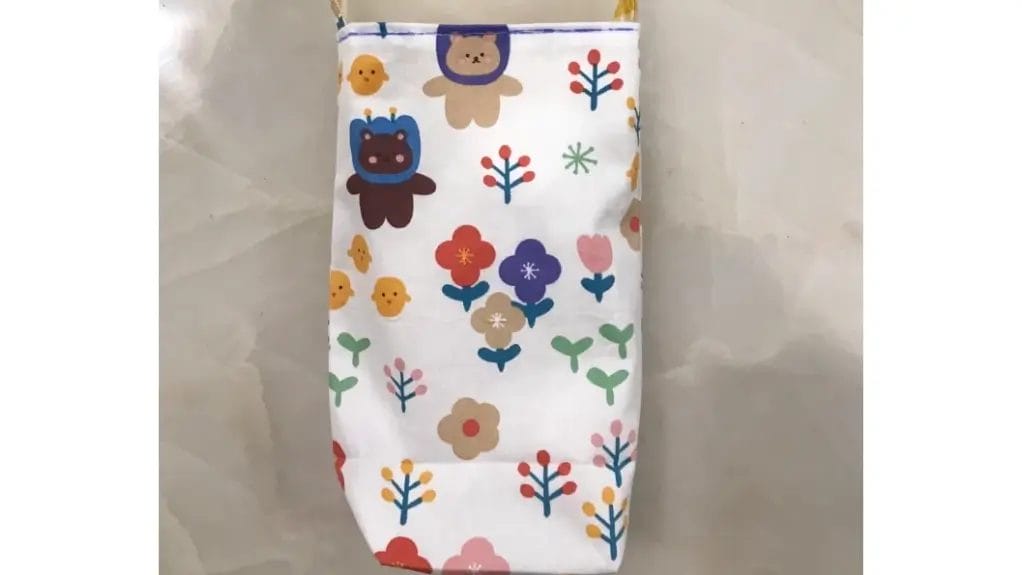
If you're tired of carrying water bottles in your hands or stuffing them into bags that weren't designed for them, you'll appreciate this simple water bottle bag tutorial. You can create a custom carrier that's both practical and stylish in under an hour, using basic sewing supplies and your choice of fabric. With just six straightforward steps, you'll transform flat pieces of material into a durable, perfectly-sized bag for your hydration needs.
Key Takeaways
- Cut two pieces of outer fabric (canvas) and two pieces of lining fabric for the bag body.
- Pin and sew outer fabric pieces together on three sides, then repeat with lining fabric.
- Create box corners by pinching and sewing triangular corners on both outer and lining pieces.
- Insert lining into outer fabric with right sides facing, sandwich straps between layers, and sew around top edge.
- Turn bag right side out, press edges, close openings with small stitches, and add reinforcing topstitch.
Materials Needed
- Two pieces of outer fabric: For the outer layer of your water bottle bag, select two identical fabric pieces. Choose a durable fabric like cotton canvas, denim, or heavyweight cotton that'll withstand regular use and protect your water bottle.
- Two pieces of lining fabric: Just like the outer fabric, the lining fabric requires two identical pieces. Choose a lightweight cotton fabric that's durable enough to sew but won't add bulk to your water bottle bag.
- Two pieces of strap material: Creating comfortable and durable straps requires two identical pieces of material. You'll want to choose a sturdy fabric that matches or complements your main bag material. Cotton webbing, nylon strapping, or heavyweight cotton fabric works well for this purpose.
How to Sew a Water Bottle Bag
You'll start by placing and sewing your outer fabric pieces right sides together on three sides, then repeating this with the lining fabric while leaving a small opening.
Next, create and sew triangular box corners on both the outer and lining pieces, trimming excess fabric before inserting the lining into the outer fabric with straps positioned inside.
Finally, sew around the top edge to join the layers, then turn the bag right side out through the opening to complete your water bottle bag.
Step 1: Sew the Outer and Lining Fabrics

Begin by gathering your two outer fabric pieces and placing them together with the right sides facing inward.
- Pin the edges of the outer fabric pieces to hold them in place, ensuring they're perfectly aligned.
- Sew three sides with a straight seam.
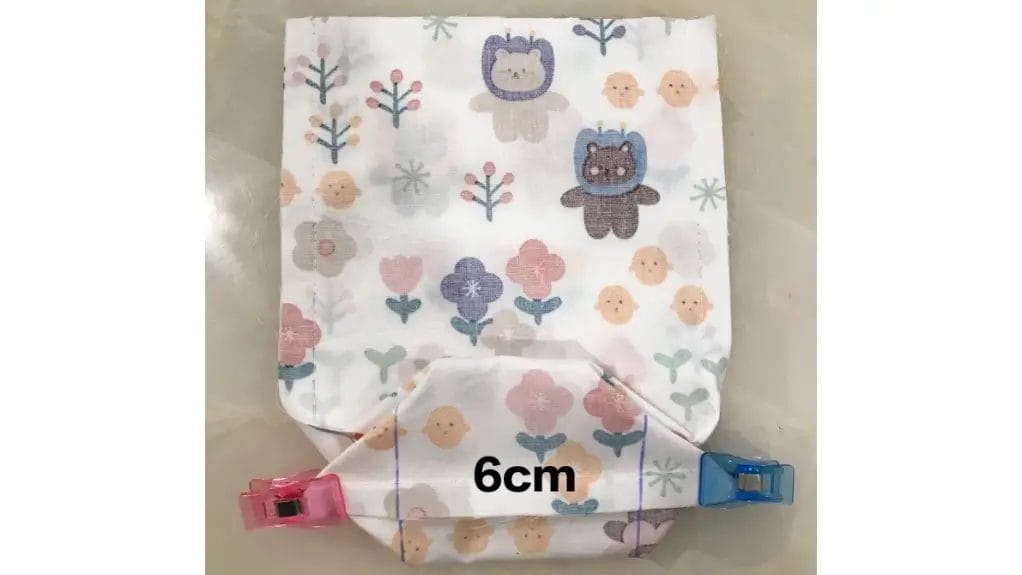
- Repeat the same process with your two lining fabric pieces, keeping right sides together.
- When sewing the lining pieces, remember to leave a 5 cm opening on one side - this will be essential for turning the bag right side out later.
Check that your seams are secure and even on both the outer fabric and lining pieces.
Trim any excess threads before moving to the next step.
Step 2: Create the Bottom of the Bag
Shape the base of your water bottle bag by working with the outer fabric piece you just sewed. Lay the fabric flat on your work surface with the seam in the center.
Take the bottom corner and pinch it to create a triangle, aligning the bottom seam with the side seam. Press the triangle flat with your fingers.
Using a ruler and fabric marker, draw two line perpendicular to the seam. Make sure it's centered on the botton seam.
Sew along both marked lines to create a flat, sturdy bottom for your bag.
Step 3: Trim the Corners
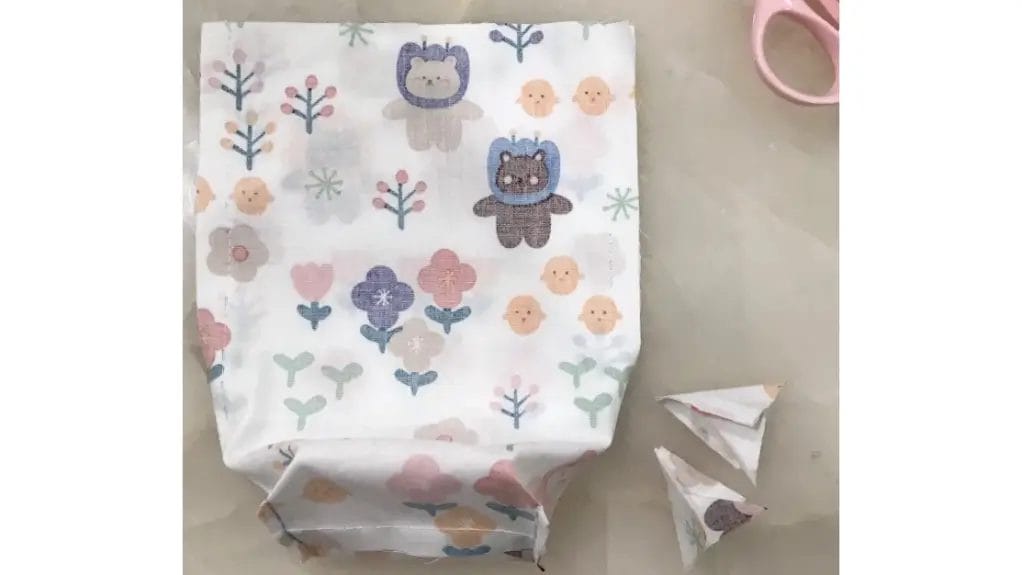
After sewing the marked lines, trim off the excess triangular fabric pieces.
Now you'll You need to do the same with the lining fabric.
- Hold the fabric with the sewn line horizontal and pinch the corners to form triangles.
- Make sure your triangles are even and symmetrical on both sides and sew them.
- Cut each triangle off carefully, maintaining the 1/4 inch seam allowance.
- Press the seams open with an iron to create crisp edges.
This process creates a sturdy, boxed bottom that will help your water bottle bag stand upright when finished.
Step 4: Assemble the Bag
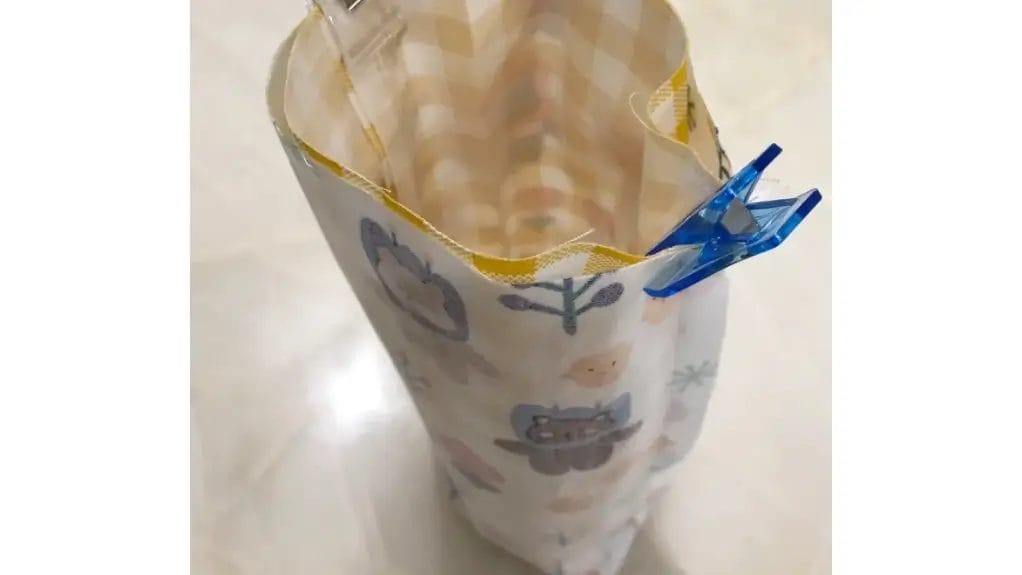
Now that your fabric pieces are prepared, you'll need to turn the lining fabric right side out while keeping the outer fabric inside out.
Insert the lining fabric into the outer fabric, making certain the right sides are facing each other. The raw edges should align perfectly at the top.
Take your straps and place them between the outer fabric and lining, positioning them evenly on each side.
The raw edges of the straps should align with the top edges of both fabrics. This practical arrangement guarantees your straps will be securely sandwiched between the layers when you sew them together.
Step 5: Sew the Fabrics Together
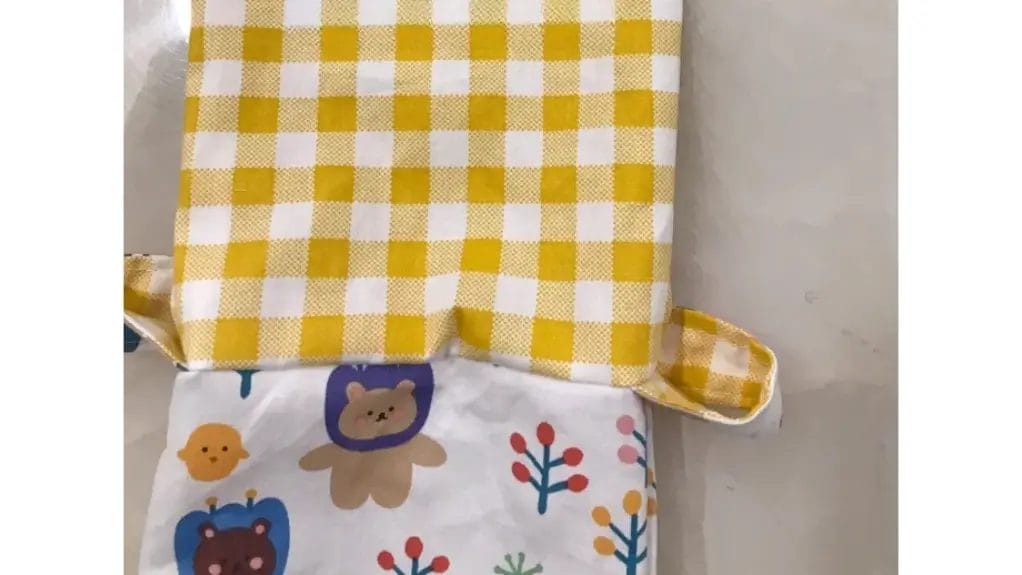
With all pieces properly aligned, sew around the top edge of the bag using a 1/2 inch seam allowance.
Now you're ready to turn your bag right side out. Follow these essential steps:
- Reach through the opening you left and grab the bottom of the bag.
- Gently pull the entire bag through the lining opening, being careful not to stress the seams.
- Push out all corners and edges with your fingers to create crisp, defined shapes.
- Press the top edge with an iron, turning the opening's raw edges inward to match the sewn seam.
Step 6: Finish the Bag
The final steps of your water bottle bag require careful attention to detail.
Take the opening you left earlier and pinch the raw edges inward, aligning them neatly. Use small, precise stitches to close this gap, making sure they're as invisible as possible.
Once secured, gently push the lining back inside the outer fabric, smoothing out any wrinkles or bunching.
Finally, create a topstitch around the entire upper edge of the bag, about 1/8 inch from the top. This reinforces the opening and gives your bag a professional, finished look.
Frequently Asked Questions
Can I Use Thicker Fabric Like Leather for Making the Water Bottle Bag?
Yes, you can use leather, but you'll need a heavy-duty sewing machine with special leather needles. Consider using thinner leather or faux leather for easier handling.
How Long Does It Typically Take to Sew One Water Bottle Bag?
You'll need about 30-45 minutes to complete your water bottle bag. If you're a beginner, it might take up to an hour, but with practice, you'll get faster.
Is This Water Bottle Bag Design Suitable for Insulated Water Bottles?
You'll need to modify this design for insulated bottles, as they're typically wider. Add 1-2 inches to the fabric measurements and use sturdier material to support the extra weight.
Can I Add Additional Pockets to the Basic Water Bottle Bag Design?
You can add exterior or interior pockets by sewing additional fabric panels before final assembly. Just make sure you'll adjust the main pattern dimensions to accommodate your pocket sizes.
What's the Maximum Bottle Size This Bag Design Can Accommodate?
You can fit up to a 32-ounce bottle (1 liter) comfortably. If you'd like to carry larger bottles, you'll need to adjust the pattern measurements proportionally before cutting your fabric.
Conclusion
You've now completed your water bottle bag! Make sure you've secured all seams and double-checked the topstitching. Your bag should stand upright with the boxed corners providing stability. Test the strap strength by gently pulling, and verify that the lining sits smoothly inside. You're ready to carry your water bottle in your handmade, practical bag that'll serve you well for years to come.
0 comments