

You'll find that creating a pencil holder bookmark combines both style and function in a simple sewing project. Whether you're a student taking notes or an avid journaler, having your writing tools close at hand makes perfect sense. This clever design features a slim pocket that holds your pencil securely while marking your page, and you can personalize it with your favorite fabrics. Let's explore how to craft this practical accessory that'll make your daily writing sessions more organized and efficient.
Key Takeaways
- Cut fabric pieces: 4x18cm lining fabric, two 20x6cm main fabric pieces, and one 28x6cm piece for the pencil holder pocket.
- Iron interfacing onto wrong sides of one fabric piece to provide structure and stability for the bookmark.
- Position elastic band (28-30cm) between fabric layers and secure with pins before sewing all pieces together.
- Sew around edges leaving an opening, turn right side out, and press seams for crisp definition.
Materials Needed
You'll need several fabric pieces to create your bookmark: one 4x18cm lining, two 20x6cm pieces, and one 28x6cm piece.
To secure your bookmark around your book, gather a 28-30cm elastic band that will provide the perfect fit.
Don't forget your essential sewing supplies, including pins, sharp scissors, and an iron to ensure professional-looking results.
- 1 piece of 4x18cm lining: The success of your pencil holder bookmark depends heavily on selecting a 4x18cm piece of lining fabric, which provides essential structure and stability to the finished product. You'll want to choose a lining that matches your main fabric dimensions precisely to ensure proper assembly and a professional finish.
- 2 pieces of fabric measuring 20x6cm: Building upon your lining preparation, gathering the main fabric pieces forms the next key step in creating your bookmark. You'll need to cut two pieces of fabric, each measuring 20x6 cm, which will serve as your bookmark's main structure.
- 1 piece of fabric measuring 28x6cm: Measuring precisely 28x6 centimeters, your main fabric piece serves as the foundation for this creative bookmark design. You'll need this specific size to ensure your bookmark can comfortably hold standard writing implements while maintaining a sleek profile in your book.
- 1 elastic band (28-30cm long): After preparing your main fabric piece, you'll need a flexible elastic band measuring 28-30cm in length to complete your bookmark. Choose a 3/8" wide elastic that's durable enough to withstand repeated use while maintaining proper tension. This elastic band is essential for your holder bookmark, as it'll secure the pages and keep your book open while you read. You can adjust the elastic's length slightly based on the types of books you typically read.
- Sewing tools (pins, scissors, iron, etc.): To create your pencil holder bookmark, you'll need several essential sewing tools to ensure professional-looking results. Start with a set of sharp scissors for precise fabric cutting, and gather plenty of pins to hold your pieces together while you work. An iron is crucial for fusing interfacing and creating crisp seams throughout your project. Don't forget your measuring tape for accurate dimensions, and keep a seam ripper handy for any needed corrections. If you have access to one, a sewing machine will make the assembly process faster and more secure, though hand sewing is also an option.
How to Sew a Pen Holder Bookmark: Step-by-Step Instructions
You'll begin by preparing the fabric pieces and ironing interfacing onto their wrong sides for stability and structure.
Next, carefully align your main fabric and pocket pieces with the elastic band positioned between them, ensuring everything is properly centered for functionality.
Finally, sew all layers together with precise stitching, leaving the top of the pocket open to create your custom pencil holder bookmark.
Step 1: Prepare the Lining
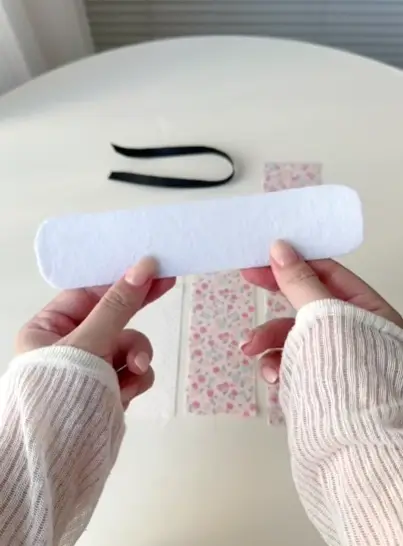
Start by taking the lining. Fold it in half and use scissors to cut rounded corners. This will give your bookmark a nice finish when it’s turned right side out. Preparing proper lining creates the foundation for a sturdy pencil holder bookmark.
Step 2: Attach the Fabric to the Lining
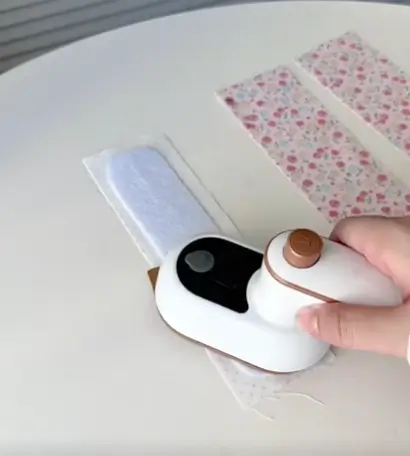
Take one of the 20x6cm fabric pieces and flip it to the wrong side. Place the prepared lining on top and use an iron to bond them together. This will create a nice, secure base for your bookmark.
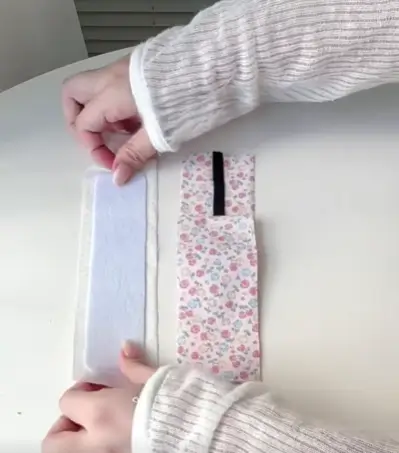
Step 3: Position the Elastic Band

The next crucial step involves positioning your elastic band correctly to ensure your bookmark stays firmly in place. Now, take the second 20x6cm fabric piece. Place the elastic band at its midpoint, aligning it in the center. Double-check that the elastic placement allows for proper stretching when wrapped around your book while keeping your bookmark positioned exactly where you need it.
Step 4: Assemble the Layers
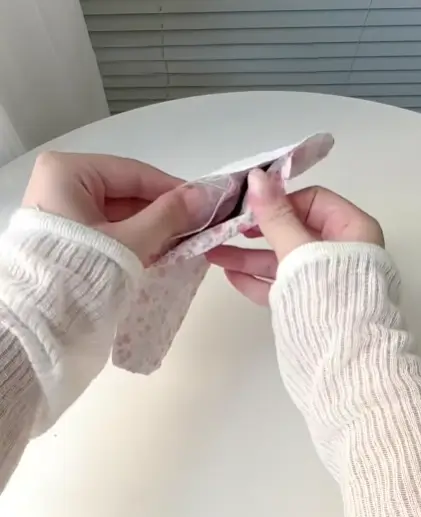
Next, take the 28x6cm fabric strip and fold it in half. Layer it over the elastic, followed by the fabric piece with the lining. Make sure everything is aligned properly. You can secure your layers with pins or clips to prevent shifting while you sew. This careful assembly ensures your bookmark will look polished and function smoothly.
Step 5: Sew the Layers Together

Now that your layers are properly aligned, it's time to join them with careful stitching. Of course, you also can use a sewing machine, stitch around the edges of the batting and fabric layers. Remember to leave a small gap on one side; this will be important for turning your bookmark inside out later.
Step 6: Trim Excess Fabric
After sewing, take your scissors and trim any excess fabric along the curved edges. This will help reduce bulk and make turning easier. Don't rush this step - precise trimming makes a big difference in the final appearance.
Step 7: Turn Inside Out
Now, it’s time for the fun part! Use the unstitched gap to turn the bookmark right side out. Carefully push out the corners to ensure they are defined. The turning process requires patience and attention to detail to achieve professional results.
Step 8: Final Stitching
Once turned, take your iron and press the bookmark for a polished look. Finally, sew around the entire perimeter of the bookmark to secure all layers and close the gap. Double-check all edges of your bookmark, reinforcing any areas that need additional stitching.
Conclusion
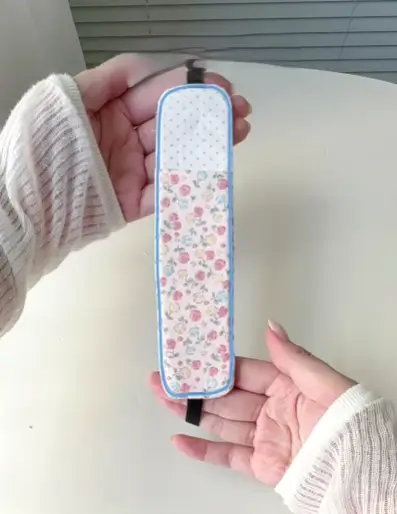
You've created a practical and stylish pencil holder bookmark that'll keep your place while storing your favorite writing tools. Don't forget to test the elastic band's tension and make sure your stitches are secure. If you're pleased with the results, try making more in different fabric patterns - they make excellent gifts for book-loving friends or students. Your handmade bookmark is now ready to accompany you on your reading adventures.
0 comments