

Creating flower ornaments from fabric scraps is a delightful and rewarding project that allows you to upcycle leftover fabric into something beautiful and functional. These adorable fabric flowers can be used as decorations, gifts, or even as unique Christmas ornaments. Now we’ll guide you through the steps to make your very own fabric flower ornaments, complete with tips and tricks to help you along the way. Let’s get started!
Key Takeaways
- To create fabric flower ornaments, start with a piece of fabric measuring 30x50cm and a circular template with an 8cm diameter.
- Draw and sew five half-circles along a folded edge to create the flower petals.
- Trim excess fabric using pinking shears helps to prevent fraying and enhances the decorative edges of the petals.
- After turning the flower right side out, stuffing it with cotton is necessary to give the flower its volume.
- Adding a ribbon or string for hanging and optional decorative buttons enhances the flower's appearance.
Materials Needed
Before we begin, here’s a list of materials you’ll need for this fun and easy project:
- Fabric scraps: You can use various scrap fabrics like cotton, quilt pieces, or even decorative fabric. Aim for a piece measuring 30x50cm.
- Circular template: A template with a diameter of about 8cm will help create uniform petals.
- Scissors: Regular scissors and pinking shears for decorative edges.
- Needle and thread: For sewing the flower together. You can also use a sewing machine if you prefer.
- Cotton stuffing: To fill the flower and give it volume.
- Ribbon or string: For hanging your fabric flower ornaments.
How to Make Flower Ornaments with Scrap Fabrics: Step-by-Step Instructions
Step 1: Prepare the Fabric
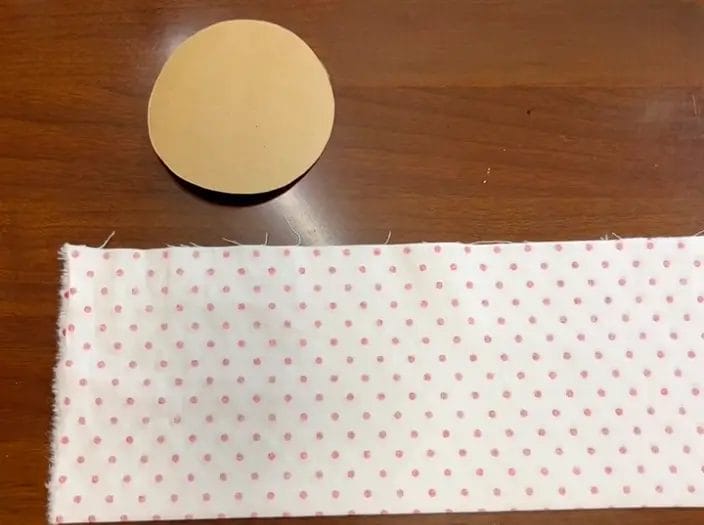
Start by taking your chosen fabric and folding it in half to create a piece measuring 15x50cm. Make sure the wrong side of the fabric is facing up. This will serve as the base for your flower ornament. The fabric you choose can be a mix of colors and patterns, allowing you to create a unique look for the flower.
Step 2: Mark the Fabric
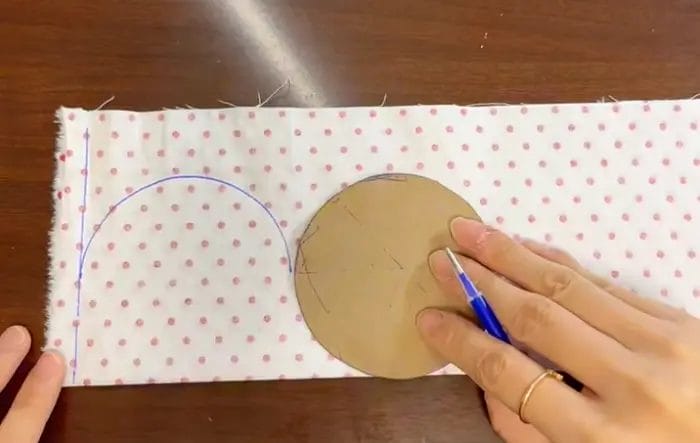
Using a marker, draw a vertical line about 1cm from the edge. This line will help you position the half-circles for the flower petals. Now, take your circular template and align it with the 15cm edge of the fabric. Next, draw half-circles along the template. You’ll want to draw a total of five half-circles to create the petals of your flower.
Step 3: Draw Additional Lines
After you’ve drawn the half-circles, draw another vertical line at the edge of the last half-circle. This will help you when it comes time to sew the petals together. The lines should be clear, so you can follow them easily when stitching.
Step 4: Sew Along the Half-Circle Lines

Using a sewing machine or hand sewing, carefully stitch along the lines of the half-circles you’ve drawn. Make sure to backstitch at the beginning and end to secure your stitches. This will create the petal shapes for your flower ornament. Take your time to ensure the stitching is even and neat, as this will affect the final look of your flower.
Step 5: Trim Excess Fabric

Once you’ve sewn along the half-circle lines, it’s time to trim the excess fabric above the half-circles. Use your pinking shears to create a decorative edge. Be careful to leave about 1cm of fabric on the left and right sides, as this will be important for future sewing. This step not only helps reduce bulk but also adds a lovely decorative touch to the edges of your petals.
Step 6: Turn the Flower Right Side Out
Now that the petals are stitched and trimmed, it’s time to turn your flower right side out. Reach through the opening you left at the bottom of the petals and pull the fabric through. Use a pencil or your fingers to gently push out the petals, ensuring they maintain their shape. Once turned, you can iron the petals lightly to flatten them and give them a crisp look.
Step 7: Stuff the Flower and Attach the String

Next, take your cotton stuffing and fill each petal of the flower. You want to achieve a nice balance, so don’t overstuff. The goal is to have a fluffy flower that still holds its shape. As you fill the flower, make sure to distribute the stuffing evenly across each petal.
Step 8: Add the Hanging Loop
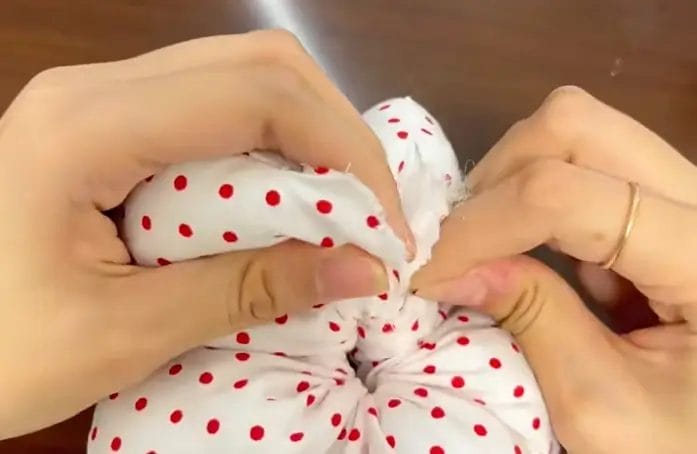
To create a hanging loop, take a piece of ribbon or string and insert it into the opening at the bottom of the flower. Use the hidden stitch method to secure both ends of the ribbon or string to the inside of the flower. This will allow you to hang your ornament easily once it’s finished.
Creative Uses for Your Fabric Flower Ornaments
These fabric ornaments can be used in various ways to brighten up your space. Here are some creative ideas:
- Home Decor: Hang them in your living room, bedroom, or kitchen for a pop of color.
- Gift Decorations: Use them to adorn gift packages or as part of a gift set.
- Christmas Ornaments: These flowers can also double as Christmas ornaments, adding a personal touch to your holiday decor.
- Brooches or Hair Accessories: Attach a pin or clip to the back to create a unique brooch or hair accessory.
FAQ
Can I use different types of fabric?
Absolutely! You can use any scrap fabric you have on hand. Cotton, canvas, or even heavier materials work well for these flowers. Just ensure that the fabric holds its shape.
How can I customize my fabric flowers?
You can customize your flowers by using different colors, patterns, and sizes. Experiment with different fabric scraps to create unique combinations. Additionally, adding buttons or embellishments can enhance their appearance.
What size should the fabric scraps be?
For this project, a piece of fabric measuring 30x50cm is ideal, but you can adjust the size based on how large or small you want your flowers to be.
Are these flowers washable?
If you use fabric that can be washed, these flowers can be gently hand-washed. However, it’s best to spot clean them to maintain their shape and integrity.
Can kids participate in this project?
Yes! This is a great project for kids, especially if they have adult supervision with cutting and sewing. It’s a fun way for them to learn basic sewing skills and express their creativity.
0 comments