

Fabric photo frames are a charming way to display your favorite pictures while adding a soft, personalized touch to your home decor. Unlike traditional wooden or plastic frames, fabric frames can be customized with different colors, patterns, and textures, making each one unique. Plus, they’re lightweight and easy to make at home with just a few materials and simple sewing skills. I will show you how to create your own beautiful fabric photo frame using basic supplies. Whether you want to gift someone a handmade keepsake or decorate your space with a cozy vibe, this tutorial is perfect for you.
Materials You Will Need
- Photo frame paper template
- Fabric of your choice (enough to cut four pieces according to your template)
- Cotton stuffing (for padding)
- Ribbon or silk ribbon strip (optional, for decorative edging)
- Sewing supplies (needle, thread, scissors, pins, sewing machine if available)
- Velcro strip
How to Make Fabric Photo Frames
Before you begin, make sure you have all your materials prepared and your workspace clean and well-lit. Take your time to carefully follow each step, as precision is key to achieving a neat and professional-looking fabric photo frame.
Step 1: Cut Your Fabric Pieces
Using your photo frame paper template, cut out four identical pieces from your chosen fabric. Pair them up into two groups of two layers each by stacking two pieces together.
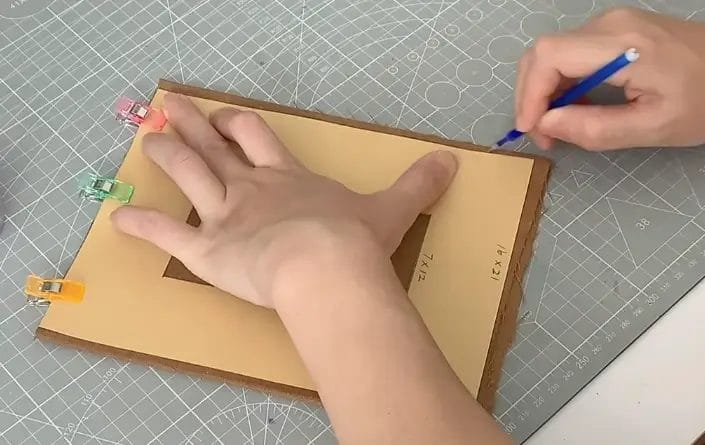
Step 2: Mark the Frame Opening on Fabric
Take one group of two stacked fabric pieces. Using the paper template as a guide, draw the outline of the photo opening onto the top fabric layer. This will be the window where your photo will show through.
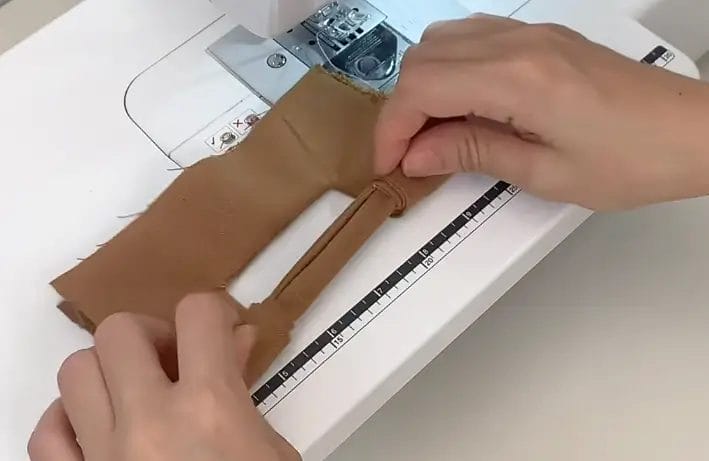
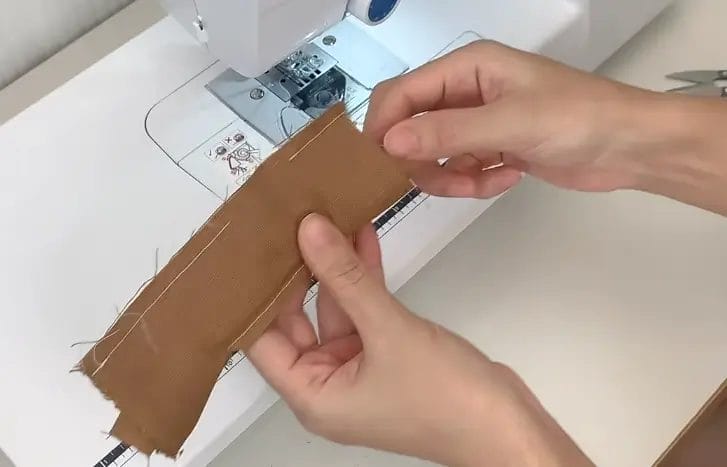
Step 3: Add Ribbon and Sew One Edge

Take the other group of two stacked fabric pieces. Place a ribbon or silk strip between these two fabric layers along one edge. Sew this side securely to attach the ribbon inside the fabric layers. Once sewn, turn this piece right side out.
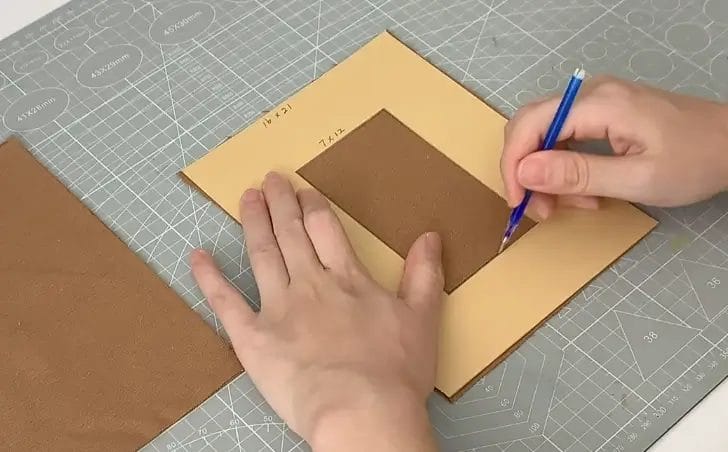
Step 4: Sew and Cut the Photo Opening
Go back to the fabric group with the drawn opening. Sew along the lines you marked for the photo window with about a 0.5 cm seam allowance. Carefully cut out the middle part inside the sewn lines, trimming close to but not through the stitches, especially at the corners to allow smooth folding later.
Step 5: Turn Fabric Right Side Out and Prepare Edges
Push the fabric through the opening so that it turns right side out and smooth out any wrinkles. Starting from the bottom edge, roll up the fabric edges towards the top opening. When you reach the top, separate the two fabric layers a bit and wrap the rolled fabric inside neatly. Align these edges and sew them together, but leave a small opening so you can stuff cotton inside later.
Step 6: Assemble Backing Piece
Take the backing fabric piece (the one with ribbon attached turned right side out) and align it with the front piece you just prepared. Stack these two groups together and sew along the two side edges and bottom edge to join them.
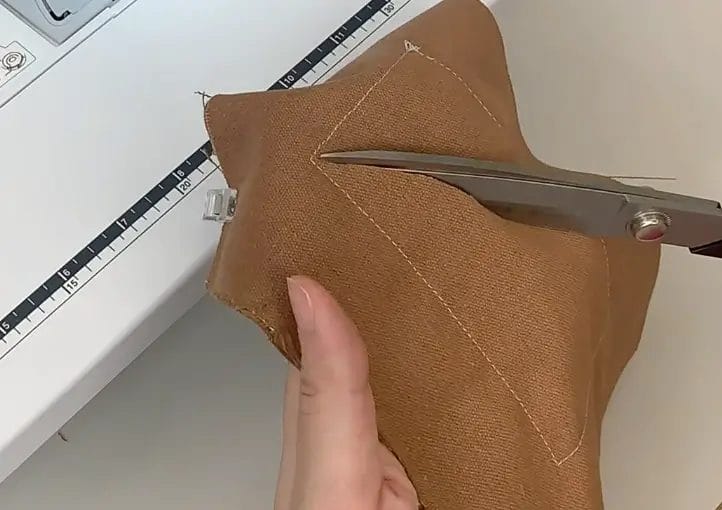
Step 7: Trim Corners for Neatness
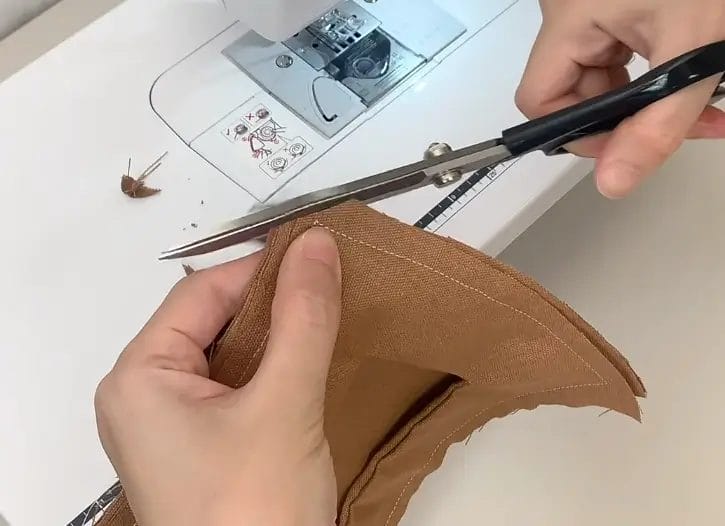
After sewing, carefully trim the excess fabric from each corner diagonally. This will help when turning your frame right side out to achieve smooth, flat corners.
Step 8: Turn Frame Right Side Out and Stuff
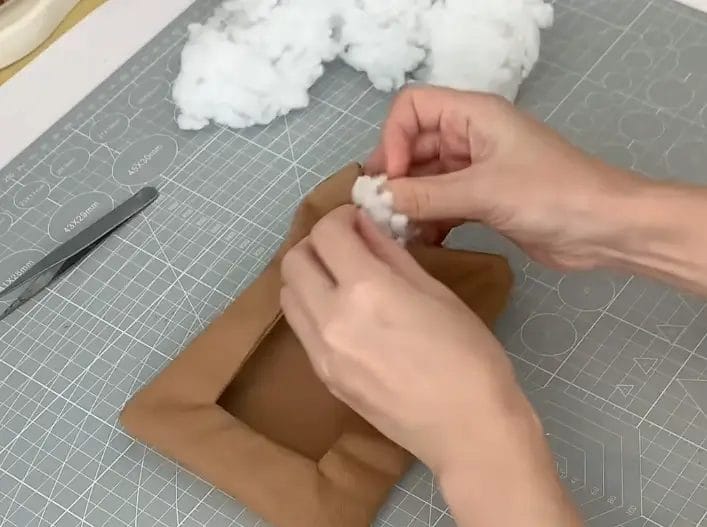
Flip your assembled frame right side out. Fill the frame with cotton stuffing evenly through the small opening you left earlier until nicely padded. Close the small opening securely with hidden stitches for a clean finish.
Attach a Velcro strip at the top opening so that you can easily open and insert or change photos later.
Step 9: Add Your Favorite Decorations
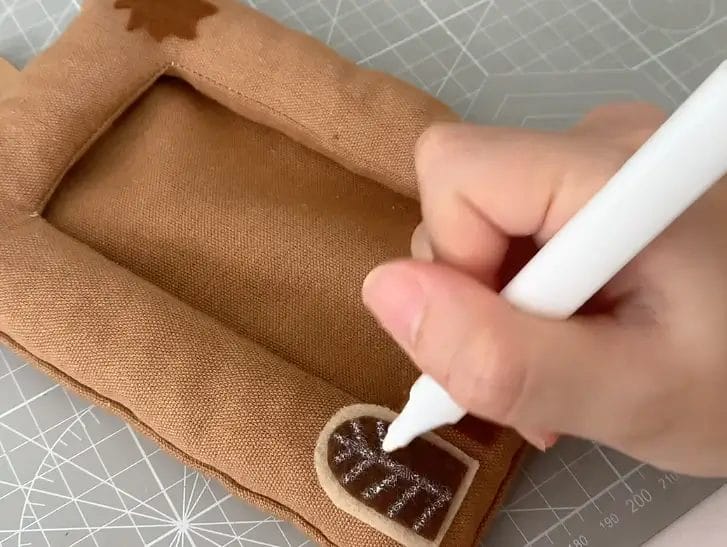
Now that your fabric photo frame is assembled and stuffed, personalize it by adding decorations such as buttons, lace trim, beads, or embroidery. This final touch makes your frame truly unique and beautiful.
Tips for Success
- Choose fabrics that are medium-weight for structure but still flexible enough to sew easily.
- Use sharp scissors for precise cutting around corners and openings.
- Take your time trimming corners and turning fabric right side out to get smooth edges.
- Stuff cotton evenly for a plush but firm feel—avoid overstuffing which can distort shape.
- Experiment with different ribbons or decorative trims for unique looks.
Final Thoughts
Making a fabric photo frame is a rewarding project that combines creativity with functionality. The soft texture and customizable nature of fabric make these frames ideal for cozy spaces like bedrooms, nurseries, or craft rooms. Plus, they make thoughtful handmade gifts for friends and family.
Frequently Asked Questions (FAQ)
Can I use polyester or synthetic fabrics?
Yes, but natural fibers like cotton tend to be easier to work with and provide a better finish. If using synthetics, make sure they are not too slippery and try ironing on a low setting to avoid damage.
How can I change the size of the fabric frame?
Simply adjust the size of your paper template and cut your fabric pieces accordingly. Just remember to keep the proportions consistent for the photo opening and the overall frame size.
Can I use glue instead of sewing?
Sewing provides a stronger and more durable finish, especially for items that will be handled often. However, for decorative purposes, fabric glue or hot glue might work if you’re careful.
How do I insert or change photos in the fabric frame?
The Velcro strip at the top allows you to open the frame easily, insert or replace the photo, and then securely close it again.
0 comments