

You'll love how these fabric corner bookmarks add charm to your favorite books while keeping your place in style. They're perfect for using up those lovely fabric scraps you've been saving, and you can create several in under an hour. With just three small squares of fabric and basic sewing skills, you'll discover a creative way to personalize your library. Let's explore how to craft these practical accessories step by step.
Key Takeaways
- Select three 9x9 cm fabric squares in complementary patterns - one patterned, one solid, and one contrasting piece for backing.
- Fold and sew one fabric piece into a triangle shape using a 1/4-inch seam allowance along the long edge.
- Sandwich the triangle between remaining fabric squares with right sides together, pin, and sew around edges.
- Leave a 4 cm opening for turning, and turn bookmark right side out.
- Press flat with iron and topstitch around all edges for a professional, durable finish.
Materials Needed
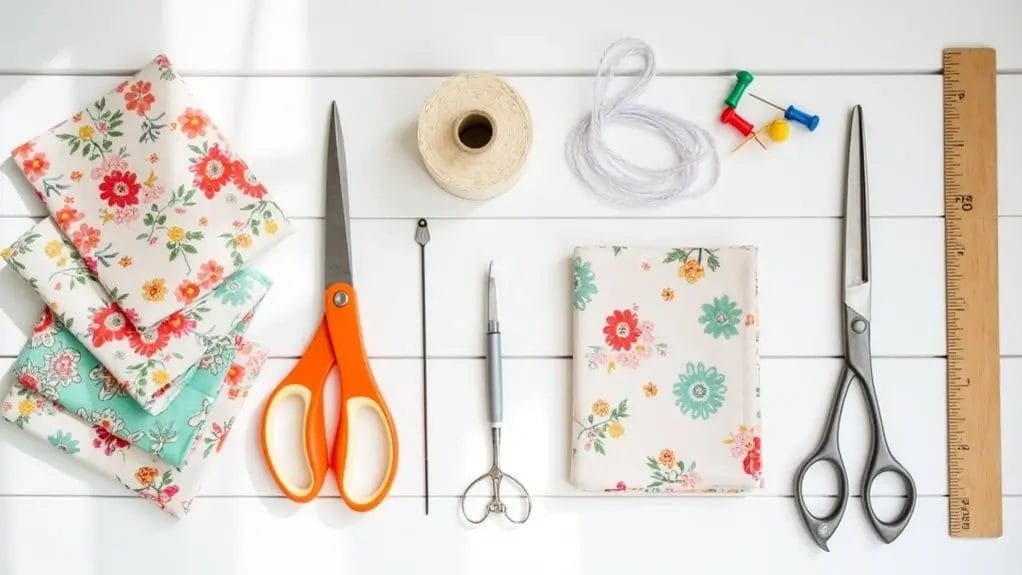
- Three pieces of fabric (9x9 cm each): Three carefully chosen fabric squares, each measuring 9x9 centimeters, form the foundation of your corner bookmark.
- Sewing supplies (thread, scissors, etc.): With your fabric squares ready, gathering the right sewing supplies will set you up for success. You'll need sharp fabric scissors for clean, precise cuts and coordinating thread that matches your chosen fabrics. While you can hand-sew this project, a sewing machine will make the process much faster and create stronger seams.
How to Sew a Fabric Corner Bookmark
You'll start by folding one fabric piece into a triangle and sewing along its long edge before sandwiching it between two square fabric pieces placed right sides together.
Next, sew around the perimeter of your squares while leaving a small 4 cm opening, then trim any excess fabric from the edges.
Finally, turn your bookmark right side out through the opening and complete it with a neat topstitch around all edges.
Step 1: Fold one piece of fabric into a triangle shape and sew along the long edge.

Before diving into the sewing, start by selecting your favorite piece of fabric and folding it into a perfect triangle shape, making sure the wrong sides face inward.
For a crisp triangle bookmark, follow these essential steps:
- Align the fabric's corners precisely, pressing the fold with your fingers to create sharp edges.
- Pin the long edge of your triangle to keep the fabric from shifting while you sew.
- Using a straight stitch, sew along the long edge with a 1/4-inch seam allowance, removing pins as you go.
Don't forget to backstitch at both ends to secure your seam!
Step 2: Place the two remaining fabric pieces right sides together and position the triangle fabric in between the two pieces.
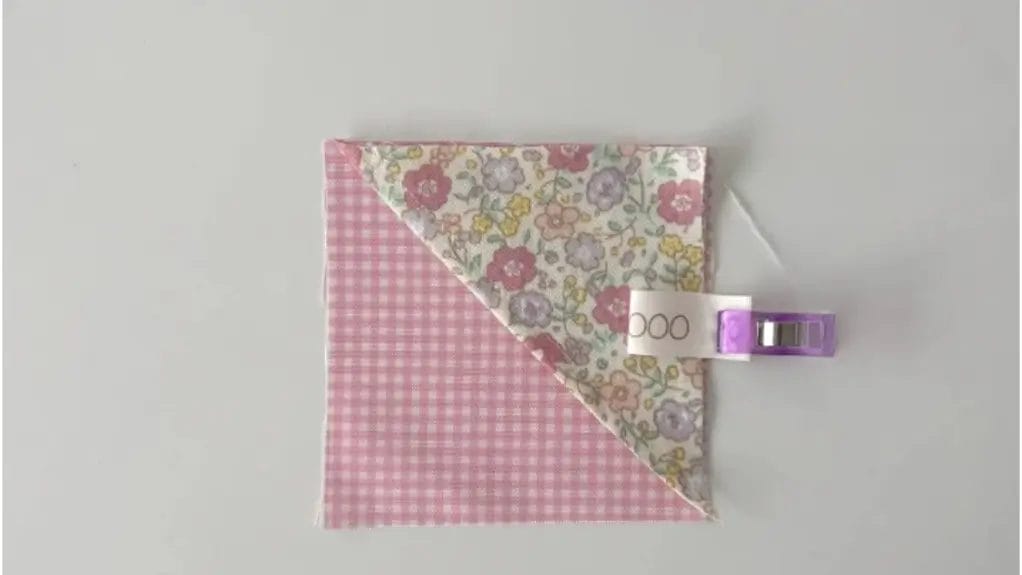
Now that your triangle piece is ready, take your remaining two fabric squares and position them with their right sides facing each other.
Carefully slide your sewn triangle piece between these two squares, making sure the point of the triangle aligns with one corner. The raw edges of all three fabric pieces should be even with each other.
Use pins or clips to secure all layers together, keeping the triangle centered.
Double-check that the triangle's folded edge faces inward and its raw edges line up perfectly with the outer squares' edges.
This alignment is essential for creating a professional-looking bookmark.
Step 3: Sew around the perimeter of the square fabric pieces, leaving a 4 cm opening.
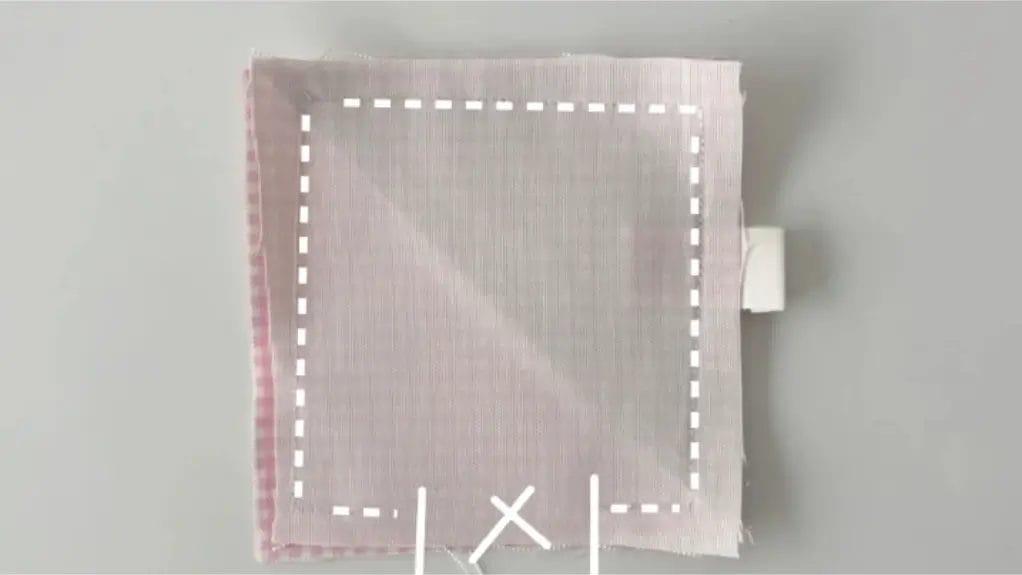
With all layers securely pinned, begin sewing around the perimeter of your fabric squares using a 1/4 inch seam allowance.
Make sure to stitch consistently while leaving a 4 cm gap along one side for turning. Keep the raw edges aligned as you work.
- Start at one corner and sew with a straight stitch, backstitching at the beginning.
- Continue stitching around three sides and most of the fourth side.
- Remember to backstitch at both ends of the opening to secure your seams.
Don't worry if your stitching isn't perfect - the bookmark will be turned inside out, hiding any minor imperfections.
Step 4: Trim any excess fabric along the edges.
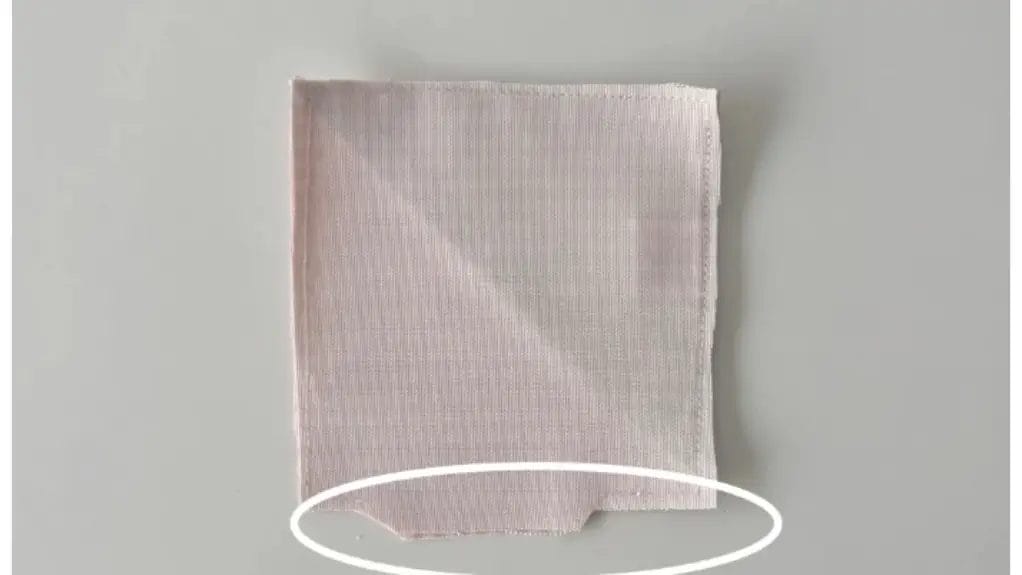
Once you've finished sewing the perimeter, carefully trim away any excess fabric about 1/8 inch from your stitching line, making sure to leave the seam allowance intact.
Use sharp fabric scissors to clip the corners at a 45-degree angle, being careful not to cut into your stitches. This will reduce bulk when you turn the bookmark right side out.
For curved edges, make small cuts close to the edge of your stitching line, spacing them about 1/4 inch apart.
These small clips will help your bookmark lay flat and create crisp, professional-looking edges when turned right side out.
Step 5: Turn the bookmark right side out and sew a topstitch along the edges.

Carefully insert your finger between the fabric layers at the opening and gently turn the bookmark right side out.
Use a point turner to push out the corners until they're sharp and crisp.
Press the bookmark flat with an iron on the appropriate heat setting for your fabric.
To create a professional finish:
- Set your sewing machine to a straight stitch with a length of 2.5-3mm.
- Position the bookmark with the right-side facing up.
- Topstitch around all edges about 1/8 inch from the edge, backstitching at the start and end.
This final topstitch adds durability and a polished look to your bookmark.
Frequently Asked Questions
How Long Does the Corner Bookmark Typically Last With Regular Use?
Your fabric corner bookmark will last 1-2 years with regular use, but you'll get even longer life if you use sturdy fabric and reinforce your stitching along the edges.
Can I Use Interfacing to Make the Bookmark More Sturdy?
Yes, you can add interfacing! Iron medium-weight fusible interfacing to your fabric pieces before assembly. It'll make your bookmark more rigid and durable while maintaining its slip-on functionality.
What's the Best Fabric Choice for Making Bookmarks as Gifts?
You'll want quilting cotton, linen, or cotton canvas for durability and crisp corners. They'll hold shape well, resist fraying, and come in beautiful patterns perfect for personalized gifts.
Can I Wash These Fabric Bookmarks in the Washing Machine?
You can machine wash your fabric bookmarks! Put them in a mesh laundry bag, use cold water and gentle cycle. For best results, air dry flat to prevent any warping.
Will the Corner Bookmark Work With Hardcover Books and Thick Textbooks?
Yes, you'll find these corner bookmarks work perfectly with hardcover books and textbooks! The triangle design slides on securely, and you can make them slightly larger to accommodate thicker spines.
Conclusion
Now you've got a beautiful handmade corner bookmark that'll slide right onto your pages! Don't forget to press it with an iron for crisp edges and professional finish. Your DIY bookmark isn't just practical - it's a perfect way to add personality to your reading time. Make several in different fabric patterns, and you'll never lose your place in style. They're great as gifts too!
0 comments