
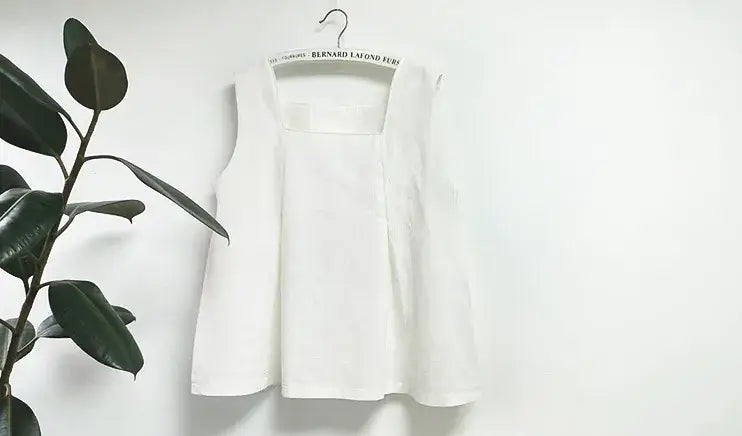
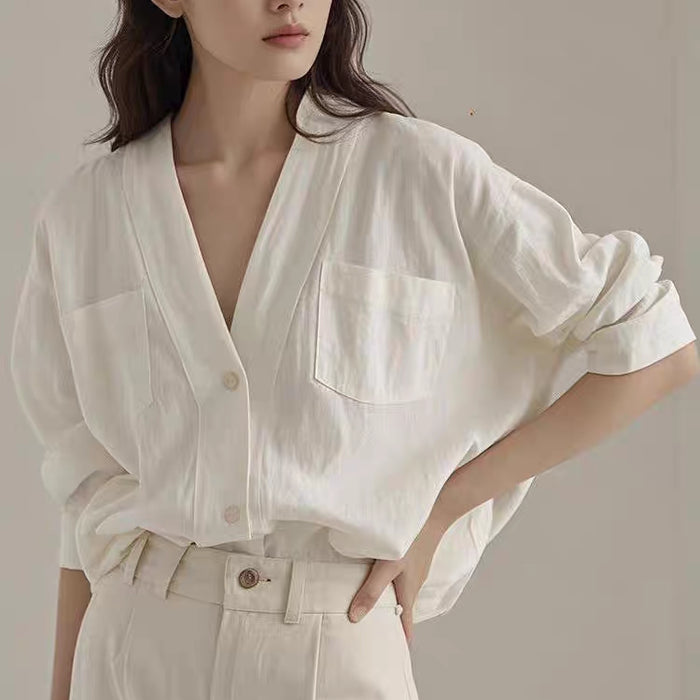
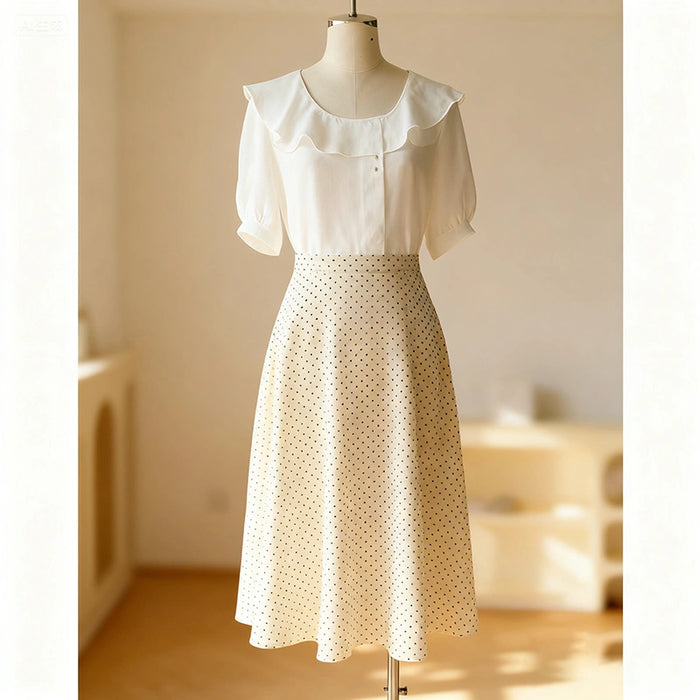
This tutorial will guide you through the process of creating a stylish women’s square neck sleeveless shirt. It is perfect for summer outings and can be made using various fabrics, allowing you to customize the look according to your preference. Whether you're a beginner or have some sewing experience, this project is manageable and rewarding.
Materials Used
To get started, you will need a few essential materials. Gather everything listed below to ensure a smooth sewing experience.
- Fabric (cotton-linen blend, broadcloth, washed cotton, or knit fabric)
- Pattern paper (for drafting the shirt pattern)
- Sewing machine
- Scissors
- Pins
- Measuring tape
- Iron
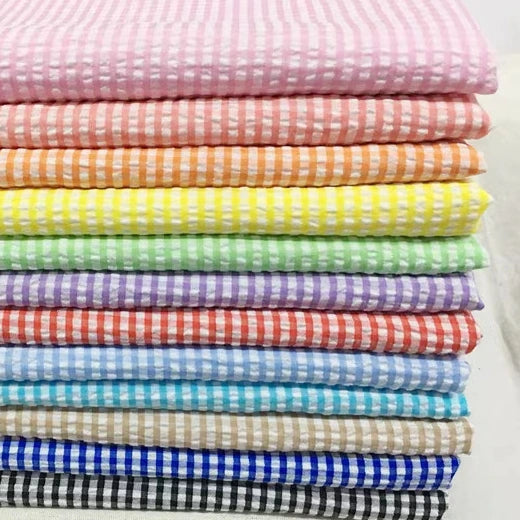
Recommended Fabrics
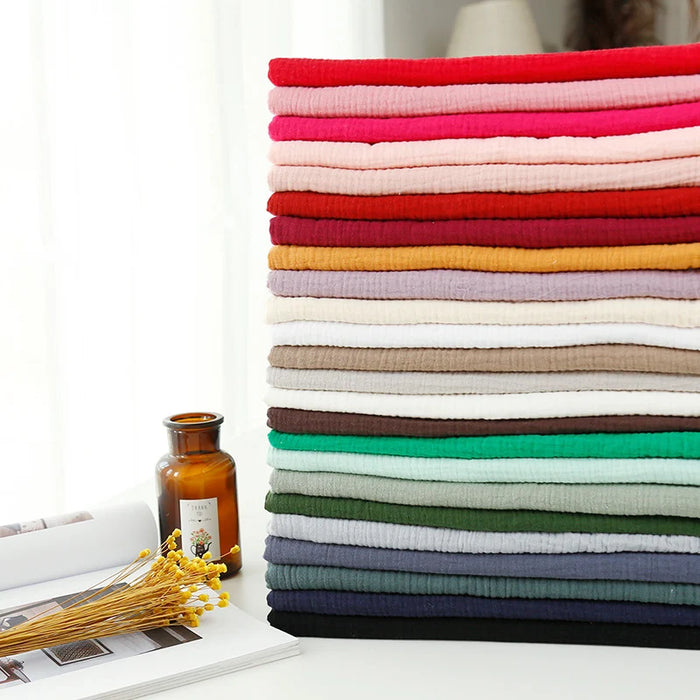
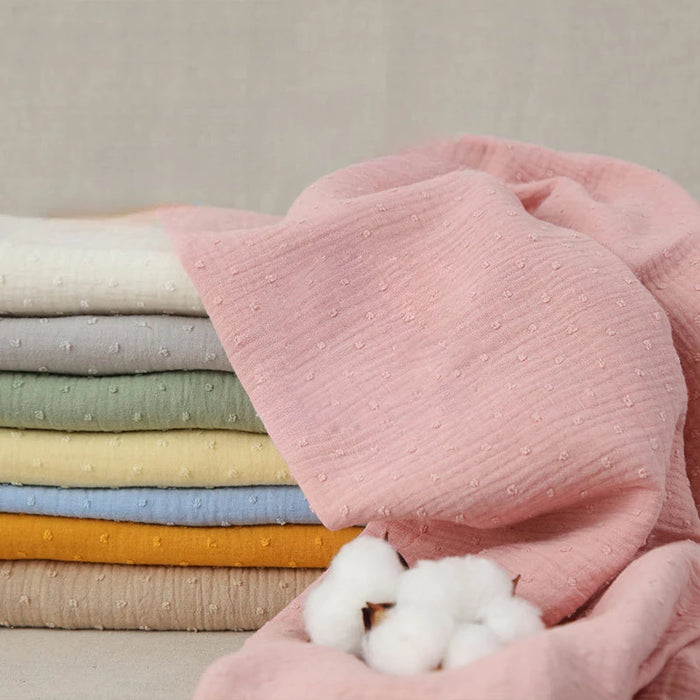
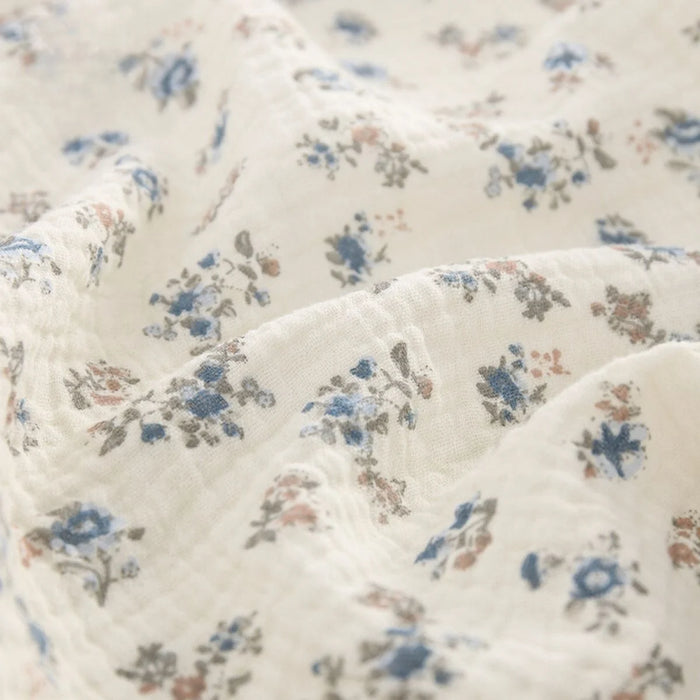
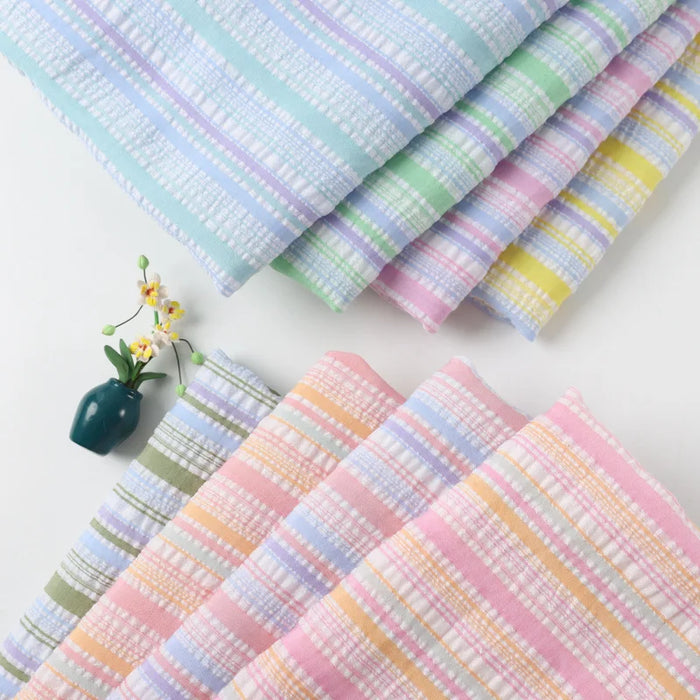
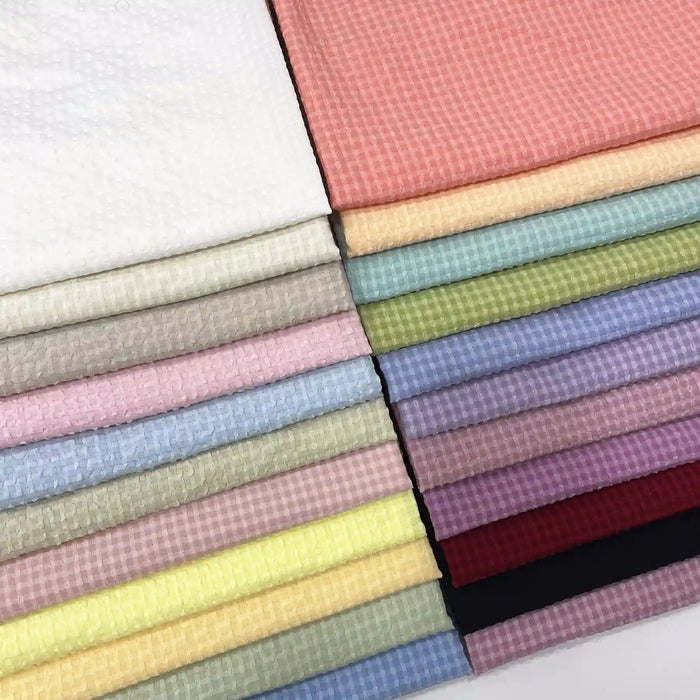
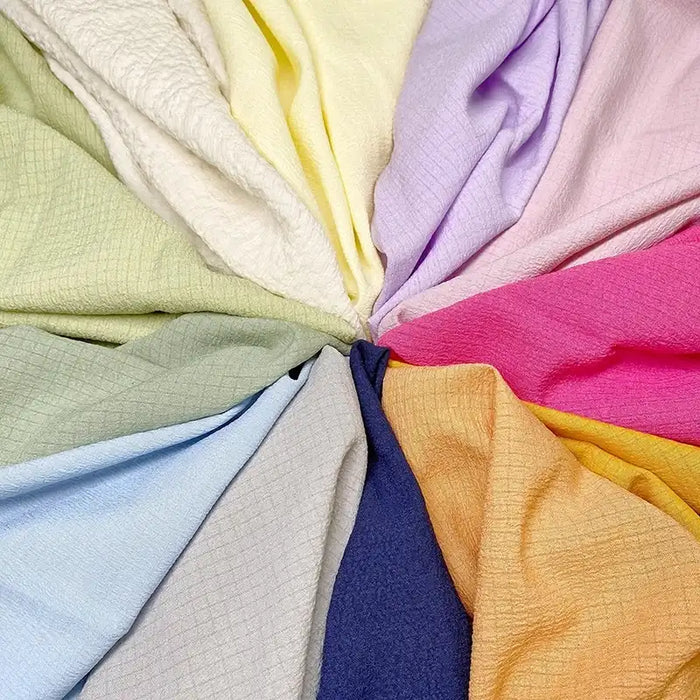
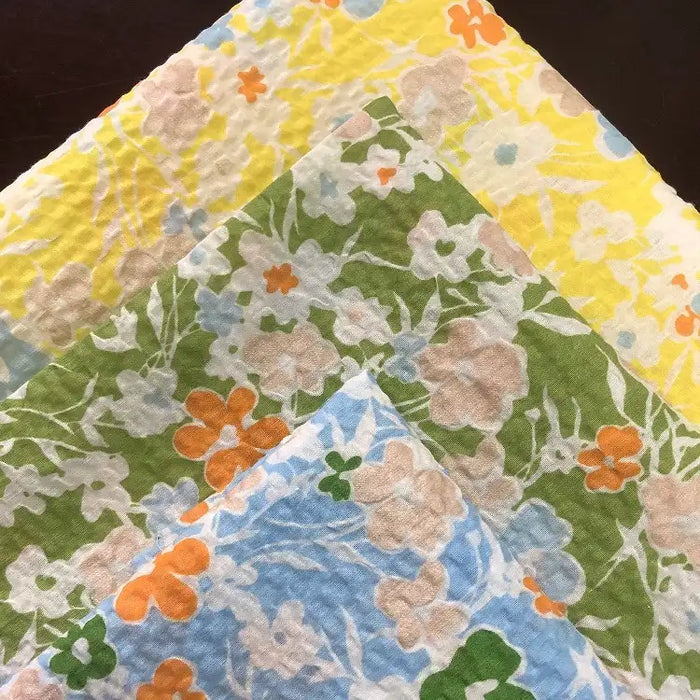
Choosing the right fabric can significantly impact the final look of your shirt. Each recommended fabric has its unique qualities, so consider the style you want to achieve while making your selection.
A lightweight and breathable fabric is ideal for warm weather, while a more structured fabric can provide a polished appearance.
You can use a variety of fabrics for this project:
- Cotton-Linen Blend: Lightweight and breathable, perfect for summer.
- Broadcloth: A smooth fabric that holds its shape well.
- Washed Cotton: Soft and comfortable with a relaxed drape.
- Knit Fabric: Stretchy and easy to wear, great for casual looks.
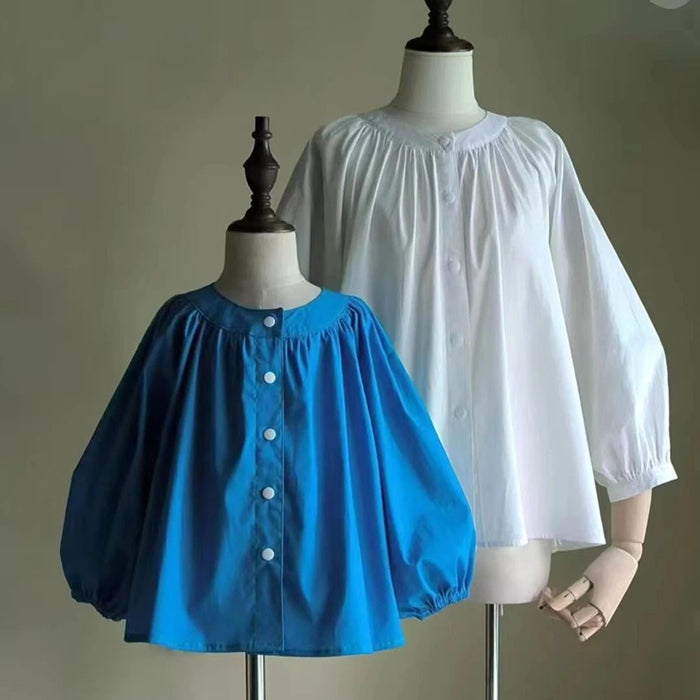
How to Sew the Square Neck Sleeveless Top
Now that you have all your materials and fabric selected, it's time to dive into the step-by-step guide. This structured approach will help you understand each part of the process clearly, making it easier to follow along.
Step 1: Prepare the Pattern

- Draft the Pattern: Create a pattern on pattern paper, ensuring you include all necessary pieces: front, back, and lining.
- Cut the Fabric: Use the pattern to cut out four pieces of fabric (two outer and two lining pieces).
Step 2: Mark the Pleats
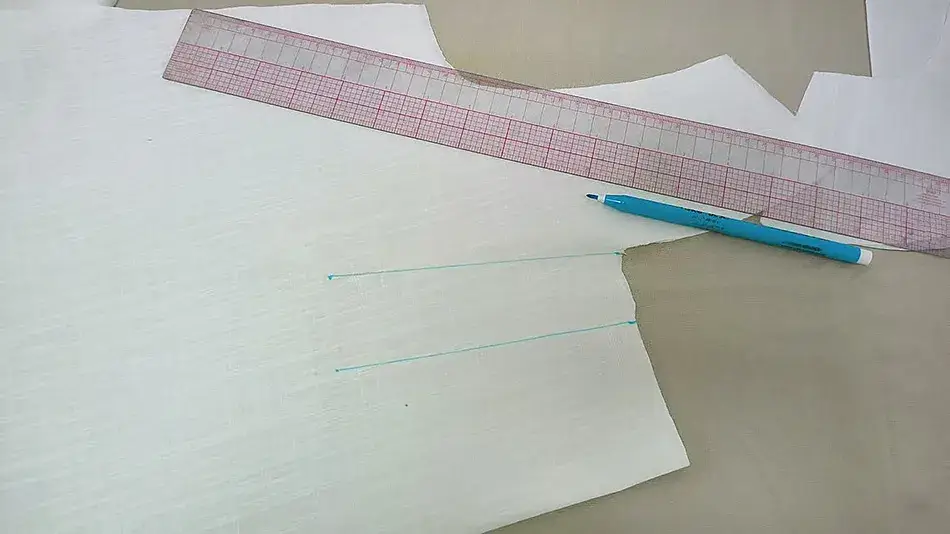
- Position the Pattern: Place the pattern on the fabric pieces.
- Mark Pleat Locations: Use pins to mark points for the pleats. Make sure to follow the grainline indicated on the pattern.
Step 3: Sew the Pleats
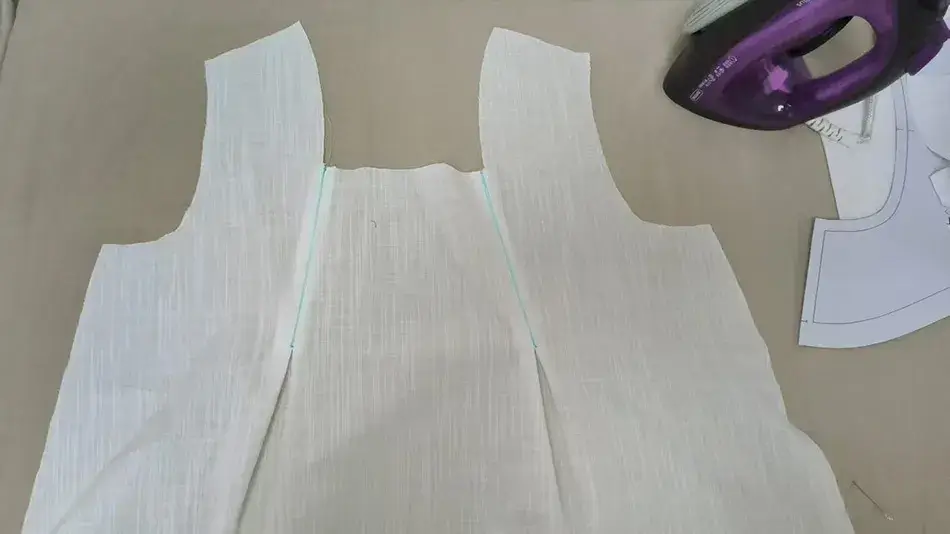
- Sew Pleats: Fold and sew along the marked points to secure the pleats in place.
- Press Pleats: Use an iron to press the pleats flat for a crisp finish.
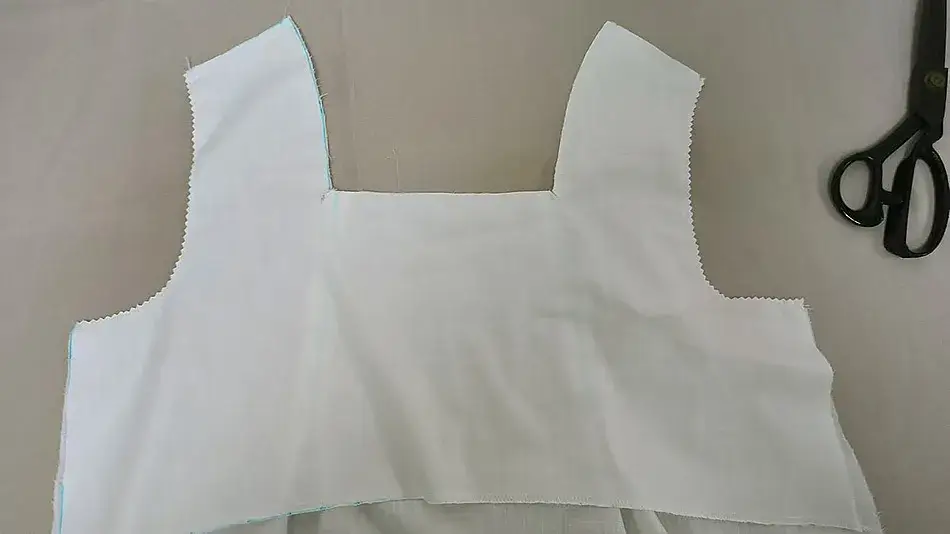
Step 4: Assemble the Shirt
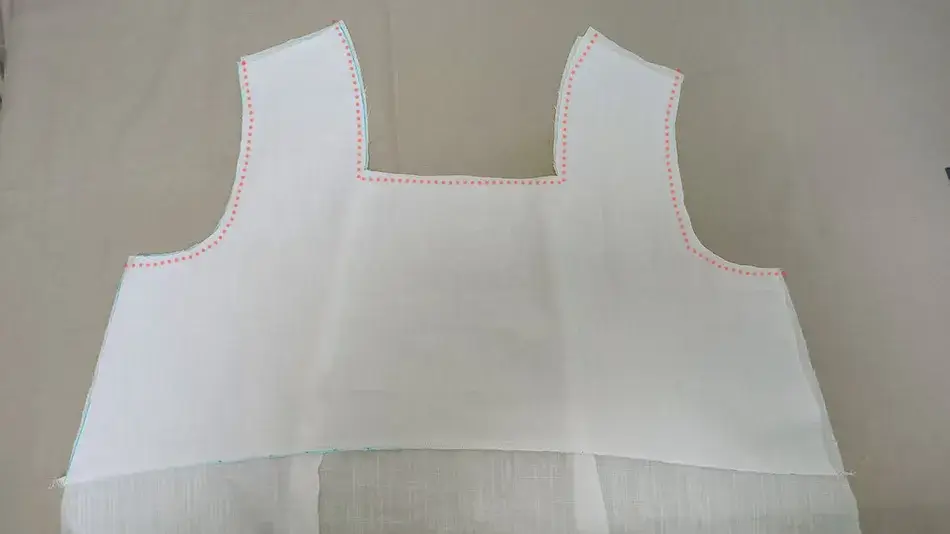
Assembling the shirt is an exciting part of the process where you’ll see your pieces come together. Pay attention to detail as you join the fabric layers, as this will ensure a professional finish.
- Join Front and Back: Place the front lining piece against the outer fabric, ensuring right sides are facing each other. Align edges and pin in place.
- Sew Edges: Stitch along the edges, leaving openings for sleeves if applicable.
Step 5: Finish Edges
Finishing edges is crucial for preventing fraying and achieving a polished look. Take your time with this step, as it can make a significant difference in the durability of your shirt.
- Trim Seam Allowances: Carefully trim any excess fabric from seam allowances to reduce bulk.
- Finish Edges: Use a serger or zigzag stitch on your sewing machine to finish the raw edges.
Step 6: Attach the Lining
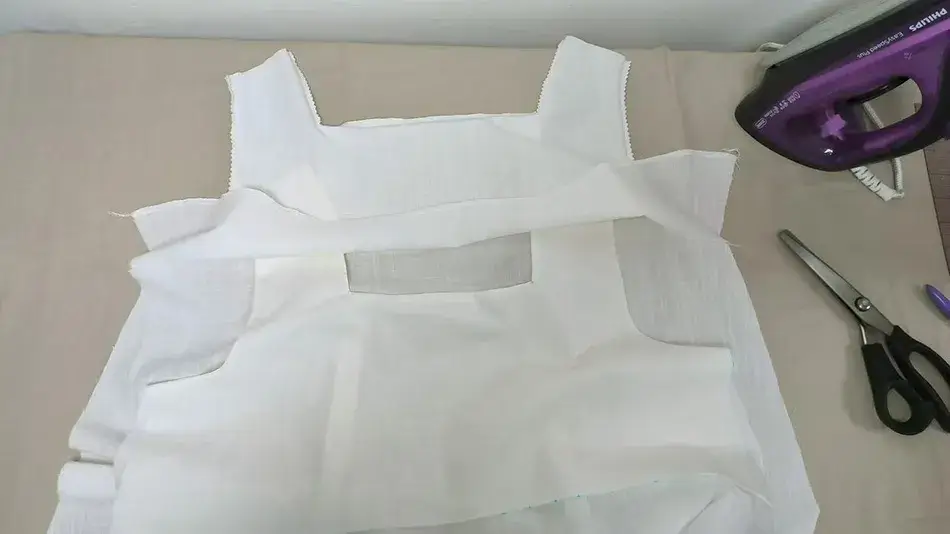
Attaching the lining adds a clean finish to your shirt while providing extra comfort. Ensure both layers are securely aligned for a seamless appearance.
- Align Lining and Outer Fabric: Turn the shirt right side out and insert the lining into the outer fabric.
- Sew Neckline: Sew around the neckline to secure both layers together.
Step 7: Hemming
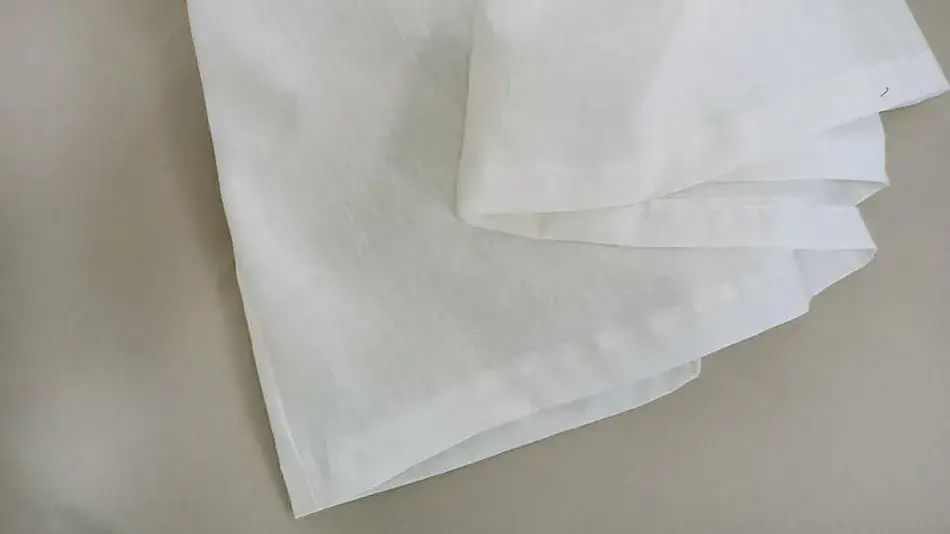
Hemming gives your shirt a neat and finished look at the bottom edge. Fold evenly for a professional appearance.
- Prepare Hem: Fold the bottom edge of the shirt up about 1/4 inch, then again to create a clean hem.
- Sew Hem: Stitch along the folded edge to secure.
Step 8: Final Touches
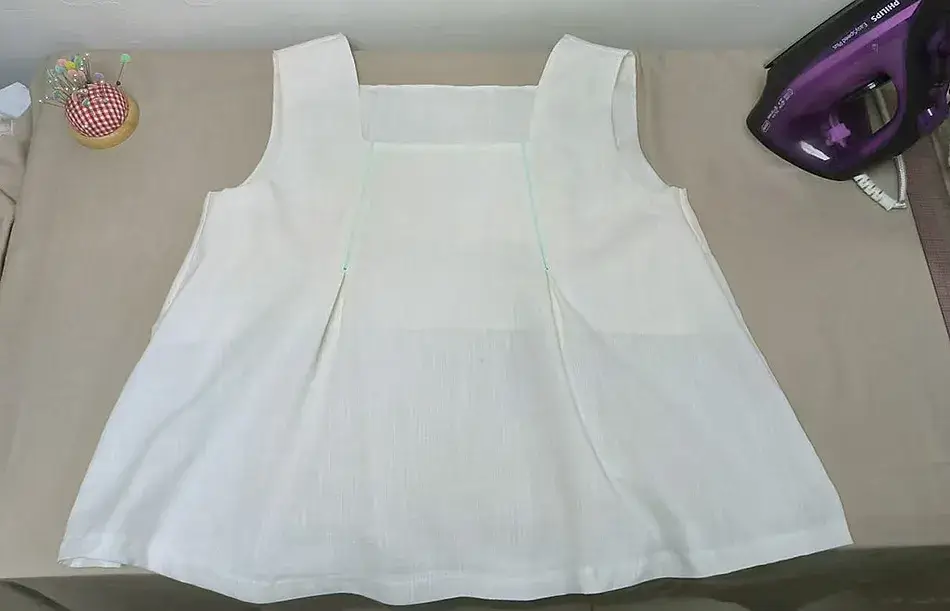
Final touches such as pressing help refine your shirt’s appearance, allowing it to look its best when worn. Don’t skip this step; it's essential for achieving that polished finish.
- Press the Shirt: Give your shirt a final press with an iron to eliminate any wrinkles.
- Try it On: Check for fit and make any adjustments if necessary.
Conclusion
Congratulations! You have successfully created a beautiful square neck sleeveless shirt that is perfect for any occasion. With practice, you can even explore different styles or add embellishments to make it uniquely yours! Enjoy wearing your handmade creation and showing off your sewing skills!
Learn more sewing projects on the Longan Craft Blog, and dive into the fabric world with Longan Craft!


0 comments