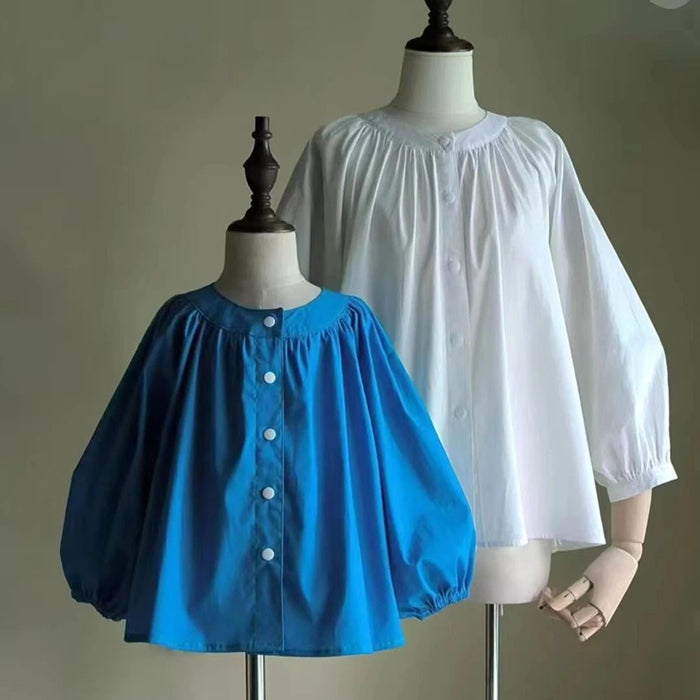
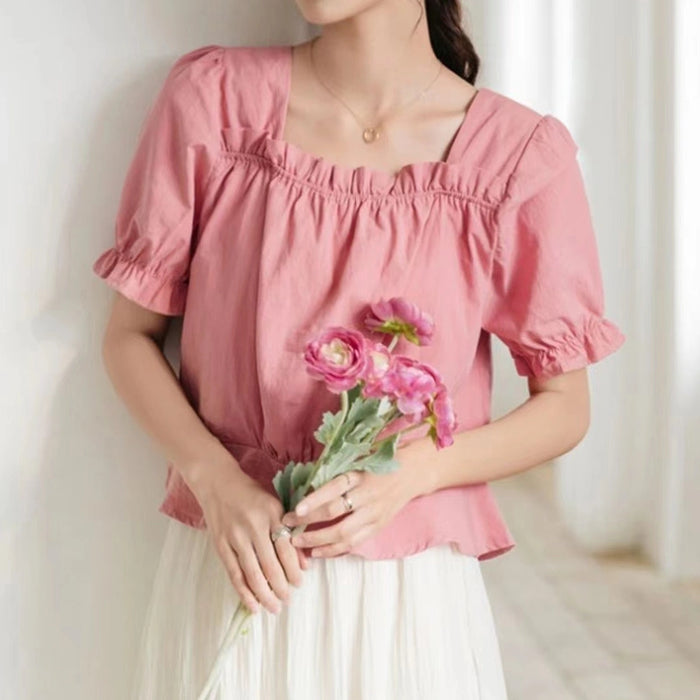
In this tutorial, we will guide you through the process of making a stylish smocked crewneck raglan sleeve blouse for both adults and children. This design is perfect for the upcoming summer season and is both comfortable and fashionable. With easy-to-follow steps, you'll be able to create a unique piece that showcases your sewing skills.
Materials Used
Before we dive into the sewing process, let's gather all the necessary materials. Having everything ready will make the steps smoother and more enjoyable. Here’s what you’ll need to get started on this project.
- Cotton or linen fabric
- Fusible interfacing
- Sewing thread
- Elastic (if desired)
- Scissors
- Sewing machine
- Iron
- Measuring tape
Recommended Fabrics
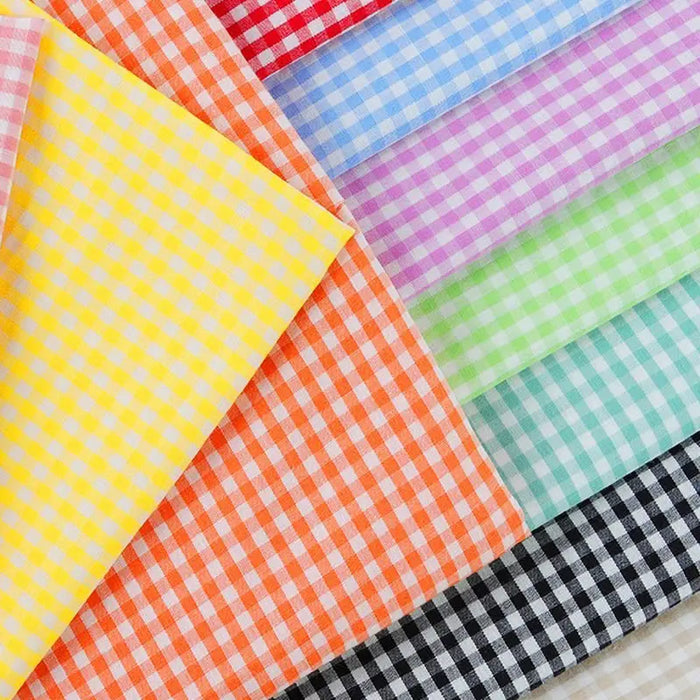
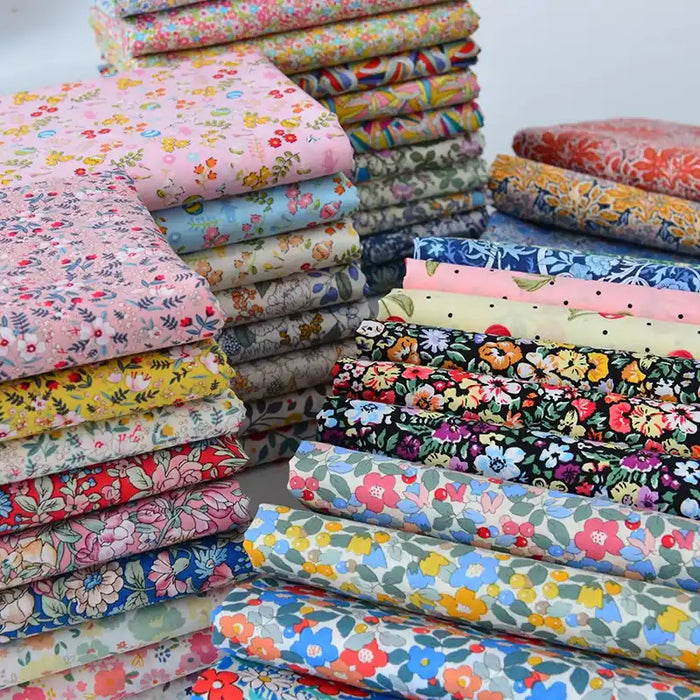
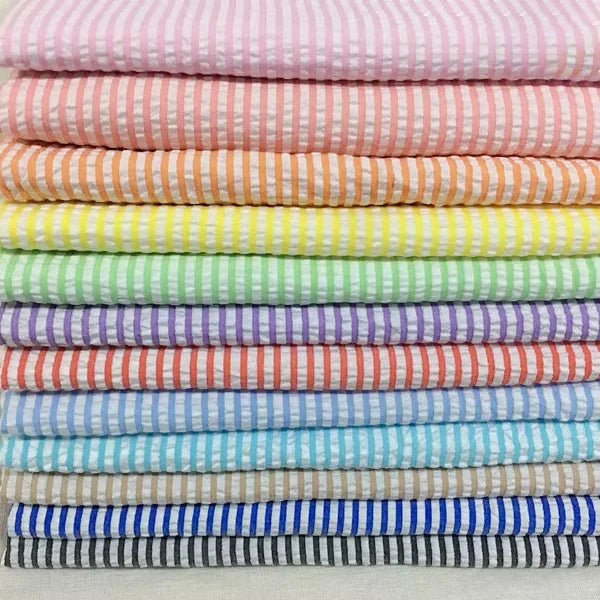
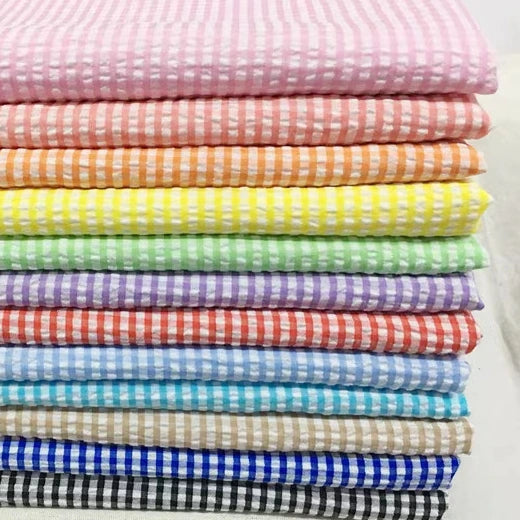
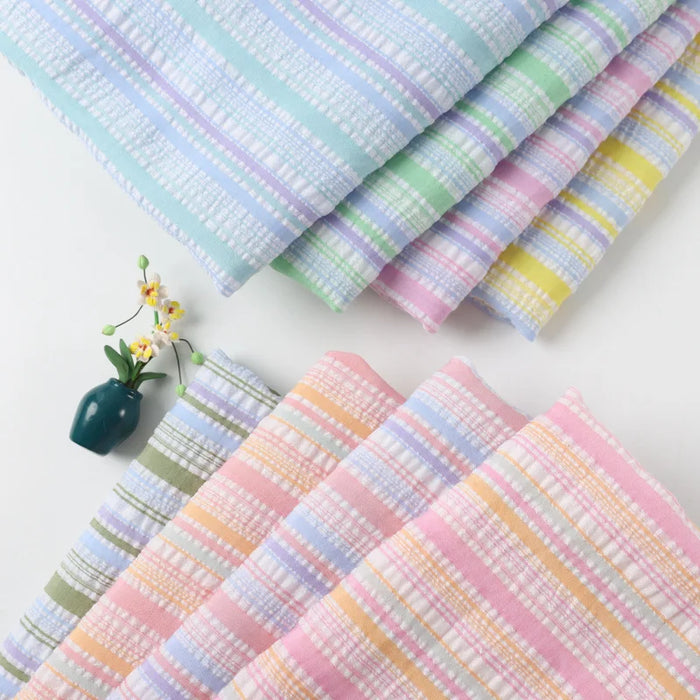
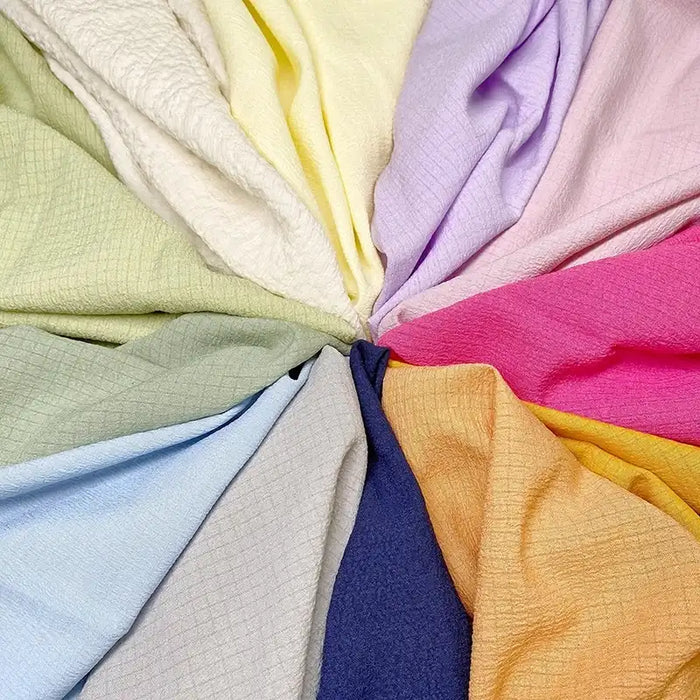
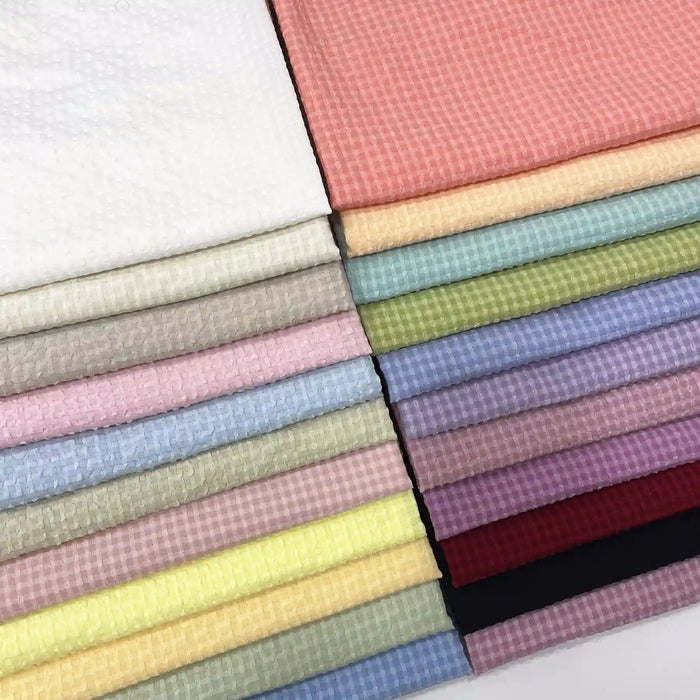
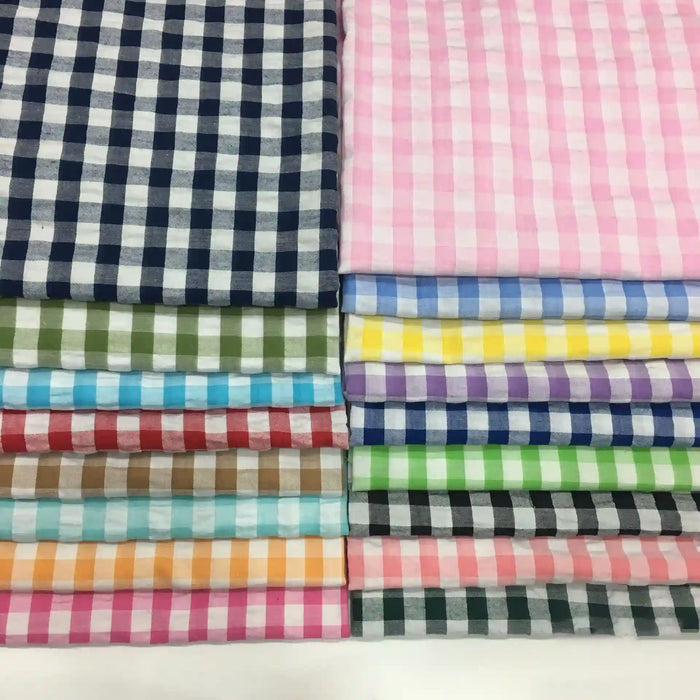
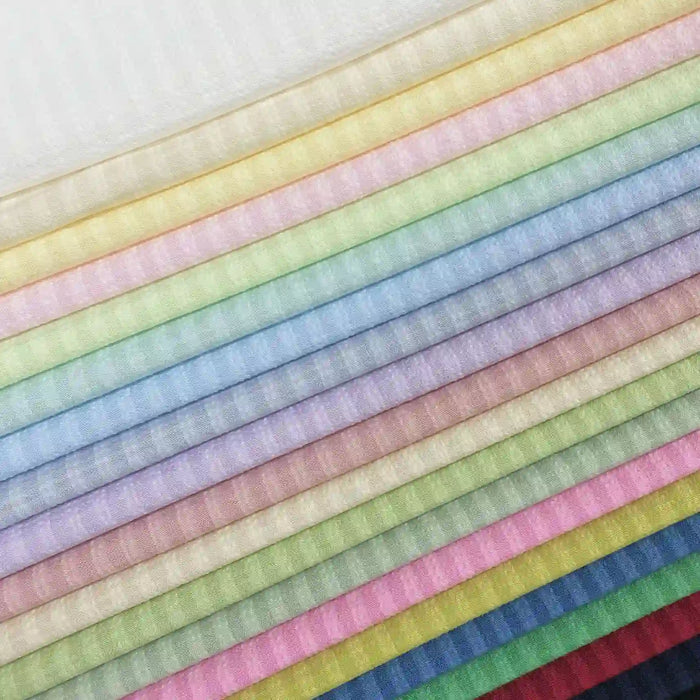
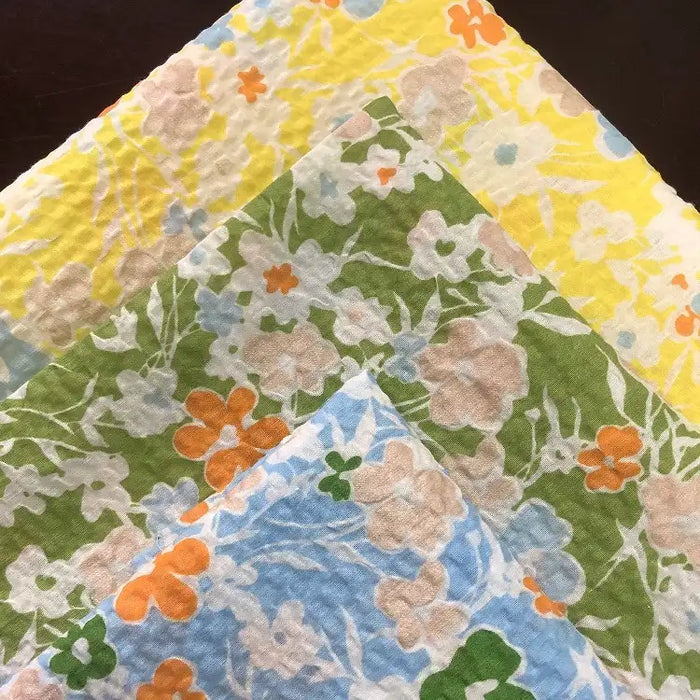
Choosing the right fabric is crucial for the comfort and look of your shirt. Lightweight and breathable materials will ensure that your shirt is suitable for warm weather. Here are some fabric recommendations to consider before you begin:
- Cotton: Cotton is soft against the skin and easy to work with. It comes in various weights and prints, making it perfect for casual wear.
- Linen: Known for its excellent breathability and moisture-wicking properties, linen is ideal for hot summer days. It has a natural texture that adds an elegant touch to any garment.
- Rayon: This fabric drapes beautifully and offers a comfortable fit. Rayon is lightweight and can mimic the feel of silk, making it a great choice for a stylish shirt.
- Chambray: Often mistaken for denim, chambray is lighter and softer. It adds a casual but chic look to your shirt while remaining comfortable and breathable.
- Bamboo Fabric: Eco-friendly and soft, bamboo fabric is known for its antibacterial properties and breathability. It’s an excellent choice for those looking for sustainable options.
How to Sew the Smocked Crewneck Raglan Sleeve Blouse
Now that you have your materials and fabric ready, let's move on to the fun part—sewing! Follow these step-by-step instructions carefully to create your beautiful shirt.
Step 1: Pattern Preparation
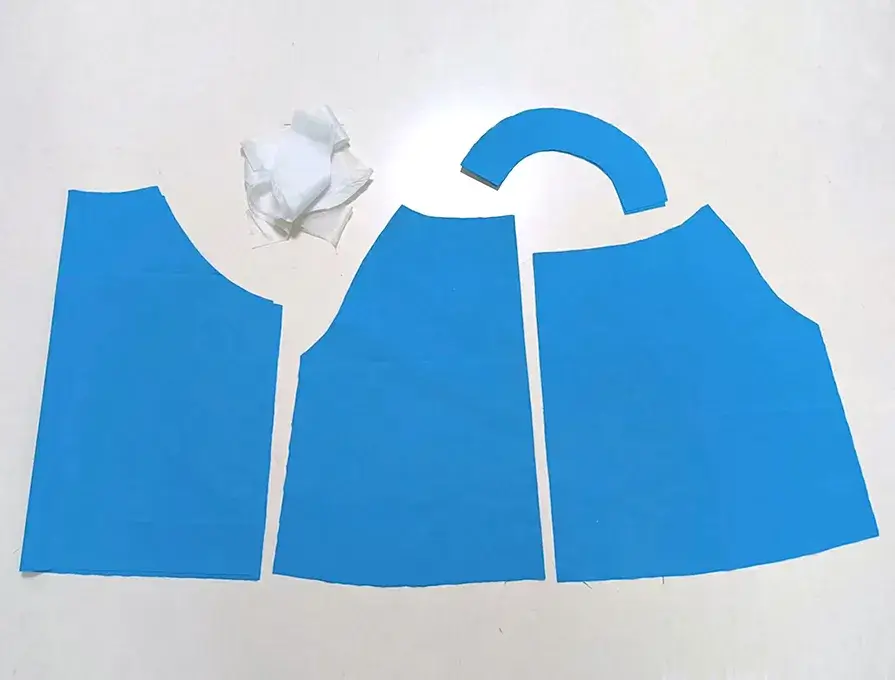
Begin by drafting or downloading the shirt pattern. Ensure you have all the necessary pieces cut out, including the front, back, sleeves, and collars.
Step 2: Attach Interfacing
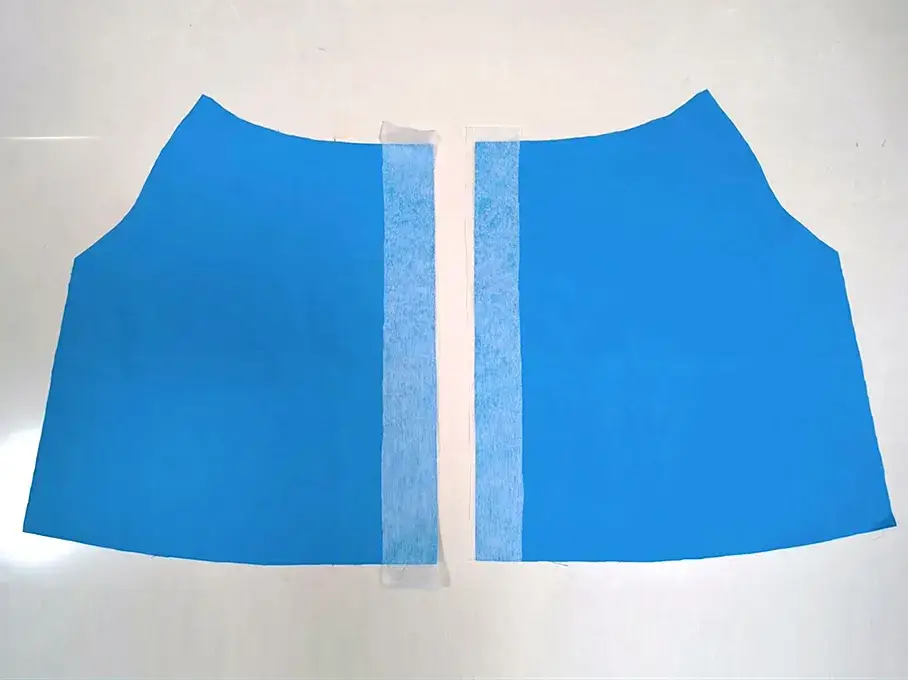
Apply fusible interfacing to the back of the front placket pieces to provide stability. This step is essential to ensure that your shirt maintains its shape over time.
Step 3: Prepare the Collar
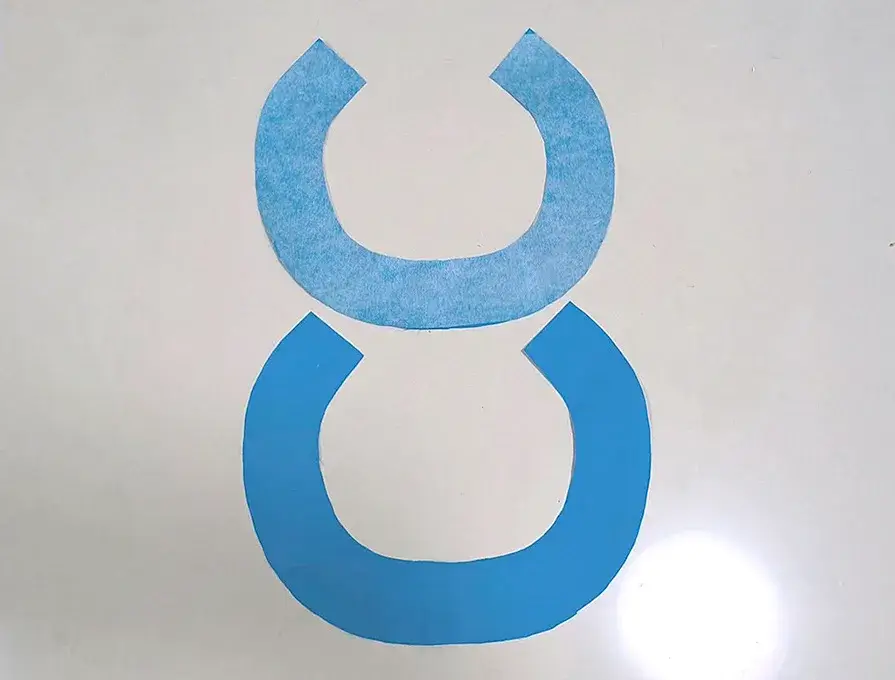
Cut out the collar pieces. Iron the interfacing onto both pieces of the collar. Folding and pressing will help create a polished finish.
Step 4: Sew the Front Placket
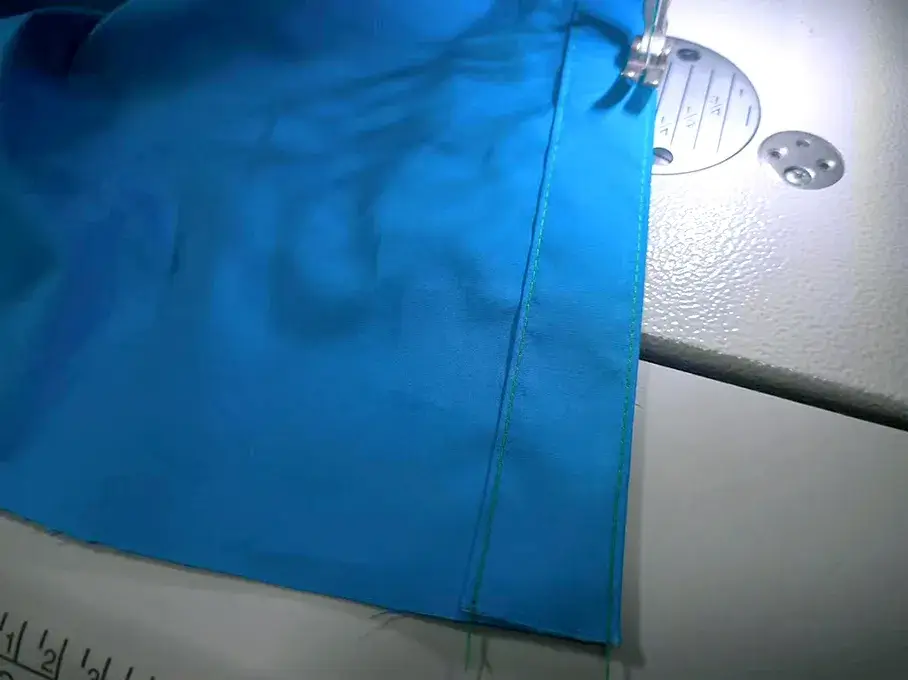
Fold the edges of the front placket inward, then topstitch to secure them in place. This adds a professional touch and enhances the overall look of your shirt.
Step 5: Gather the Fabric
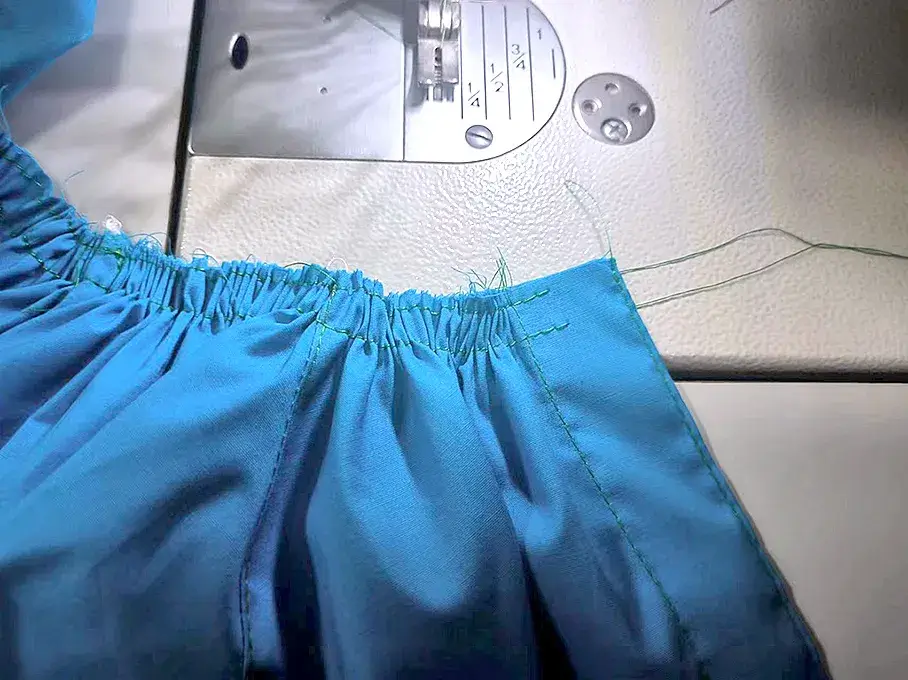
For the pleats, sew two lines of long stitches along the neckline and pull the threads to gather the fabric evenly. This technique adds beautiful texture and dimension to your shirt.
Step 6: Attach Sleeves
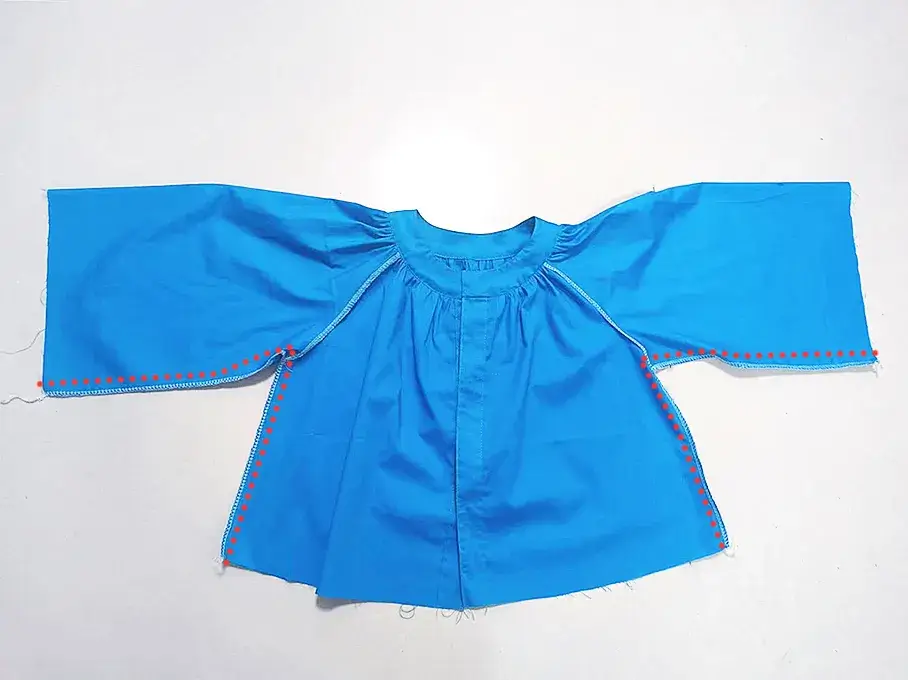
Align the sleeves with the armholes. Pin them in place and sew, ensuring that the sleeves are attached correctly. Proper alignment is key to achieving a clean finish.
Step 7: Assemble the Shirt
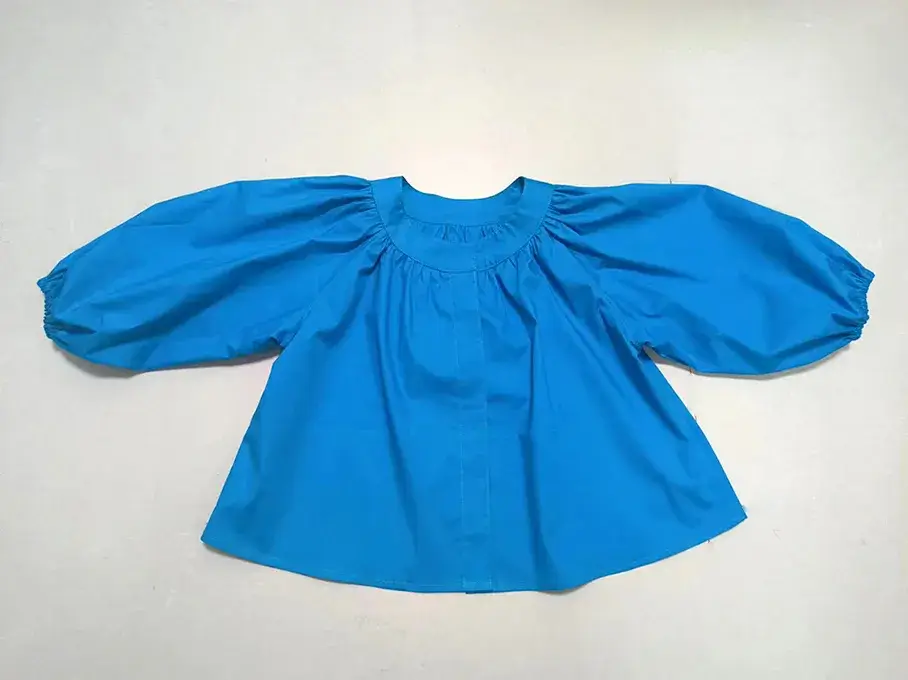
Place the front and back pieces right sides together and sew along the side seams. Repeat for both sides to create a cohesive garment.
Step 8: Hem the Bottom and Sleeves
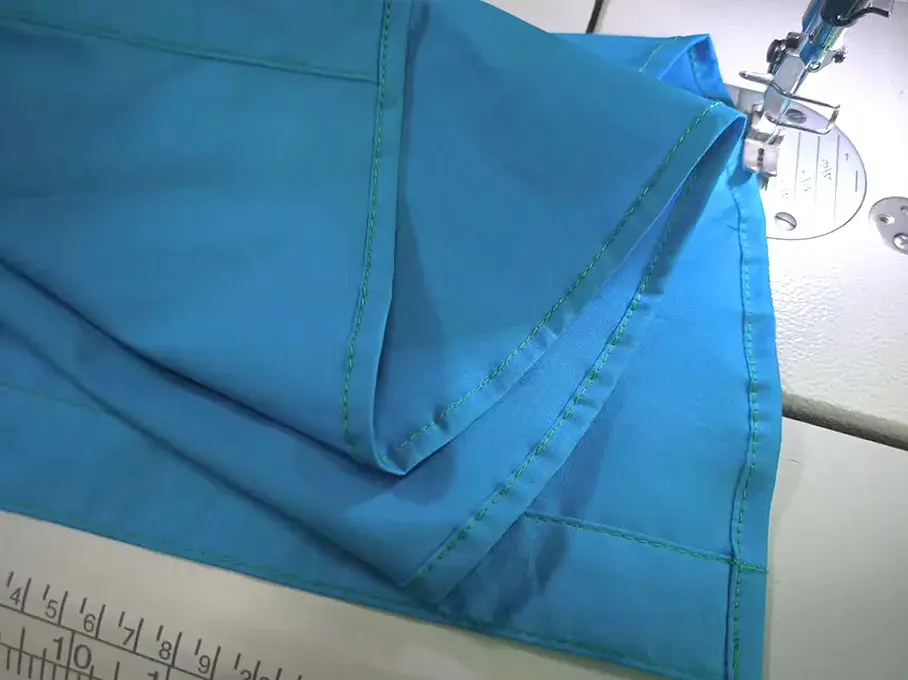
Fold up the bottom hem and sleeve hems, press, and sew them in place for a clean finish. Neat hems contribute significantly to the overall appearance of your shirt.
Step 9: Add Elastic (Optional)
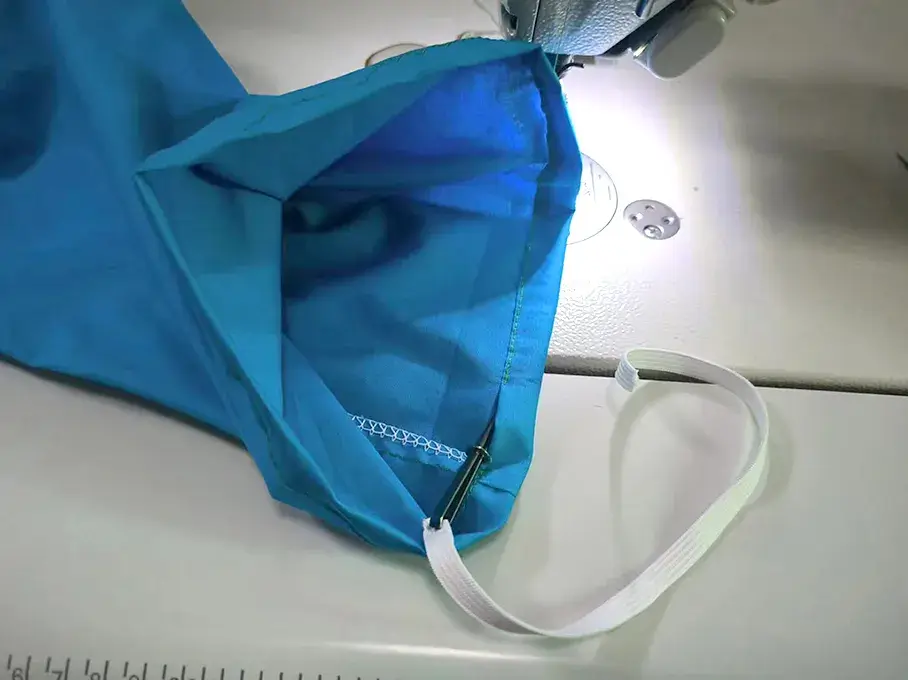
If you want to add elastic to the sleeves, measure your wrist circumference, cut the elastic, and sew it into the sleeve hem. This optional step adds an extra layer of comfort and style.
Step 10: Final Touches
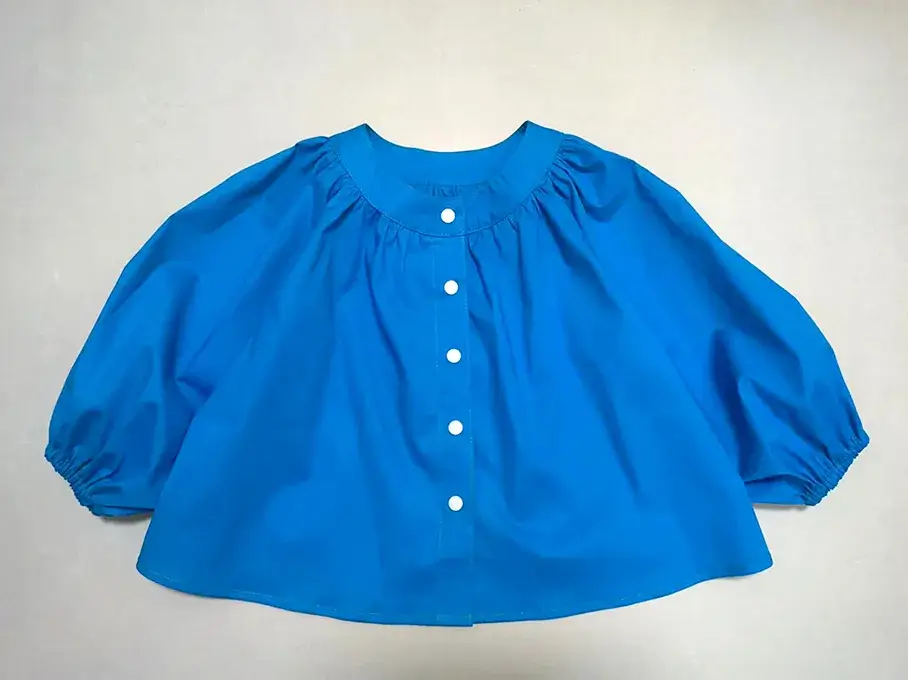
Give your shirt a final press with an iron to remove any wrinkles. Ensure everything is neat and tidy for a polished look that you can be proud of.
Conclusion
Congratulations! You have successfully created a beautiful blouse for yourself and your child. This project not only enhances your sewing skills but also allows you to enjoy matching outfits for special occasions or everyday wear. Remember, each stitch brings you closer to mastering your craft, so keep sewing and experimenting with new designs! Happy sewing!
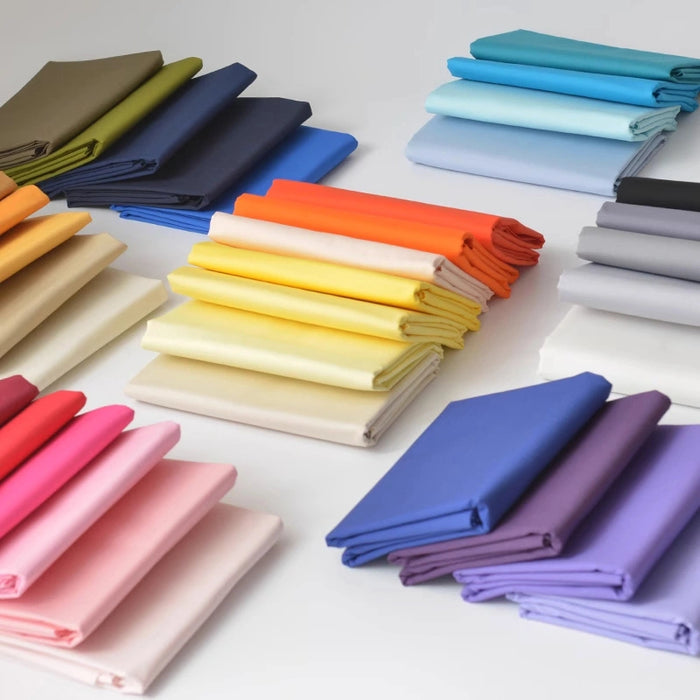
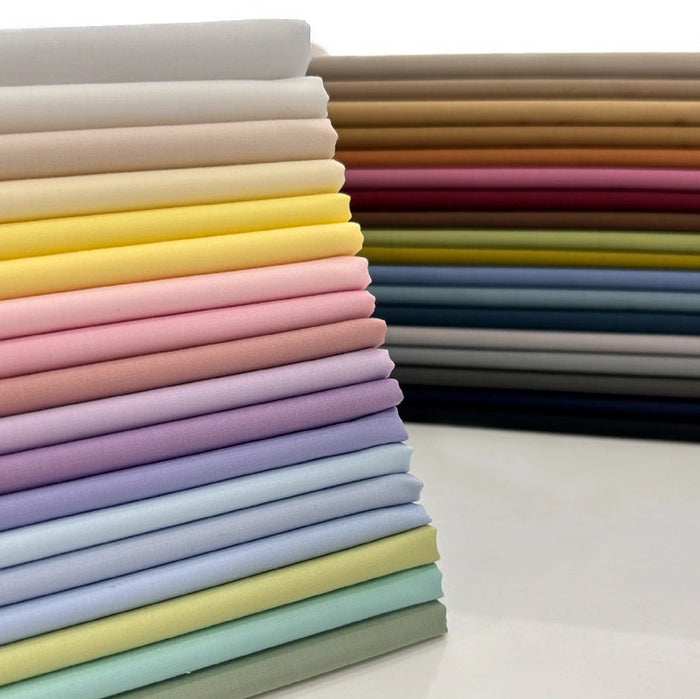
Learn more sewing projects on the Longan Craft Blog, and dive into the fabric world with Longan Craft!


0 comments