

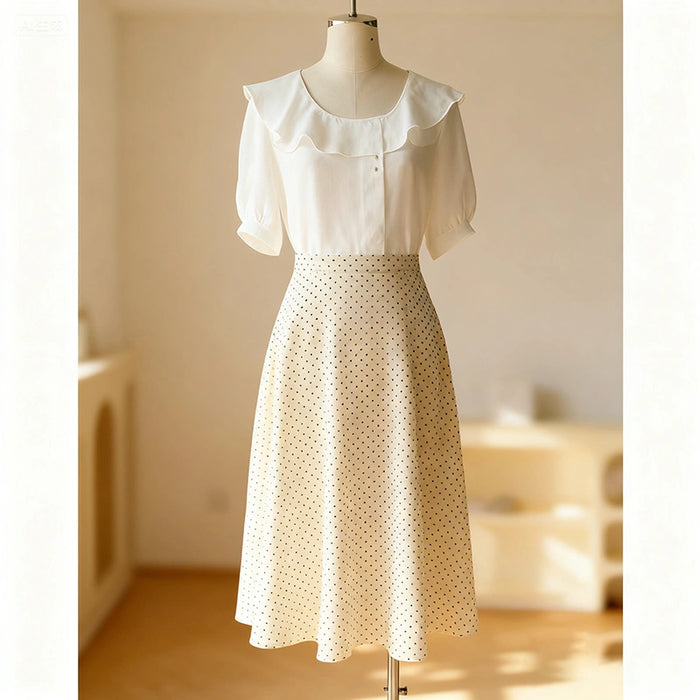
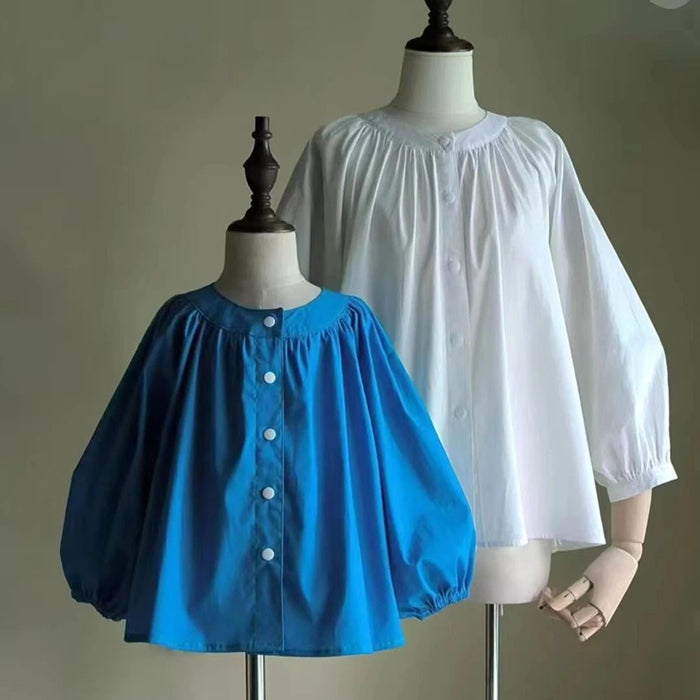
A Zip-Front Shirt combines timeless style with a flattering silhouette that accentuates your waistline while providing comfortable ease of movement. Whether you're an experienced seamstress looking to expand your skills or a passionate beginner ready to tackle a rewarding project, this step-by-step tutorial will walk you through every detail of creating a professional-quality shirt.
Fabric Preparation and Cutting
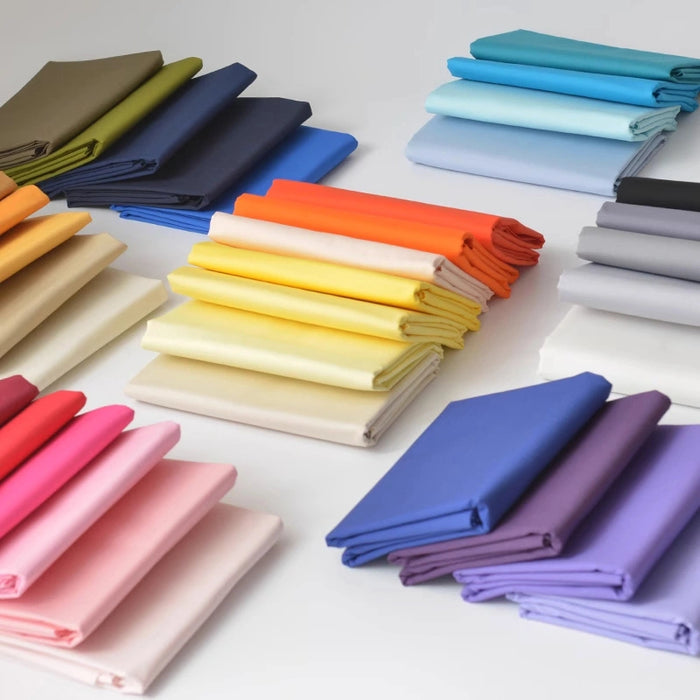
Before diving into the sewing process, proper preparation is key to creating a professional-looking cinched waist shirt.
- Fold fabric in half and cut the back piece and back shoulder on the fold.
- Cut the collar pieces slightly larger than the pattern; fuse interfacing to the wrong side, then trim to the pattern size.
- Cut all other pieces according to the paper pattern.
How to Sew a Cinched Waist Shirt
Step 1: Make the Back Piece of the Shirt
Begin by placing the back piece wrong side up. Punch two locator holes with an awl in the paper pattern and align the pattern on the fabric. Mark the two holes with a water‑erasable pen. Repeat on the opposite side so you have four marks; draw connecting lines between marks to form a rectangle — this is the area for the back waist piece.
Fold the two long edges of the back waist piece inward 1 cm and press. Position the elastic band at the short ends of the waist piece, overlapping by 1cm, and stitch to create a continuous loop.
Place the waist piece over the marked rectangle on your back piece. And the elastic band is positioned between the back piece and the waist piece. Align the waist piece on the rectangle and stitch it to the back piece along the rectangle edge, being careful not to catch the elastic in your stitching.
Align the back shoulder piece to the back piece, right sides together, stitch two pieces of fabric. Press open, then topstitch on the right side to secure. The back of shirt is finished.
Step 2: Make the Front Piece of the Shirt
Take two pocket flap pieces, place them right sides together, and stitch three sides. Turn right side out, shape the corners neatly, and topstitch 0.5cm from all three edges. Stitch the open edge 0.5cm from the edge.
Fold the pocket opening edge inward by 1cm and stitch. Fold the remaining three pocket edges to form seam allowances and position the pocket on the front at the marked location. Tack the pocket in place and stitch three sides at 0.2 cm from the edge.
Align the pocket flap over the pocket top using the marked guideline and stitch along the straight edge. Trim seam allowances, fold the flap down, and topstitch 0.5 cm from the flap edge. Repeat for the other pocket.
Turn the front piece to the wrong side and mark the locator points from the pattern. Bring two adjacent notches and the locator point together, fold, and stitch a straight line between the notch and the point to form a pleat. Repeat to make the second and third pleat on the front. Do the same on the opposite front piece.
Place front and back pieces right sides together, match shoulder seams and stitch with a 1 cm seam allowance. Press seam toward the back and topstitch 0.2 cm from the seam on the right side for a crisp finish.
Step 3: Assemble the Sleeves
Fuse interfacing to the cuff wrong side. Fold the cuff right side up in half and press, then open. Fold one long edge in by 1 cm and press. This finishes the cuff piece.
Fold the binding strip in half lengthwise and press. Open, then fold each long raw edge to the center fold and press again to form the binding.
Place the sleeve pattern on fabric, cut out sleeves and mark slits and notches. Sandwich the slit between the binding strip and stitch 0.2 cm from the edge. Trim excess binding, turn to the wrong side and reinforce the slit point with a small triangular stitch.
Locate the four knife‑point notches at the sleeve hem. Match notch 1 to notch 2, fold and stitch to form the first pleat; match notch 3 to notch 4 and stitch to form the second pleat. Repeat for the other sleeve.
Stitch a line at 0.8 cm from the curved sleeve edge. Pull the basting threads to ease and create a slight fullness at the sleeve cap so the arc stands up slightly.
Match a sleeve notch to the corresponding the notch on front piece and stitch with 1 cm seam allowance. Attach the other sleeve in the same way.
With the sleeves attached, sew the sleeve seam continuously into the side seam right sides together. Finish raw edges with overlock or zigzag.
Take out the prepared cuff fabric, and make a small cut at both ends of the fold part. open, bring right sides together and fold so one long edge is folded 1 cm inside; stitch the short sides. Turn cuff right side out and press.
Align the cuff’s open raw edge with the sleeve wrong side and stitch around. Turn to right side and topstitch. Cuff finished.
Step 4: Install the Zipper
Use a metal separating zipper and split it. Fold each front edge of the garment in by 1 cm and press. Open the seam allowance and find the bottom notch. Place the zipper half with the slider aligned to the bottom notch, right sides together, and stitch 0.5 cm from the edge. Fold the zipper tape in and trim any excess tape. Repeat for the opposite front edge and zipper half.
Step 5: Zipper Binding and Hem Finishing
Take a long strip of fabric and fold it in three to form a hemming strip. Sandwich the exposed rough edge of the zipper inside the facing and stitch in place. On the wrong side press and topstitch to secure.
Fold the garment hem inwards 0.5 cm, press and stitch.
Step 6: Attaching the Collar of Shirt
Mark the undercollar on the wrong side per the pattern reference lines. Place the undercollar and upper collar right sides together; stitch along the reference line and trim seam allowances. Turn the collar right side out and press carefully.
Topstitch a line on the undercollar, fold the seam allowance inward along that line and press to create a neat turn. Align the collar with the neckline right sides together and stitch the upper collar to the neckline. Also stitch the undercollar to the neckline and stitch on the right side where required to secure both layers.
Topstitch three edges of the collar on the right side for a crisp look. Fold the collar along the pattern’s dashed fold line and press as final shaping.
Conclusion
Your cinched waist shirt is now complete! This versatile garment combines style with comfort, featuring thoughtful details like gathered sleeves, professional pockets, and a flattering fitted waist. With practice, you'll be able to customize this pattern to create multiple variations of this classic wardrobe staple.


0 comments