

This guide will walk you through each step of creating your own stylish v-neck shirt. Whether you're a seasoned sewist or just beginning your journey with a sewing machine, this tutorial provides clear instructions and helpful tips to ensure a perfect finish. We'll cover the detailed steps to create a stylish V-neck shirt, complete with a placket, pockets, and sleeves. Let’s get started!
Gather Materials
Before you begin sewing your v-neck shirt, it's crucial to gather all the necessary materials.
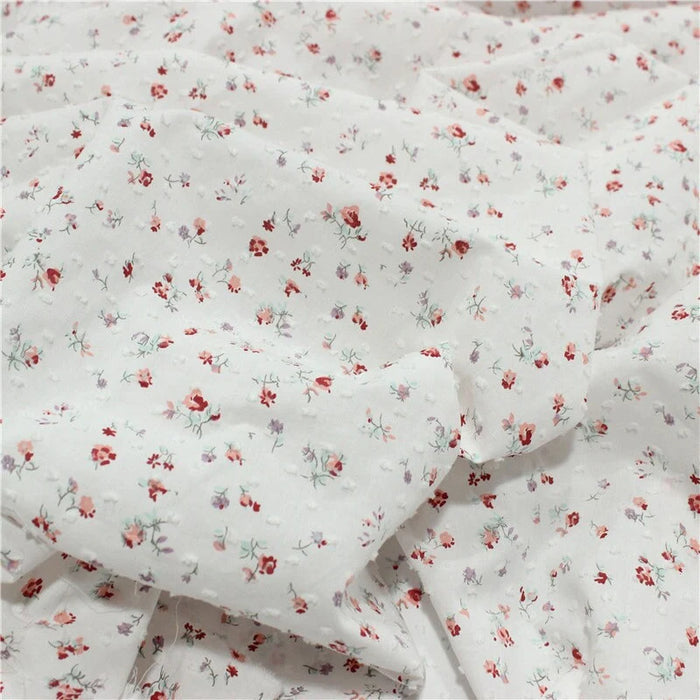
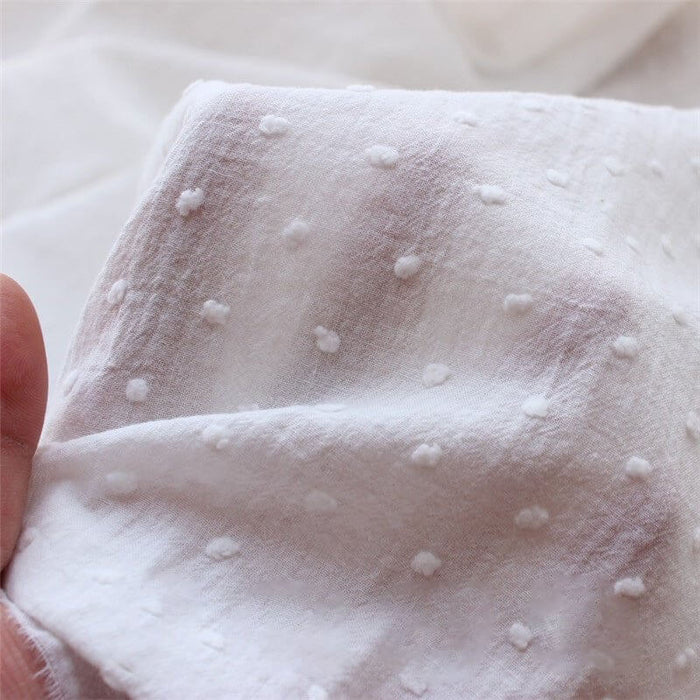
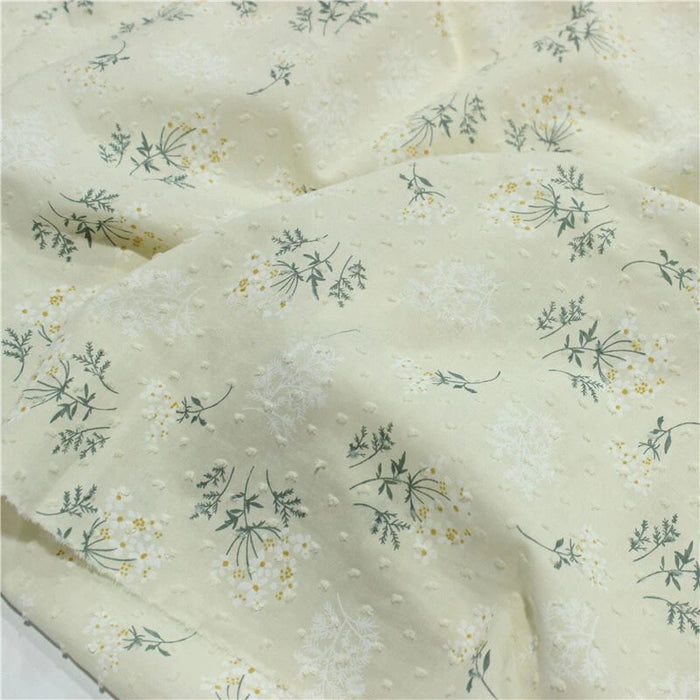
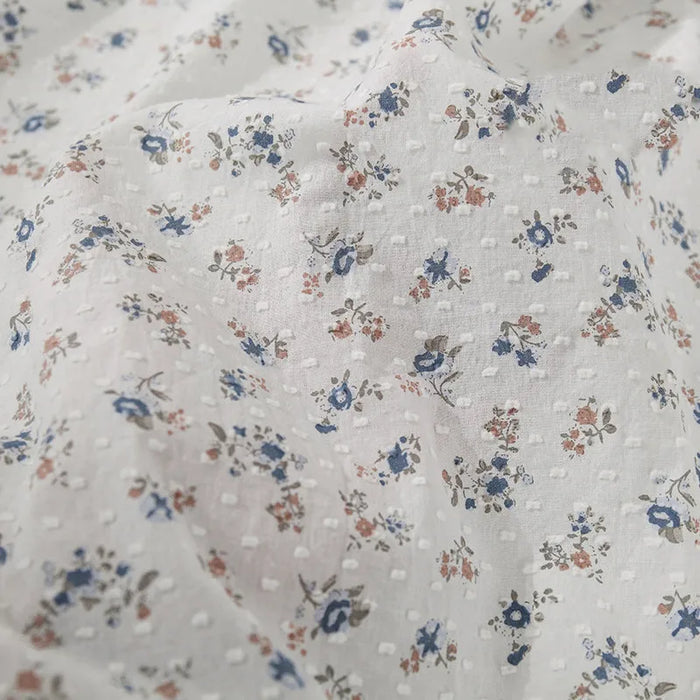
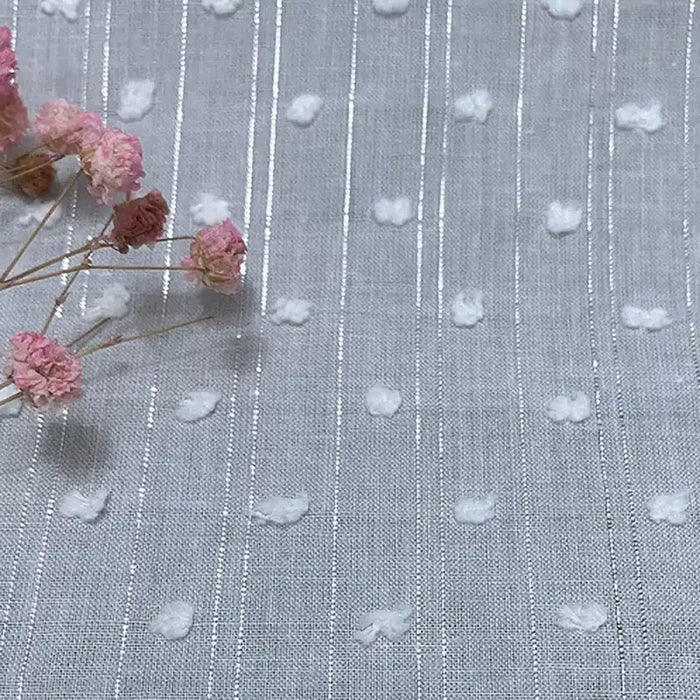
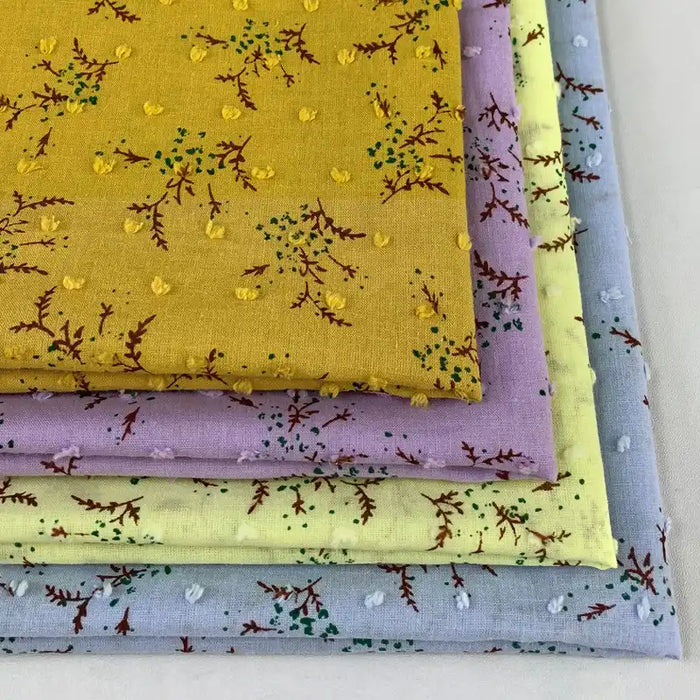
- Fabric suitable for shirt
- V-neck shirt patterns
- A reliable sewing machine
- Sharp scissors, pins, a measuring tape
- A fabric marker or tailor's chalk for marking
- An iron for pressing seams
How to Sew a V-neck Shirt: A Step-by-Step Instruction
Now we will provide you with detailed, step-by-step instructions to help you create a beautifully tailored V-neck shirt from scratch. Get ready to bring your vision to life and enjoy wearing a shirt that you crafted with your own hands!
Sewing the Placket
To sew the placket, begin by using the shirt pattern to cut four fabric pieces for the placket, ensuring they're slightly larger than the pattern dictates. This allows for adjustments and a perfect finish, providing around a 1cm seam allowance.
On each piece, mark the reference lines as indicated on the pattern. Take two pieces, positioning them right sides together, and sew along the reference lines at a 0.2cm seam allowance.
After sewing, attach a strip to the newly created v neckline and trim any excess fabric. Open the sewn placket and carefully press a seam along the front where the pieces meet. This creates a clean edge.
Next, take the front piece of your shirt fabric. Before you sew, if desired, mark the pocket positions using a fabric marker or tailor's chalk. Using the shirt pattern, mark the incision line on the front piece.
Carefully position the placket and the front piece of the shirt with their right sides together, ensuring the placket has a 1cm seam allowance extending beyond the shirt front. Match the marked incision line and sew the placket to the shirt front, following the lines previously marked.
Fold the placket over, folding the unsewn side inward by approximately 1cm, and press it with an iron. If you encounter anything that's difficult to press, make small cuts to ease the fabric.
Finally, press a seam along the placket, securing it. The other side of the placket is done the same way.
Attaching the Pocket
Now it’s time to make the pocket.
- Prepare the Pocket Fabric: Fold the pocket fabric according to the reference lines on the pattern, folding the inner edge by 1 cm and sew it down.
- Sew the Pocket Base: Take a strip of fabric for the pocket base, align it with the pocket, and sew about 0.6 cm from the edge. Press the seam open and trim the excess fabric.
- Attach the Pocket: Fold the ends of the pocket up by about 1 cm and position it on the marked spot on the shirt front. Sew it in place, and your pocket is complete!
Assembling the Back Piece and Shoulder Seams
Begin by taking the back piece of the shirt and marking a reference line 1.6-2cm from the edge at the incision. Position the fabric right sides together and sew a short straight line along the marked reference. Once sewn, open the fabric to create a herringbone fold and carefully secure it in place to maintain the shape of the back piece.
Next, take the upper half of the back of the shirt and position it right sides together with the back piece. Fold the edge of the back piece fabric by 1cm and carefully wrap the upper half of the fabric, then sew it in place. Aim to sew approximately 0.8cm from the edge to ensure a secure and even attachment. After sewing, open the fabric to reveal the seam and carefully press the seam to create a clean and perfect finish.
Now, take the back collar facing and align it right sides together with the back fabric of the shirt, ensuring the edges are aligned, and sew 0.8cm from the edge. Once sewn, trim the edge of the collar facing to remove any excess fabric and create a clean edge. After trimming, open the fabric and press the seam to create a smooth and professional finish for the collar area.
To begin joining the shoulder seams, align the incision of the back fabric with the splicing point of the placket. Position them right sides together and sew 1cm from the edge to create a secure and even seam. Repeat the same sewing process on the other side to ensure both shoulder seams are joined.
Once both shoulder seams are sewn, lay the back collar facing flat. Secure it in place with stitches to prevent it from shifting, and repeat on the other side. To wrap the shoulder seams, take a binding strip and position it right sides together. Sew it in place, extending it to the collar facing position. Use the three-fold method to wrap the shoulder seams with the binding strip and sew them securely in place.
Attaching the Sleeves and Side Seams
Begin by taking one side of the sleeve fabric and folding the edge of the sleeve inward by 1cm, then sew it in place. This creates a clean and finished hem for the sleeve. Mark the incision position on the sleeve fabric, aligning the incision near the shoulder seam with the back splicing seam.
Next, position the front fabric right sides together with the sleeve fabric. Sew 1cm from the edge, ensuring the seam is even and secure. After sewing, open the fabric to reveal the seam. Press the seam to create a smooth and professional finish for the sleeve attachment.
To sew the side seams of the sleeve, position the fabric wrong side to wrong side, aligning the edges carefully. Sew 0.4cm from the edge, ensuring the seam is even and secure. After sewing, trim any raw edges to prevent fraying and create a cleaner finish. Turn the fabric to the wrong side, then sew a line 0.8cm from the edge to reinforce the seam. After sewing, turn the fabric to the right sides together. The sleeve is now finished. Repeat the same steps on the other side to attach the remaining sleeve.
Fold the hem of the clothes in half and then in half again, and press the seam. This creates a finished hem for the bottom of the clothes.
Mark the corresponding lines on the cuffs, then fold inward by 1cm first, then fold to the marked line and sew them to have a perfect sleeve.
Conclusion
Congratulations! You have successfully sewn a V-neck shirt. This project not only enhances your sewing skills but also results in a stylish addition to your wardrobe. Enjoy wearing your new creation.


0 comments