

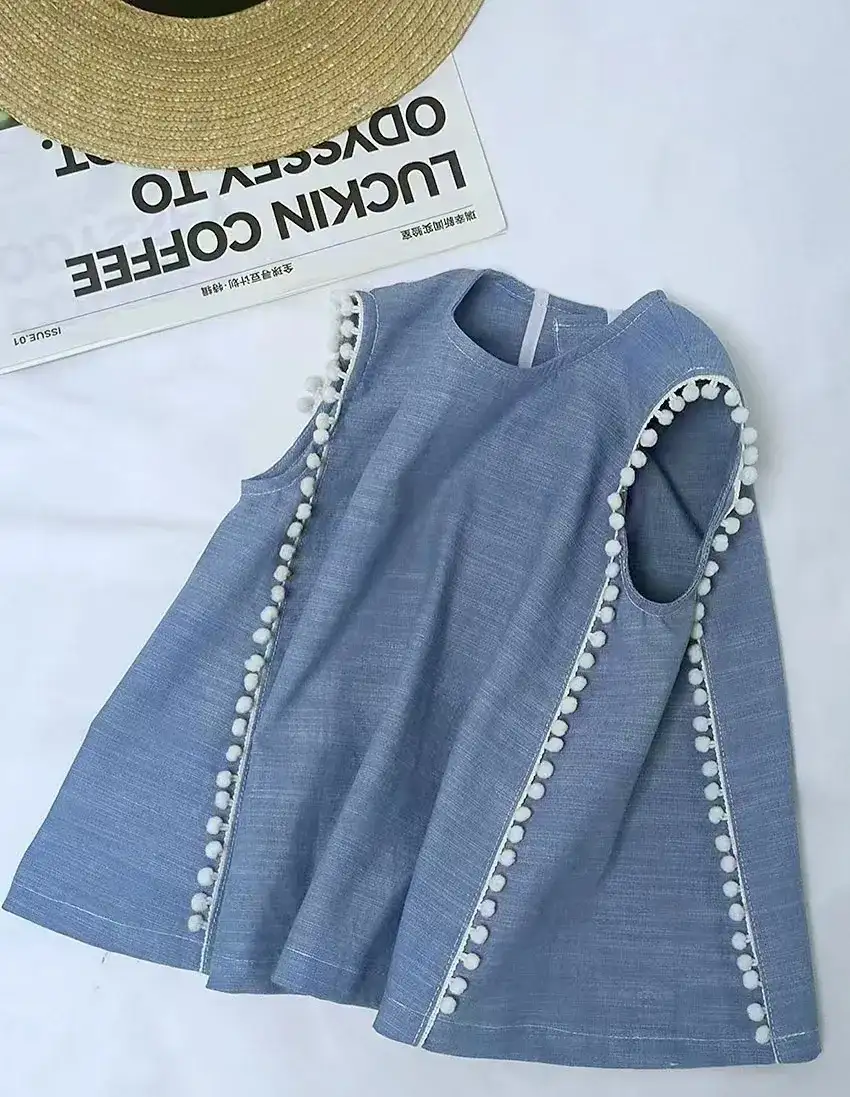
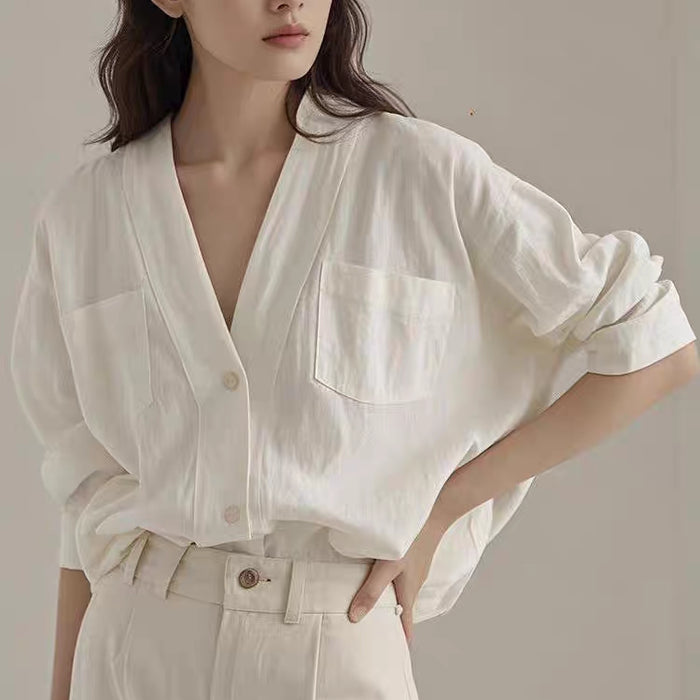
Are you ready to create a stylish top without sleeves that perfectly suits this summer? Whether you're a seasoned seamstress or just starting out, this free sewing pattern will help you craft a beautiful and comfortable sleeveless top.
With just basic sewing skills and our simple tutorial, you can make this versatile garment for your baby girl! Let's gather our supplies and start this fun and rewarding sewing project!
Key Takeaways
- Choose a suitable fabric, such as cotton, linen, rayon, or jersey knit, for comfort and easy sewing.
- Cut fabric pieces according to the pattern, ensuring accurate measurements and clean edges.
- Use bias tape or facing to finish the armhole and neckline neatly.
- Sew side seams and hem the bottom for a clean, polished finish.
- Add decorative topstitching and final touches for a professional and stylish look.
Materials Used
When sewing this cute sleeveless top, you'll need to prepare some essential supplies:
- Sewing pattern
- Fabric (type and amount according to your girl)
- Fur ball lace edge trim
- Sewing machine and needles
- Thread (matching fabric and trim)
- Scissors, pins, measuring tape, and chalk or fabric marker
- Iron and ironing board
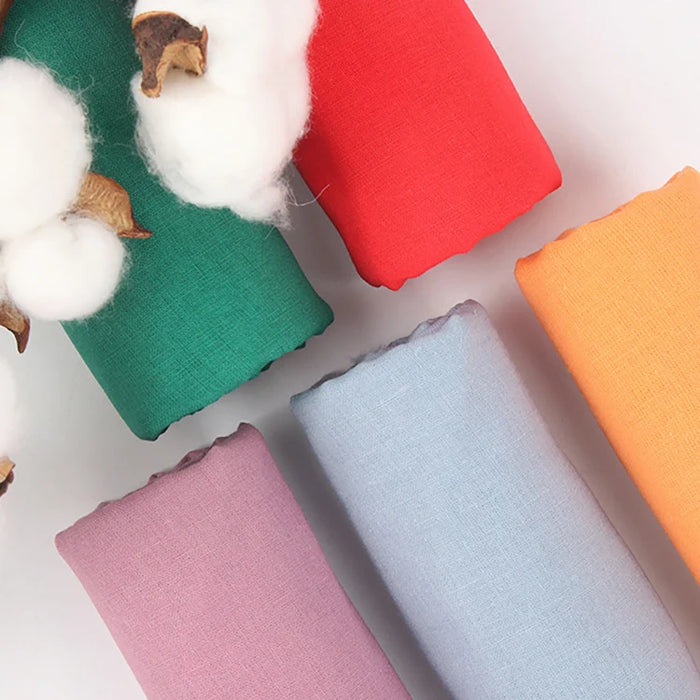
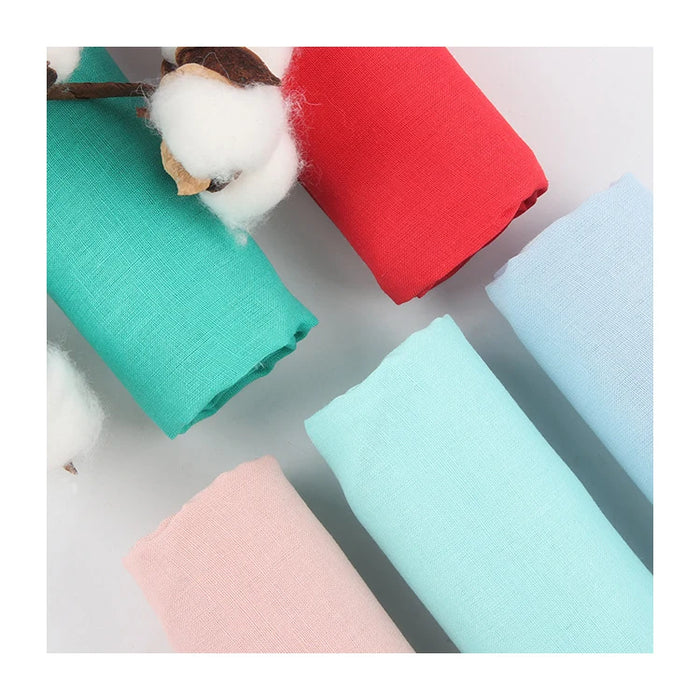
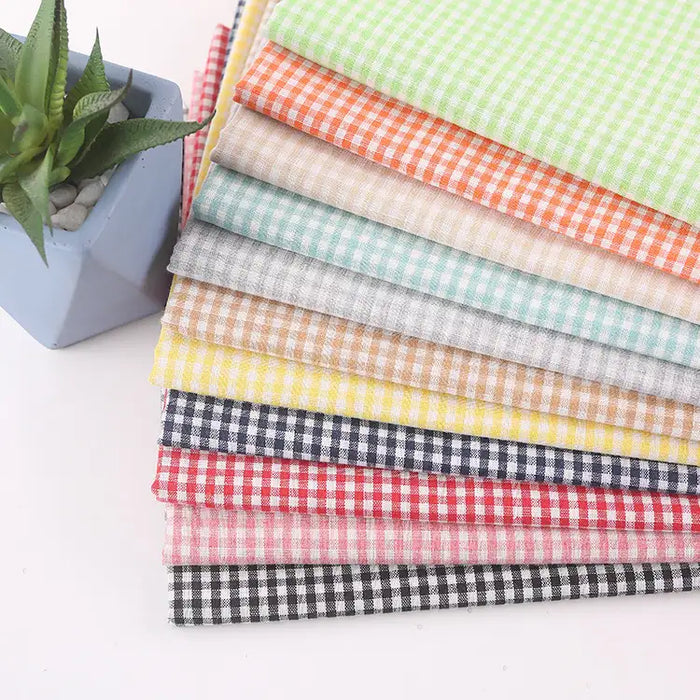
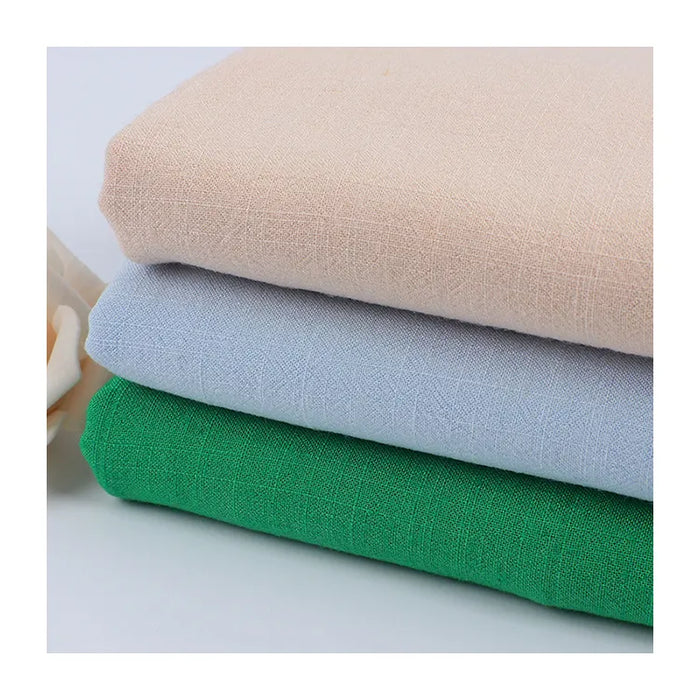
Recommended Fabrics from LonganCraft
When choosing fabrics for your sleeveless top, consider our recommendations for cotton, linen, and rayon, which are lightweight and breathable.
You can also look at jersey knit for stretch and comfort or chambray for a classic denim-like feel.
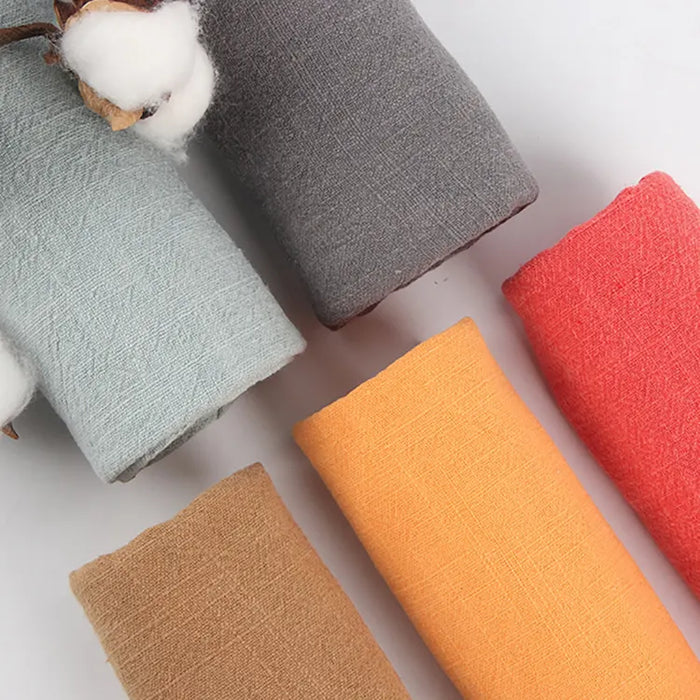
Cotton
Cotton is a fantastic choice for sewing sleeveless shirts. It offers breathability and comfort in summer. When you use cotton from LonganCraft, you're choosing a fabric that's not only durable but also easy to care for.
We offer a wide variety of colors and prints. You can easily find the perfect cotton fabric for your project. Additionally, our high-quality cotton ensures your top will be both stylish and long-lasting.
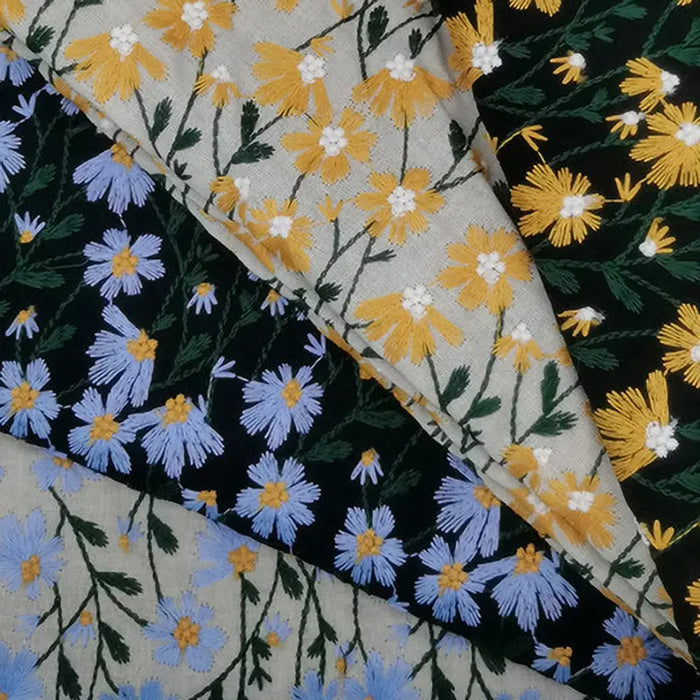
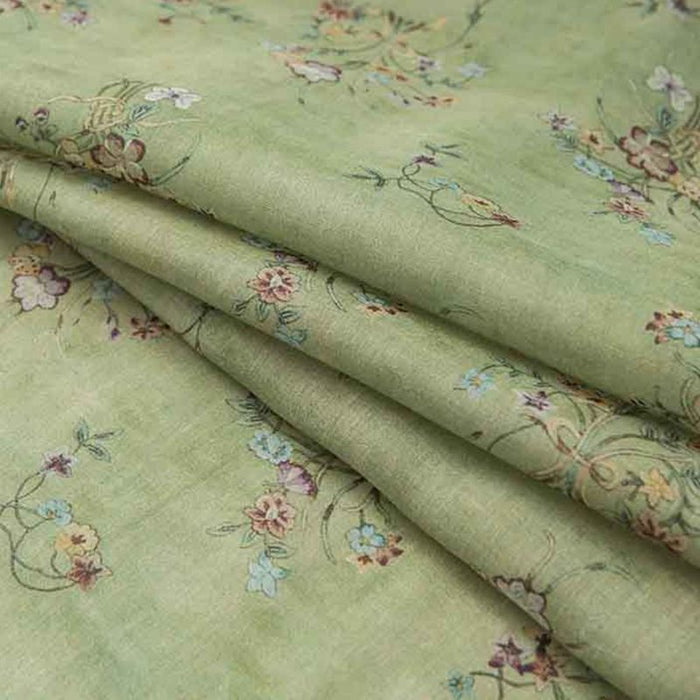
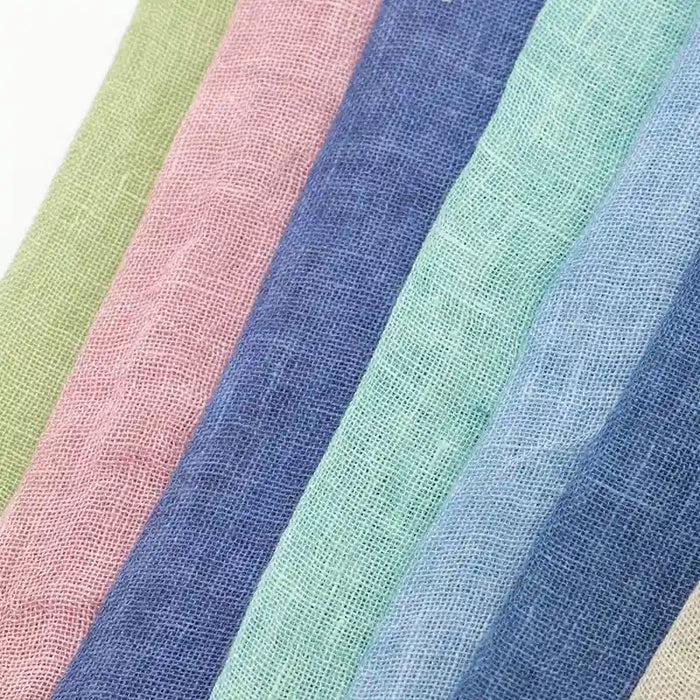
Linen
Switching from cotton, linen is another excellent option for your sleeveless top. It's a fantastic fabric choice because it's breathable and lightweight, making it perfect for warm weather.
Its natural texture adds a casual, relaxed look, ideal for a laid-back style. Linen's durability means this top will withstand frequent wear and washing without losing its shape or quality. This fabric also drapes beautifully, creating a flattering silhouette that enhances the overall design.
Rayon
Thanks to its soft and breathable nature, rayon is perfect for sewing sleeveless tops. As a beginner, you'll find rayon easy to handle in your DIY projects.
Its lightweight quality means it drapes beautifully, ensuring the top looks flattering. The wide range of colors and prints available in rayon also lets you get creative.
Jersey Knit
Exploring another excellent option, jersey knit fabrics are fantastic due to their stretch, drape, and comfort. These fabrics are easy to work with and forgiving of minor mistakes.
The natural stretch in jersey knit ensures that the top will be comfortable and fit well, adapting to your body's shape.
Chambray
Chambray is an excellent choice for sewing a sleeveless top due to its lightweight, breathable nature and smooth texture. This fabric's soft drape makes handling easy, ensuring clean lines and a casual yet polished look.
Chambray is machine washable and durable, maintaining its quality and appearance over time. It's a practical option for everyday wear.
How to Sew a Sleeveless Top: An Easy Sewing Tutorial
Now that you've chosen your fabric and pattern, it's time to make this cute and elegant tank top.
Step 1: Cut Out the Pattern Pieces
Before downloading the sewing pattern, don't forget to make the necessary changes according to your girl's measurements. Then, print the pattern and cut out the pattern pieces correctly.
Step 2: Cut the Fabric
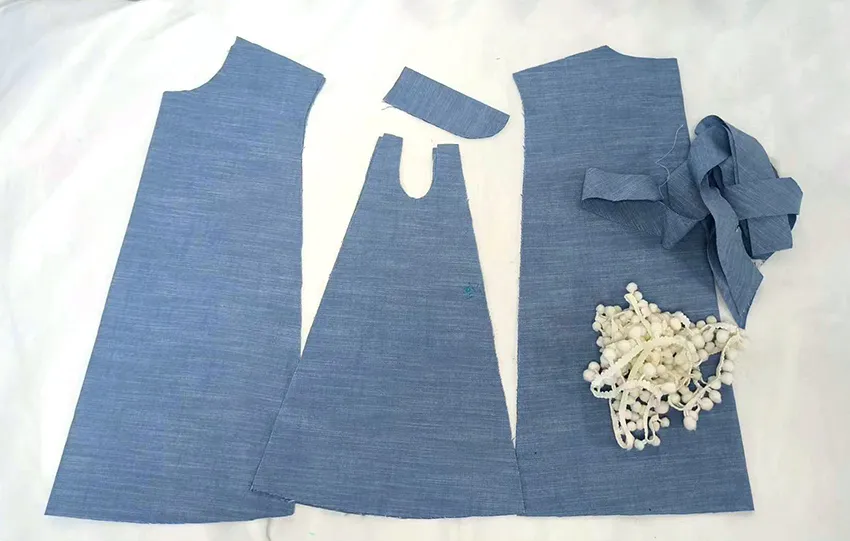
Pin the pattern pieces on the fabric. Take your fabric scissors and carefully cut along the lines. Keep your cuts clean and straight. It's crucial to include seam allowances around the edges to make sewing easier later. Double-check your measurements and cuts for accuracy.
Step 3: Make a Back Neckline Slit
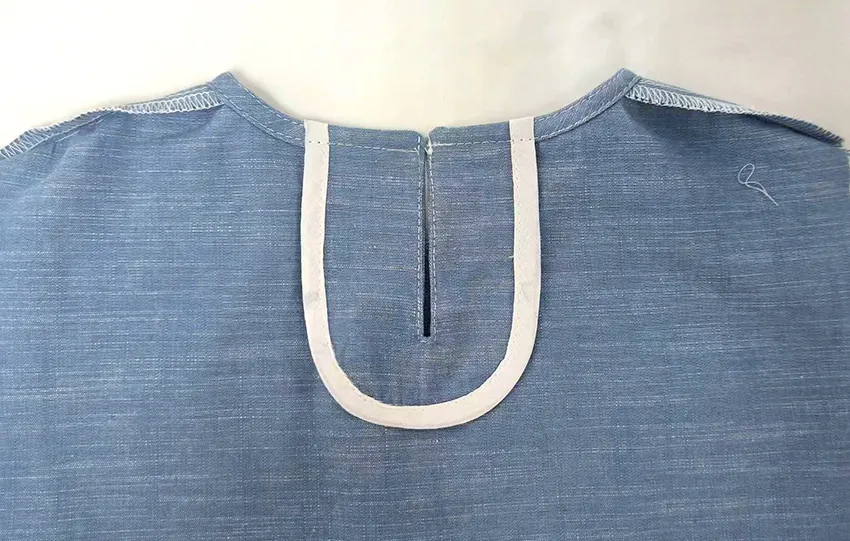
With your fabric cut and ready, let's focus on creating a back neckline slit to add both style and functionality.
Begin by marking the desired length of the back neckline slit on the back piece of the fabric. Carefully proceed with cutting the slit opening along the marked line.
Next, reinforce the edges of the slit with a narrow hem to prevent fraying and maintain a clean finish. Fold the fabric edges inward, press them neatly, and topstitch around the edges of the slit to secure the hem.
You can search YouTube for more help if you need more detailed guides.
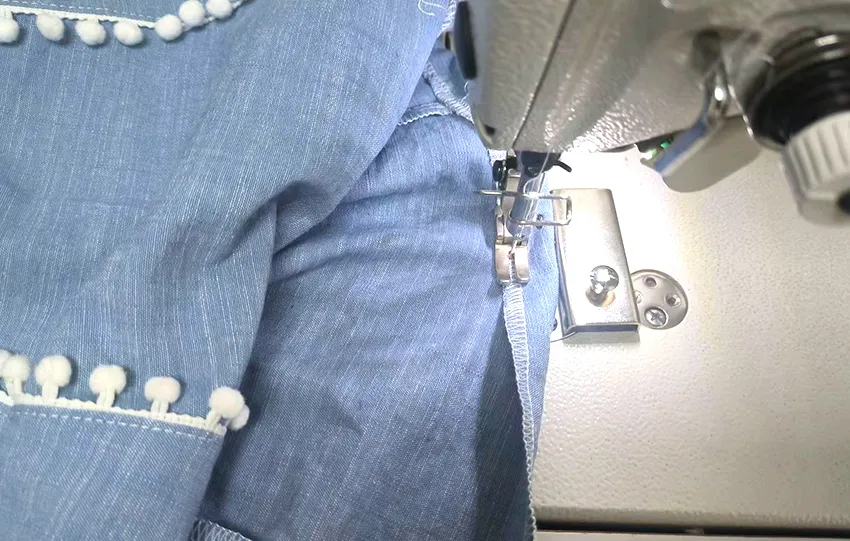
Step 4: Add the Fur Ball Lace Trim
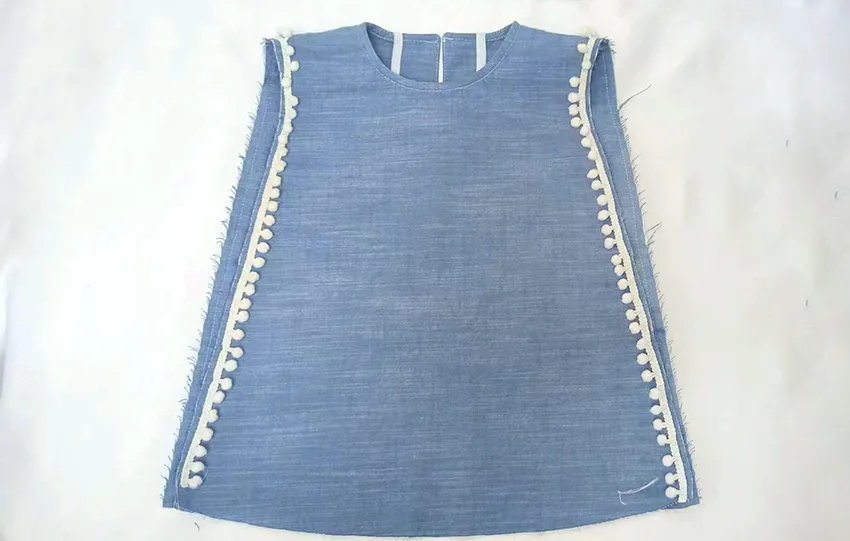
To add a touch of elegance to your top, start by selecting a fur ball lace trim that complements your fabric. Carefully measure the length needed to cover the hem of your top, trimming any excess lace.
Pin the fur ball lace trim along the hem, ensuring it's evenly distributed and securely in place. Using a matching thread color, sew the lace trim onto the top. Ensure your stitches are even for a neat finish.
Step 5: Add the Side Fabric Pieces
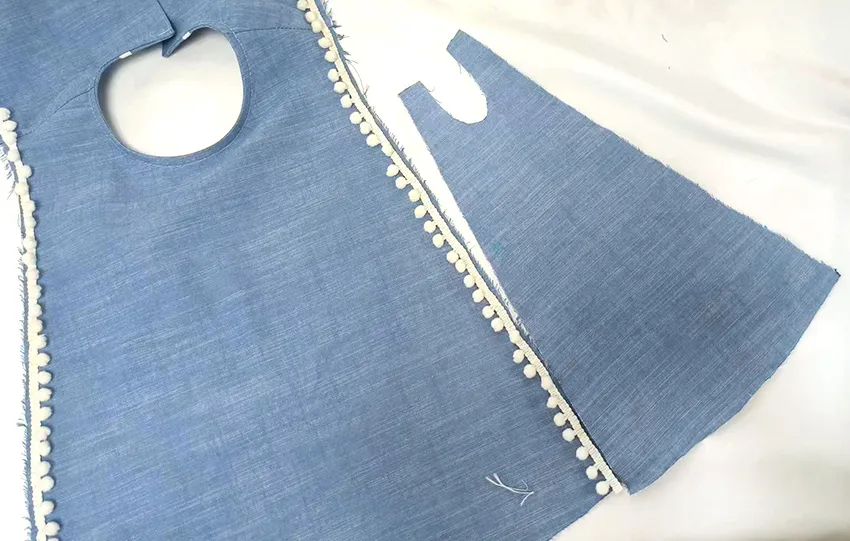
Pin the side fabric pieces to the main piece to ensure they align properly. Next, sew the side fabric pieces to the top.
After sewing, finish the seams by trimming any excess fabric and using techniques like zigzag stitching or serging. This helps prevent fraying and gives your top a polished look.
Step 6: Hem the Edges and Bottom
Hem the edges and bottom of your top by folding the raw edges under twice for a clean, professional finish.
Use your sewing machine to sew along the folded edge, ensuring the stitches are straight and even. After sewing, press the hem with an iron to create crisp edges.
Repeat this process for the armholes and neckline. Hemming not only prevents fraying but also adds a polished touch to this top. Choose a matching thread color for a seamless look, making your top appear professionally made.
Step 7: Final Touches
Wrap up your sleeveless top by pressing the seams and considering some decorative topstitching for a polished finish.
First, press the seams to set them in place and give your top a crisp look.
Next, trim any excess fabric from the seam allowance around the armholes for a neat edge.
If you want to add extra detail, consider topstitching along the armholes. This not only adds a decorative but also reinforces the seams for durability.
Finally, give the entire top one last press to remove any remaining creases, ensuring a professional finish.
Your sleeveless top is now complete, showcasing your sewing skills, and ready to wear or style as desired.
Final Words
You've done it! With our sewing pattern and the right techniques, you've sewn a beautiful sleeveless top. Don't forget to press all the seams, trim any excess fabric, and maybe add some topstitching for that polished look.
Give your top a final press, and get ready to show off your new creation. Your girl can wear this handmade piece to style up for any occasion.
Happy sewing!
Learn more sewing projects on the Longan Craft Blog, and dive into the fabric world with Longancraft!


0 comments