

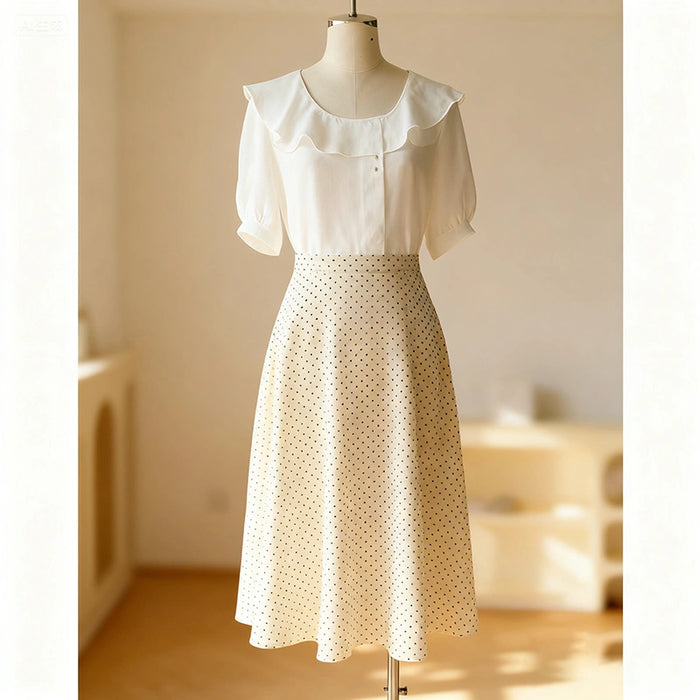
Mid skirts are timeless, comfortable, and versatile wardrobe staples that you can easily make yourself. Sewing your own maxi skirt allows you to customize fabric choices, lengths, and fits to suit your style perfectly. I will walk you through the step-by-step process of sewing a beautiful midi skirt, from cutting fabric to finishing the waistband with elastic. Whether you're a beginner or have some sewing experience, our sewing pattern will help you create a flowing skirt you'll love wearing.
Materials Needed
- Elastic band (3.8–4 cm wide)
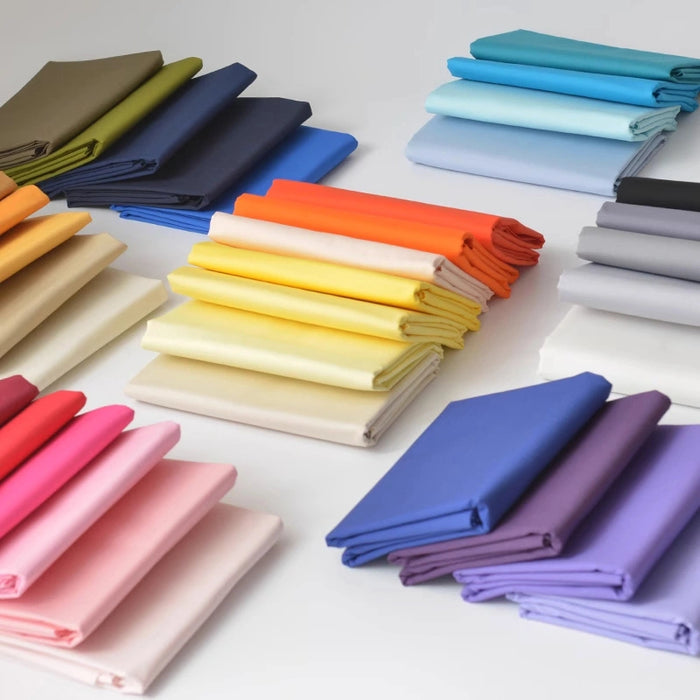
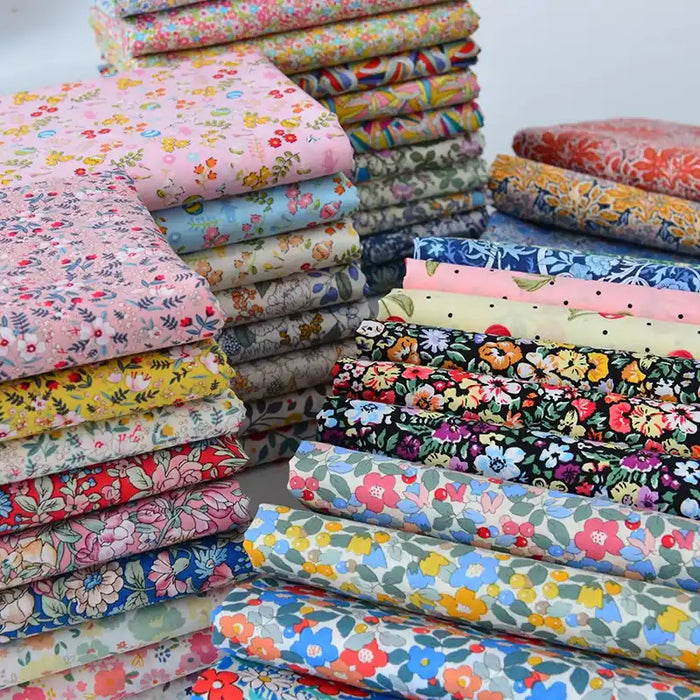
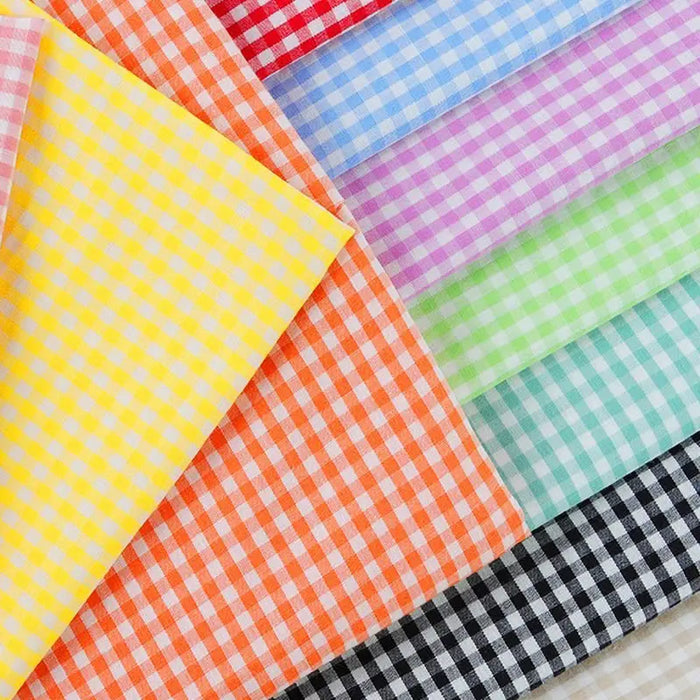
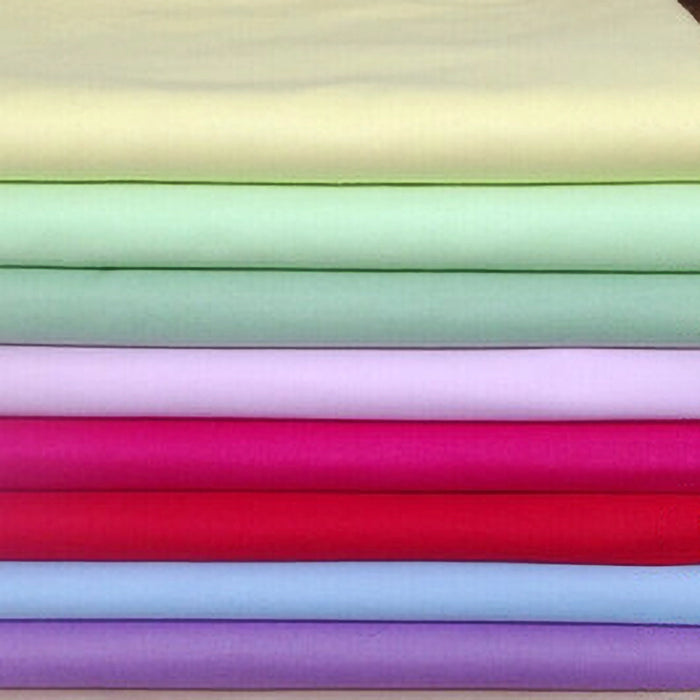
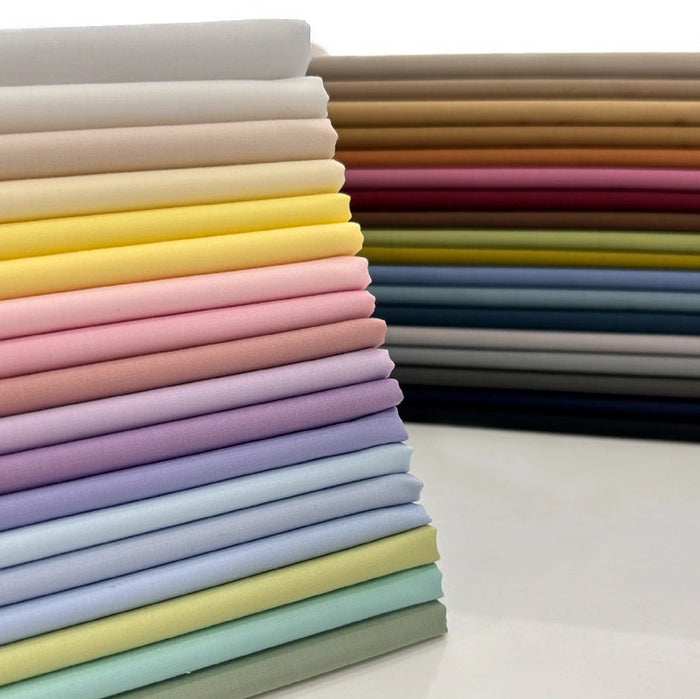
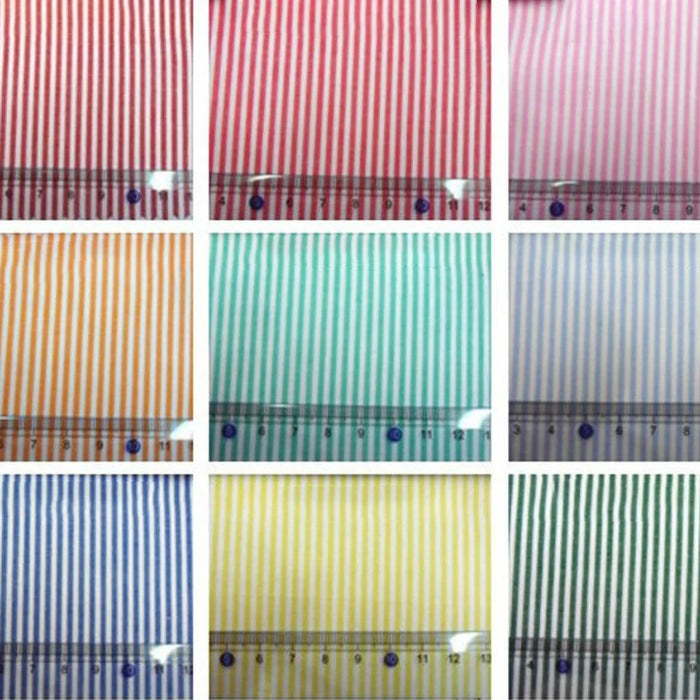
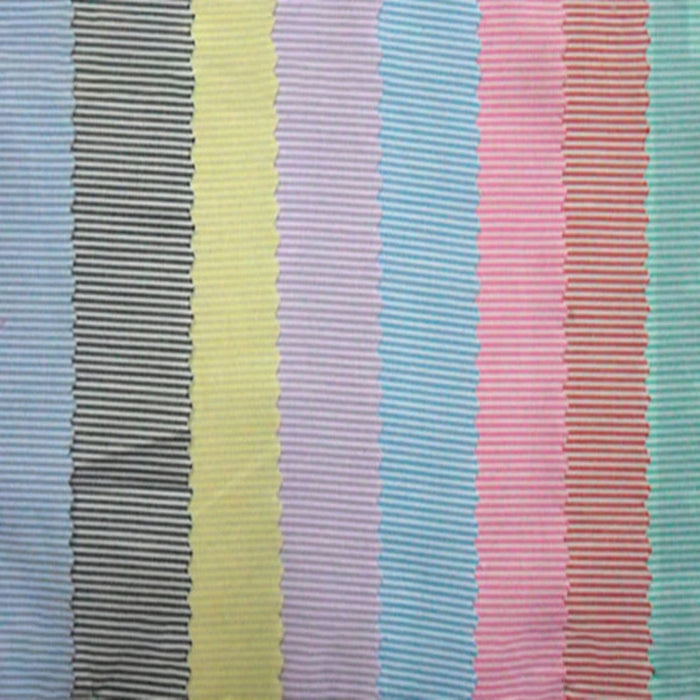
- Fabric of your choice (amount depends on your measurements and pattern)
- Paper pattern for midi skirt (includes skirt body, waistband, lining, and hem panels)
- Sewing machine with overlock/serger or zigzag stitch option
- Fabric pen or chalk
- Scissors
How to Sew a Midi Skirt: Step-by-Step Instructions
By carefully following these steps, you’ll create a beautifully finished midi skirt that fits comfortably and looks stylish. Taking your time with each stage—from cutting fabric accurately to evenly gathering the hem and securely inserting the elastic waistband—will ensure a professional result.
Step 1: Cut the Fabric
Using your paper pattern, cut the following pieces from your fabric:
- 2 skirt body pieces
- 1 waistband piece
- 2 lining pieces
- 2 hem (skirt bottom) pieces
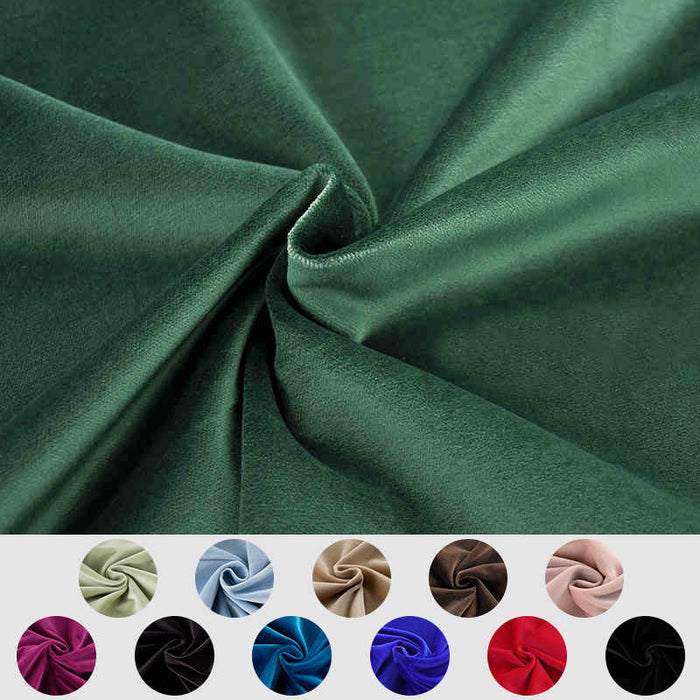
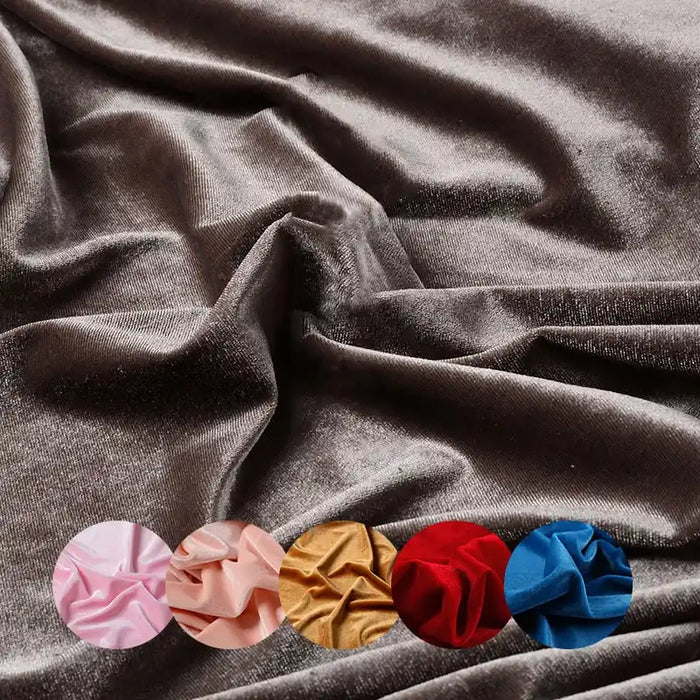
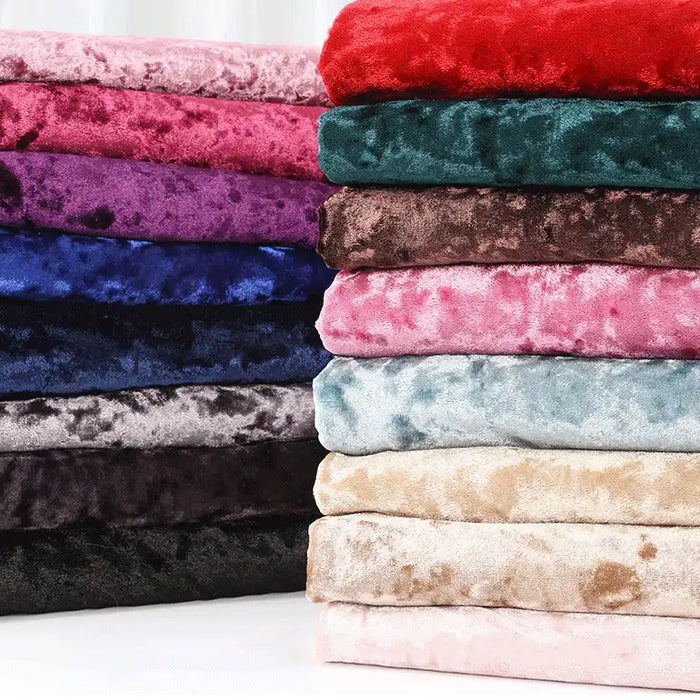
Note: If you use velvet fabric, pay attention to the nap direction. Cut all pieces consistently in the nap’s direction to avoid color or texture differences between skirt parts.
Step 2: Sew the Lining Pieces
Take the two lining pieces and place them right sides together. Sew along both side seams using an overlock machine or a zigzag stitch to prevent fraying.
Step 3: Sew the Skirt Body Pieces
Place the two skirt body pieces right sides together. Sew along both side seams using an overlock or zigzag stitch. This completes the main skirt body.
Step 4: Prepare Skirt Botton Pieces and Mark Gathering Points
Take one hem piece and fold it lengthwise in half along the long edge. Mark notches at halfway (1/2) and quarter (1/4) points by making small clips into the fold with scissors. Use a fabric pen to mark the positions of these clips clearly.
Step 5: Gather the Hem
To create gathers on the hem piece:
- Set your sewing machine needle to its largest size.
- Sew two parallel lines along the marked edge, one 0.7 cm from the edge and another 0.5 cm from the edge.
- Pull on the bobbin threads of both lines to gather the fabric evenly until the hem length matches the length specified in your pattern (about 68 cm).
- Tie knots at each end of the gathering stitches to secure.
Repeat this gathering process for the second hem piece.
Step 6: Sew Hem Side Seams
Place the two gathered hem pieces right sides together and sew along both side seams with an overlock or zigzag stitch.
Step 7: Attach Hem Pieces to Skirt Body
Align the longer, fan-shaped edge of the skirt fabric with the pleated side of the hem fabric. Match side seams carefully so they align perfectly. Pin in place and sew around with a 1 cm seam allowance. Finish edges with overlock or zigzag stitch.
Step 8: Finish Hem Bottom Edge
Fold up the bottom edge of the skirt by 1 cm towards the inside and stitch around to create a clean and neat hem.
Step 9: Sew Waistband Tube for Elastic
Take your waistband fabric piece and fold it lengthwise in half along the long edge, right sides facing each other. Sew along the short edges but leave a small opening in one seam for threading elastic later.
Step 10: Attach Waistband to Skirt and Lining
Mark quarter points on both skirt body and lining at their waist edges. Align and pin one quarter point of the waistband to these markings. Place the waistband right sides together with the skirt body and lining, keeping the small opening of the waistband facing upwards.
Sew all layers together with a 1 cm seam allowance along the waist edge.
Step 11: Insert Elastic into Waistband
Using a safety pin attached to one end of your elastic band (3.8–4 cm wide), thread it through the waistband tube via the small opening left earlier. Be careful not to twist the elastic inside the tube.
Once fully threaded, overlap elastic ends by about 2-3 cm and sew securely together using a zigzag stitch.
Pull elastic evenly around waistband so gathers distribute smoothly. Close up the small opening by hand stitching or machine sewing.
Final Thoughts
Congratulations! You have completed sewing your own beautiful midi skirt. This classic garment is perfect for many occasions—pair it with casual tops for daytime or dress it up for evening events.
Sewing your own midi skirt not only saves money but gives you full creative control over fabric choice, fit, and style details like gathers and lining. With practice, you can customize this basic design into many variations including tiered skirts, bias cuts, or adding pockets.
Frequently Asked Questions (FAQ)
What type of fabric is best for sewing a midi skirt?
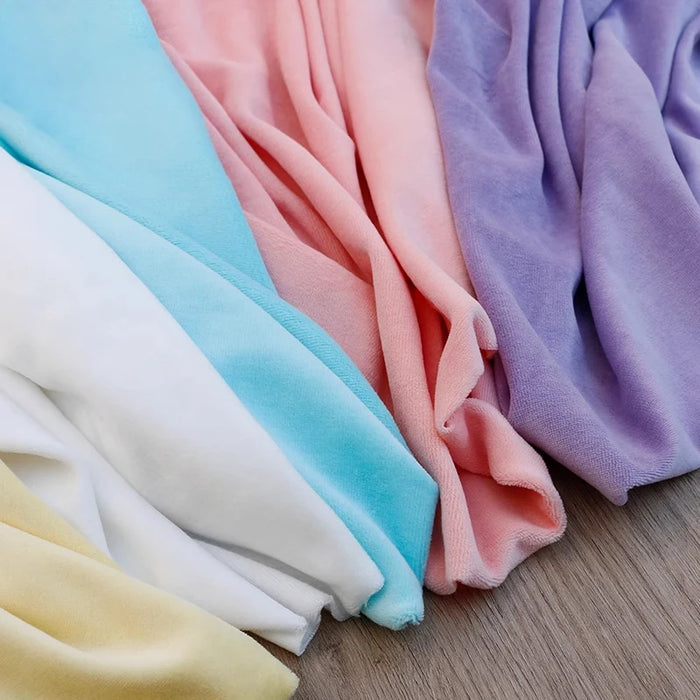
Lightweight to medium-weight fabrics such as cotton, rayon, chiffon, or velvet work well for maxi skirts. Choose a fabric with good drape for a flowing effect.
How do I determine the right length for my midi skirt?
Measure from your natural waist down to where you want the skirt to end—usually around the ankles or floor. Adjust the pattern accordingly.
Can I skip the lining in this midi skirt pattern?
Yes, but lining adds comfort and durability, especially with lighter or sheer fabrics. It also helps the skirt hang better.
How tight should the elastic waistband be?
The elastic should fit snugly but comfortably around your waist, allowing for easy movement without digging into your skin.


0 comments