

Sewing an A-line midi skirt is a rewarding project that lets you express your creativity while elevating your wardrobe. Whether you’re a seasoned sewer or just starting out, this guide will walk you through each step in detail, ensuring you have all the tips and tricks you need to succeed. So grab your fabric and sewing supplies, and let’s embark on this creative journey together!
Key Takeaways
- Sew the back panels, leaving an opening for the zipper.
- Insert the zipper, ensuring it’s aligned properly.
- Optionally, add a lining to the skirt.
- Press the waistband for a clean finish.
- Hem the skirt using a three-fold technique.
Materials Needed
- Two pieces of fabric for the back of the skirt
- One piece of fabric for the front of the skirt
- A long strip of fabric for the waistband
- A zipper (length should match your design)
- Scissors
- Sewing machine
- Iron and ironing board
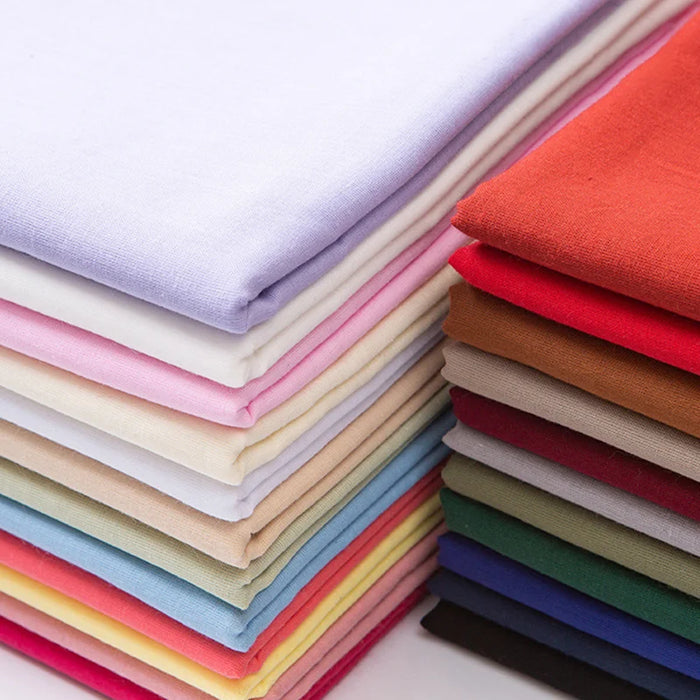
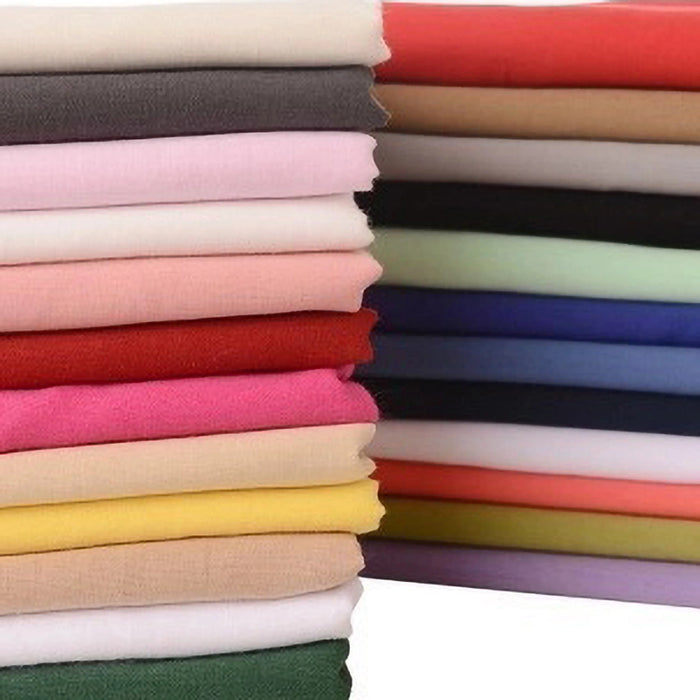
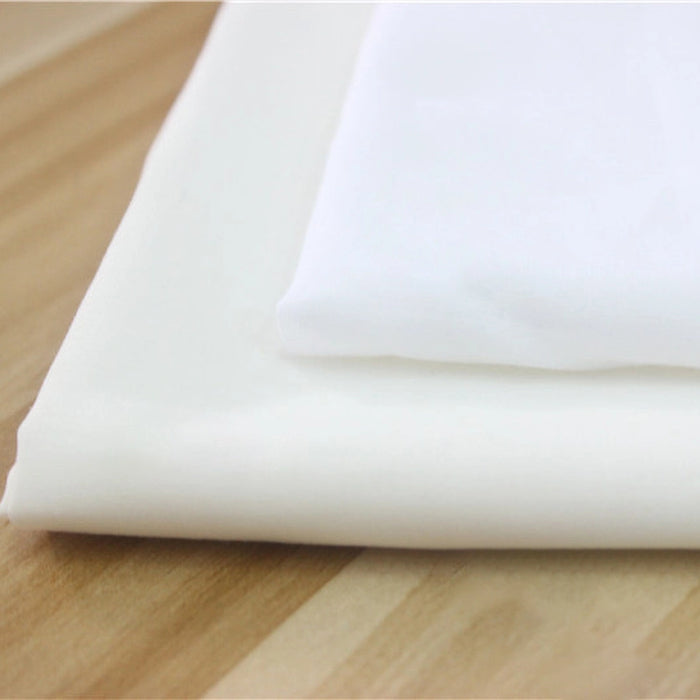
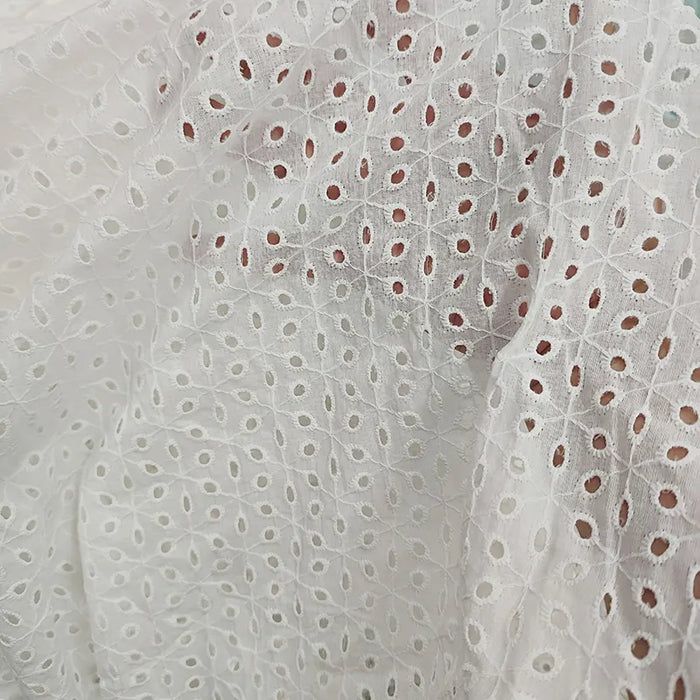
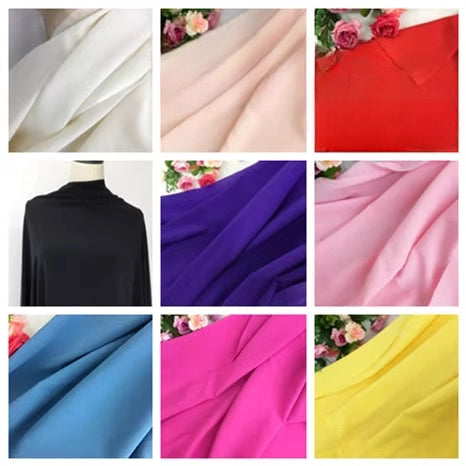
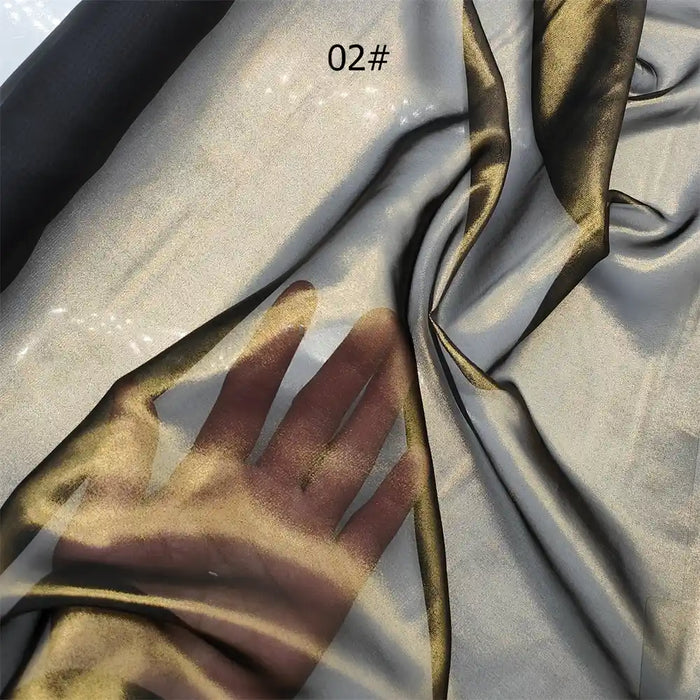
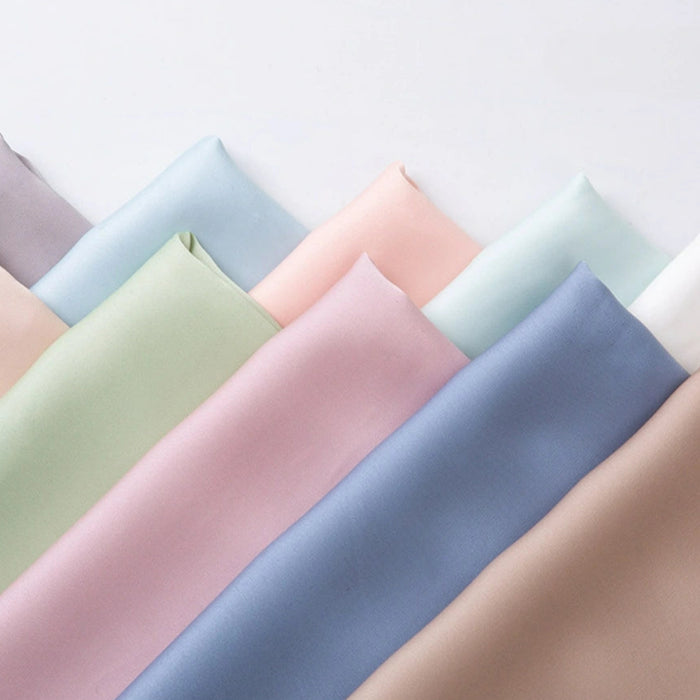
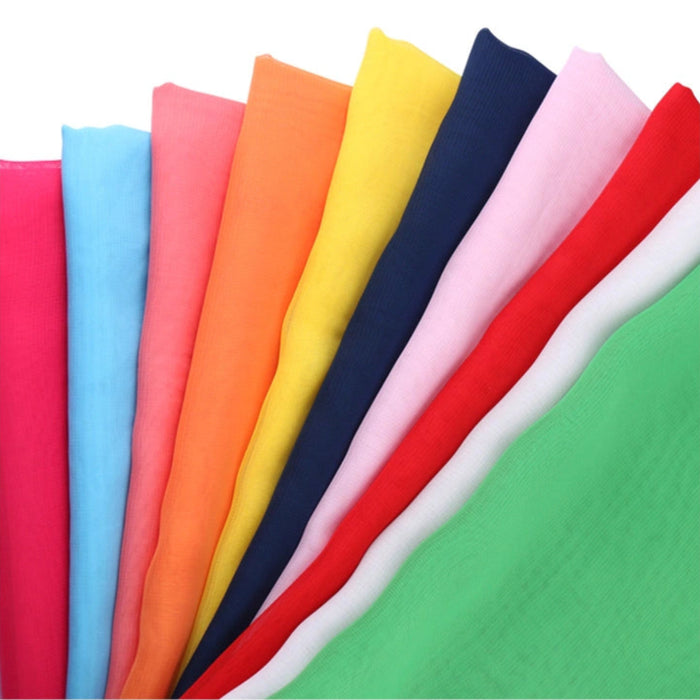
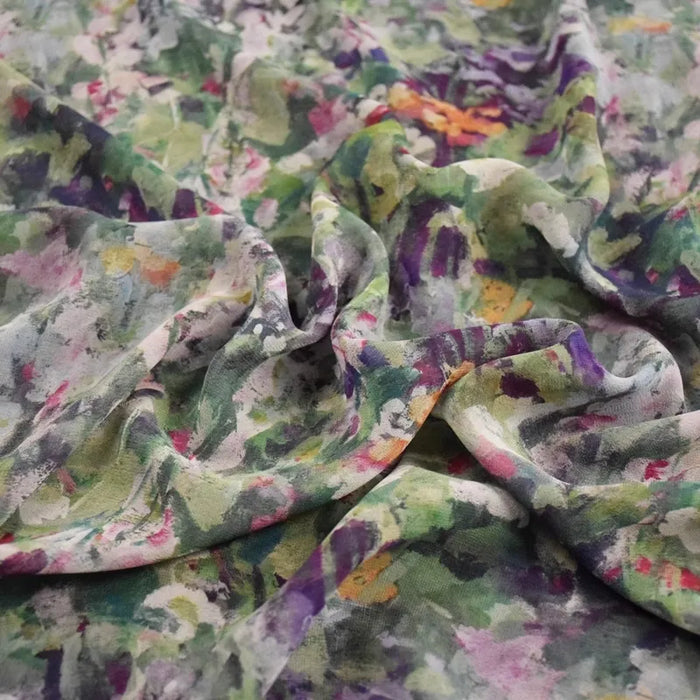
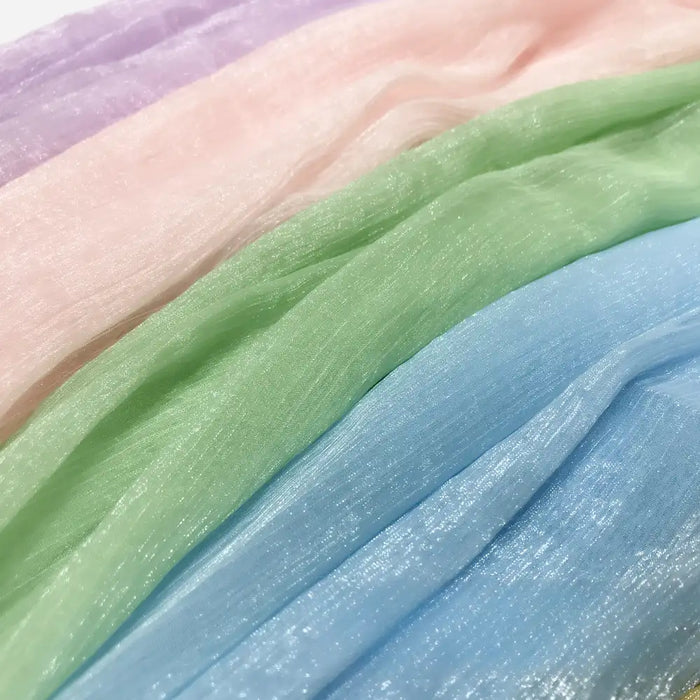
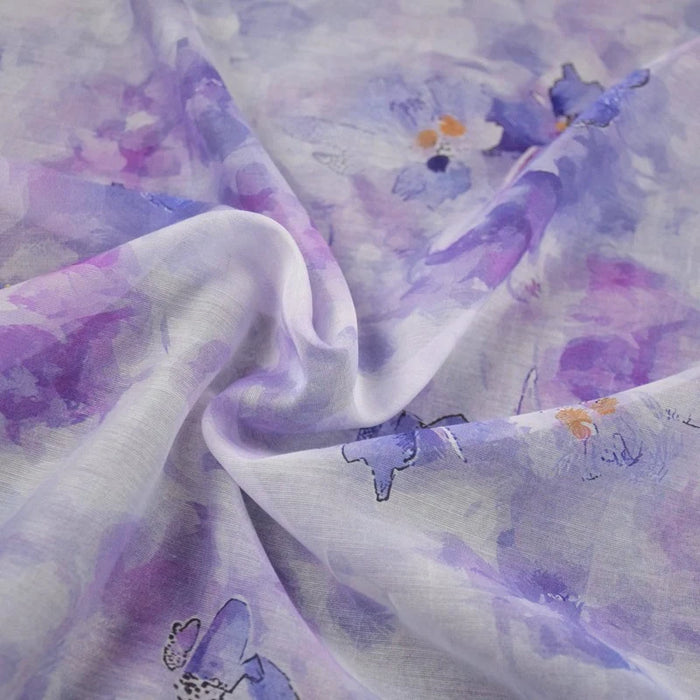
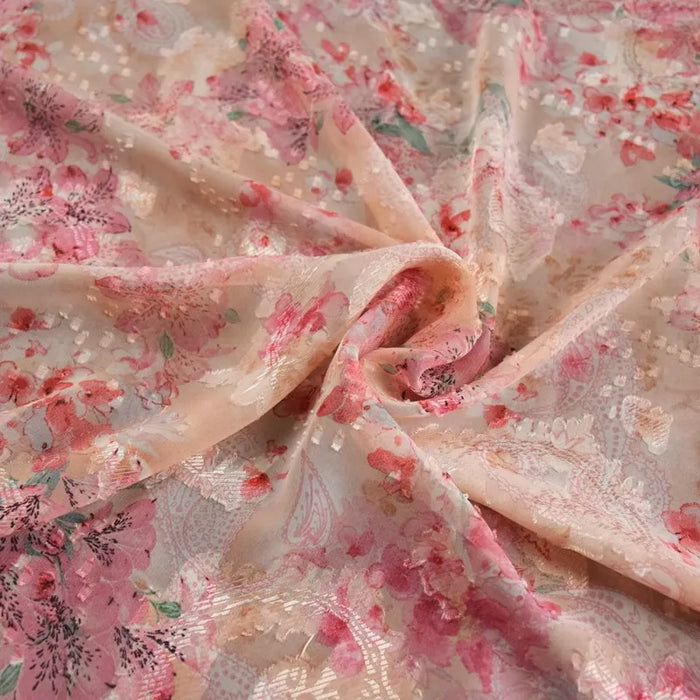
- Recommended fabrics: linen, seersucker, lightweight denim, voile, brocade, chiffon
How to Sew a Back Zipper Skirt: Step-by-Step Instructions
It is easy to sew your own A-Line midi skirt. Let's get started!
Step 1: Prepare the Back Panels
Start by cutting two identical pieces of fabric for the back panels of the skirt. Ensure they are of equal size and suitable for the design you envision.
Take the two back pieces and place them right sides together. Sew along one edge, leaving a section unsewn for the zipper.
Use a straight stitch and a seam allowance of approximately 1/4 inch. This opening will allow for the zipper to be inserted later.
Step 2: Assemble the Skirt
Cut a single piece of fabric for the front of the skirt, ensuring it matches the width of the combined back panels.
Next, take the front piece of fabric and position it directly opposite the two back pieces you just sewed. With the right sides facing each other, sew along the side seams.
This will join the front and back pieces, forming the basic shape of your skirt.
Step 3: Create the Waistband
Measure and cut a long strip of fabric for the waistband. The width should be about 3-4 inches, and the length should match your waist measurement plus seam allowances.
Fold the long strip in half lengthwise and press with an iron to create a crisp crease. This will help in achieving a neat waistband.
Lock the raw edges of the waistband by sewing a straight stitch along both sides. This prevents fraying.
Align the raw edges of the waistband with the top edge of the skirt. Pin in place and sew along the edge, ensuring the fabric is evenly distributed.
Step 4: Insert the Zipper
Take your zipper and place it in the opening at the back of the skirt. The top of the zipper should align with the waistband.
Pin the zipper in place, making sure the edges of the zipper tape align with the fabric edges. Sew along both sides of the zipper, using a zipper foot attachment for your sewing machine.
After sewing, test the zipper to ensure it moves smoothly.
Step 5: Add the Lining (Optional)
If you wish to add a lining to your skirt, now is the time. Attach the lining to the zipper edge of the skirt, ensuring it is neatly enclosed.
Also, fix the lining's waist to the outer fabric's waist for a polished finish.
Step 6: Press the Waistband
Using the crease created earlier, press down along the waistband to form a sharp line. This will help define the waist and give it a professional look.
To keep the waistband in place, sew along the bottom edge of the waistband, approximately 1/4 inch from the edge. This will ensure that the waistband sits neatly when worn and maintains its shape.
Step 7: Finish the Hem
Turn the skirt right side out. For the hem, fold the bottom edge of the skirt inward by 0.5 cm using a three-fold method (folding it in, then folding it again). This creates a clean edge.
Pin the folded hem in place, and sew along the folded edge using a straight stitch. This will secure the hem and give your skirt a finished look.
Conclusion
By following the detailed instructions and tips provided, you can confidently tackle this sewing project, whether you're a beginner or looking to refine your skills. Remember that practice makes perfect, and each project will enhance your sewing abilities. Embrace the creative journey, experiment with different fabrics and patterns, and soon you'll have a beautiful skirt that showcases your unique fashion sense. Happy sewing, and may your creativity flourish with every stitch.
FAQ
What type of fabric is best for a skirt?
Lightweight cotton, linen, or cotton blends work well as they provide structure without being too heavy.
How do I determine the length of the zipper needed?
Choose a zipper length that corresponds to the depth of the opening you left for the zipper. Typically, a 7-9 inch zipper is sufficient for most skirts.
Can I adjust the size of the skirt pattern?
A3: Yes, you can adjust the pattern by adding or removing fabric from the side seams or altering the waistband to fit your measurements.
What should I do if my zipper gets stuck?
A4: If your zipper is stuck, gently pull the fabric away from the zipper and ensure that no fabric is caught in the teeth. Applying a small amount of lubricant, such as soap or wax, can help if it continues to stick.


0 comments