

If you've worked with satin fabric, you know how snags and pulls can quickly ruin your project. This luxurious material can be challenging to handle. But you don't need to feel intimidated by it.
With the right tools and techniques, you can master how to cut satin fabric cleanly and confidently. Let's explore the essential steps that will transform your next satin project from potentially problematic to perfectly precise.
Key Takeaways
- Use sharp fabric shears or a fresh rotary blade to make clean cuts and prevent fabric damage.
- Cut the satin one layer at a time, maintaining steady pressure on a smooth, clean cutting surface.
- Secure fabric with fine dressmaking pins within seam allowances to prevent shifting.
- Mark patterns on the wrong side using tailor's chalk. Avoid using water-based markers, as they can stain.
- Cut in long, smooth strokes in a single direction while keeping the fabric flat and tension-free.
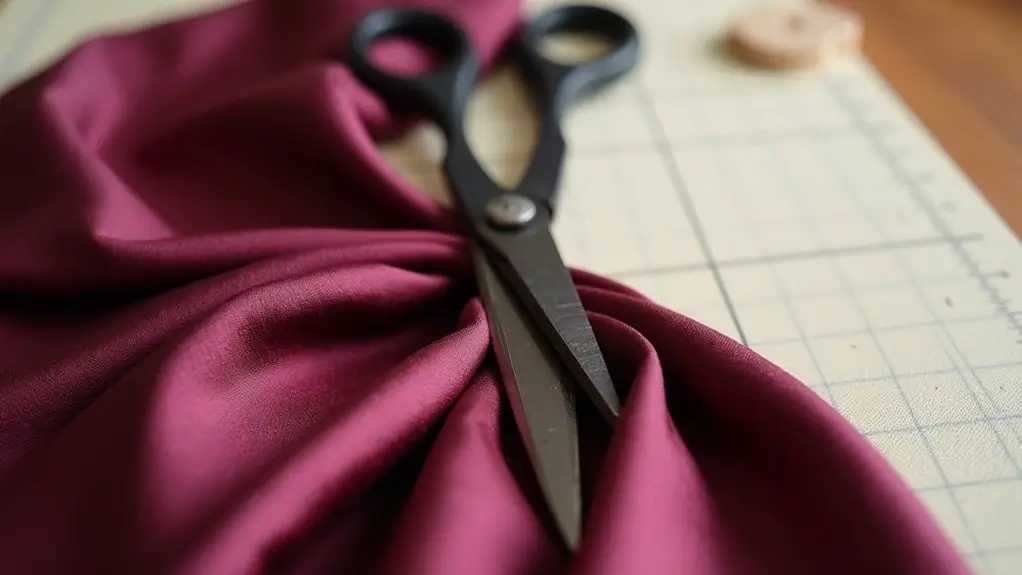
Essential Tools and Materials for Cutting Satin
Three essential tools stand at the forefront of successfully cutting satin fabric. Your cutting tools must be sharp and precise to prevent fraying and maintain the fabric's grain.
- Choose micro-serrated scissors specifically designed for delicate fabrics.
- Invest in a self-healing cutting mat for rotary cutter stability.
- Use glass-head pins that won't melt under iron heat.
- Keep a separate pair of shears exclusively for fabric cutting.
Preparing Your Workspace and Satin Fabric
Before cutting your satin material, proper workspace preparation is critical for success. Start by clearing and cleaning your cutting surface to remove any debris.
Before cutting satin, store your fabric rolled until you're ready to begin. This will prevent unwanted creases.
Ensure you have sharp fabric shears and suitable needles ready. Before pinning satin, check that your pins are extra-fine and sharp.
These tips will help you maintain control while cutting this slippery fabric.
How to Cut Satin Fabric: Step-by-Step Techniques
Cutting satin fabric requires a careful approach due to its smooth and slippery texture. Let’s explore the step-by-step techniques to ensure precise and clean cuts every time.
Step 1: Clean Your Cutting Surface
Maintaining a pristine cutting surface is essential when working with delicate satin fabric. Since satin fabric is slippery, you'll want to thoroughly inspect and clean your cutting surface before starting. Remove any dust, threads, or debris that could snag your material.
Don't rush this step. Even tiny imperfections can damage your fabric. Check sewing surfaces carefully and use smooth tools throughout the process.
Step 2: Choose Proper Cutting Tools
Choose a high-quality satin and use sharp fabric shears designed for delicate materials. Never attempt to cut multiple layers, as this can cause shifting and uneven edges. Instead, cut one layer at a time to prevent the fabric from sliding.
Step 3: Press Before Cutting
Precision demands pressing your satin fabric before making any cuts. Using a press cloth, carefully smooth out any wrinkles or creases that could affect your cutting accuracy.
Keep your iron on a low, dry heat setting to avoid damaging the fabric's lustrous surface. Align your fabric grain properly as you press, guaranteeing the satin lies completely flat.
This step helps keep the fabric in place when you're ready to use your sharp fabric shears. Remember, a well-pressed foundation is vital for the success of your sewing project.
Working with properly pressed satin reduces the risk of snagging and guarantees clean, precise cuts.
Step 4: Mark the Pattern With Chalk
Marking your pattern pieces on satin requires careful attention to detail and the right tools. Use tailor's chalk instead of water-based markers to prevent staining.
Before marking, pin your pattern securely to guarantee the fabric grain stays aligned while you work. Always mark on the wrong side of the satin fabric and test your chalk on a scrap piece first.
Make light, precise marks that'll guide your fabric shears during cutting.
Step 5: Cut With Long Strokes
Long, smooth cutting strokes are essential when cutting satin fabric. Since satin is tricky to handle, don't cut multiple layers at once. Instead, place the fabric flat on your cutting surface and use sharp fabric shears to make clean, continuous cuts.
Follow the direction the fabric is woven to prevent fraying and guarantee smooth edges. When you're ready to cut, hold your shears parallel to the table and glide them through the material without lifting between strokes.
Tips for Preventing Fraying and Shifting

When working with satin fabric, you'll need specific techniques to prevent the material from fraying and shifting during the cutting process. Since satin is a delicate material, use sharp fabric shears and suitable needles to minimize damage.
Cut the edges with pinking shears to prevent temporary fraying. Remember to finish your seams properly for long-term stability.
- Pin your pattern securely using fine pins placed within seam allowances.
- Keep fabric flat and stable on a smooth, clean cutting surface.
- Avoid water contact as it can leave permanent marks and distort the fabric.
- Cut in a single direction using long, smooth strokes to prevent snags
Common Mistakes to Avoid When Cutting Satin
Many crafters fall into common traps while cutting satin, which can ruin their projects before they even start sewing.
When cutting satin, don't rush through the preparation steps. This delicate fabric requires careful handling.
Avoid using dull fabric shears or skipping proper pinning. These shortcuts lead to jagged edges and misaligned pieces.
Watch out for improper fabric grain alignment, as it can distort the final appearance of your garment.
Best Tips for Sewing With Satin Fabric
Sewing satin also requires special care due to its smooth texture and tendency to snag or shift. Follow these tips and tricks to ensure your sewing project turns out beautifully:
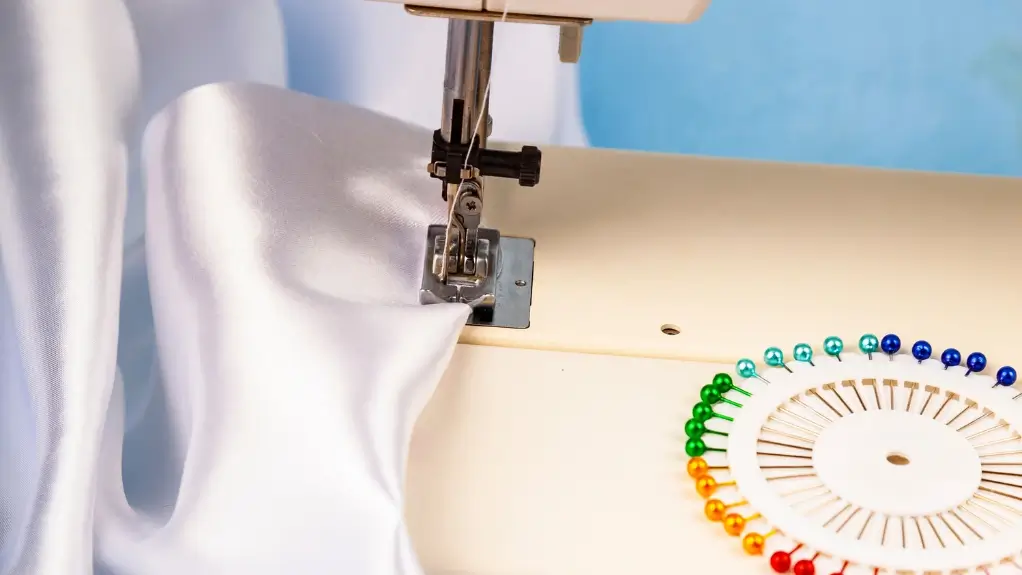
1. Use the Right Needle and Thread
- Choose a fine, sharp sewing machine needle, such as a size 60/8 or 70/10 universal or microtex needle, to prevent the fabric from snagging.
- Use fine, high-quality polyester or silk thread for smooth stitching and better seam strength.
2. Stabilize the Fabric
- Use a lightweight stabilizer or tissue paper underneath the satin while sewing to reduce slipping and puckering.
- Alternatively, sew over a piece of water-soluble stabilizer that can be torn away after stitching.
3. Pin Carefully
- Use fine, sharp pins or glass head pins, placing them within seam allowances to avoid leaving permanent holes.
- Pin perpendicular to the fabric edge to hold layers securely without shifting.
4. Adjust Your Sewing Machine Settings
- Use a smaller stitch length (around 2.0 mm) for neat seams.
- Reduce presser foot pressure if your machine allows, to avoid stretching the fabric.
- Sew slowly and steadily to maintain control.
5. Seam Finishing
- Satin frays easily, so finish seams with a serger, pinking shears (only on seam allowances), or a narrow zigzag stitch.
- Consider French or flat-felled seams for a clean, professional look inside the garment.
6. Press Gently
- Use a low heat setting on your iron with a pressing cloth to protect the satin’s surface.
- Avoid steam if possible, or use it sparingly to prevent water spots.
- Press seams open carefully without stretching or distorting the fabric.
7. Handle With Care
- Avoid touching the fabric too much with oily or dirty hands to prevent staining.
- Work in a clean, well-lit space to spot any snags or imperfections early.
Using these tips will help you sew satin fabric smoothly while maintaining its luxurious appearance and preventing damage during construction.
Conclusion
You're now equipped to cut satin like a pro. Remember to keep your tools sharp, your workspace clean, and your fabric properly secured. Don't rush the process. Take your time with smooth, confident strokes.
If you're working with an especially delicate piece, test your technique on scrap fabric first. With these tips and a bit of practice, you'll achieve flawless, snag-free cuts every time.
Learn more sewing tips on the Longan Craft Blog, and dive into the fabric world with Longan Craft!
FAQs
Can I Use Pinking Shears Instead of Regular Fabric Scissors for Cutting Satin?
No, you can't. They'll create rough, jagged edges that can snag and fray. Instead, use sharp fabric shears or a rotary cutter for clean, precise cuts.
Does Cutting Satin in Cold Temperatures Affect Its Behavior?
Cold temperatures can make satin stiffer and less slippery, which might help with cutting. However, you shouldn't cut it when it's too cold as the fabric could become brittle.
Should Different Types of Satin Be Cut With Different Blade Pressures?
Adjust your blade pressure based on the satin's weight and thickness. Lighter satins require gentler pressure, while heavier varieties like Duchess satin need firmer pressure for clean cuts.
Can I Use Temporary Fabric Adhesive Spray to Stabilize Satin While Cutting?
You shouldn't use adhesive spray on satin as it can leave residue and damage the fabric's lustrous finish. Instead, rely on pattern weights, single-layer cutting, and a non-slip cutting mat for stability.
0 comments